
Today I took down the ornaments on our Christmas tree and as I was packing away some of the ones my children had made in school, I had a thought to use a file I purchased in the Silhouette Design store called an ornament box. So as soon as the rest of the ornaments were packed up, I headed into the Studio to create these boxes.
Now, I will say these were probably designed with the idea of using them as a gift box and not to be used as a secure storage container. However, for my purpose I think they will be great…..

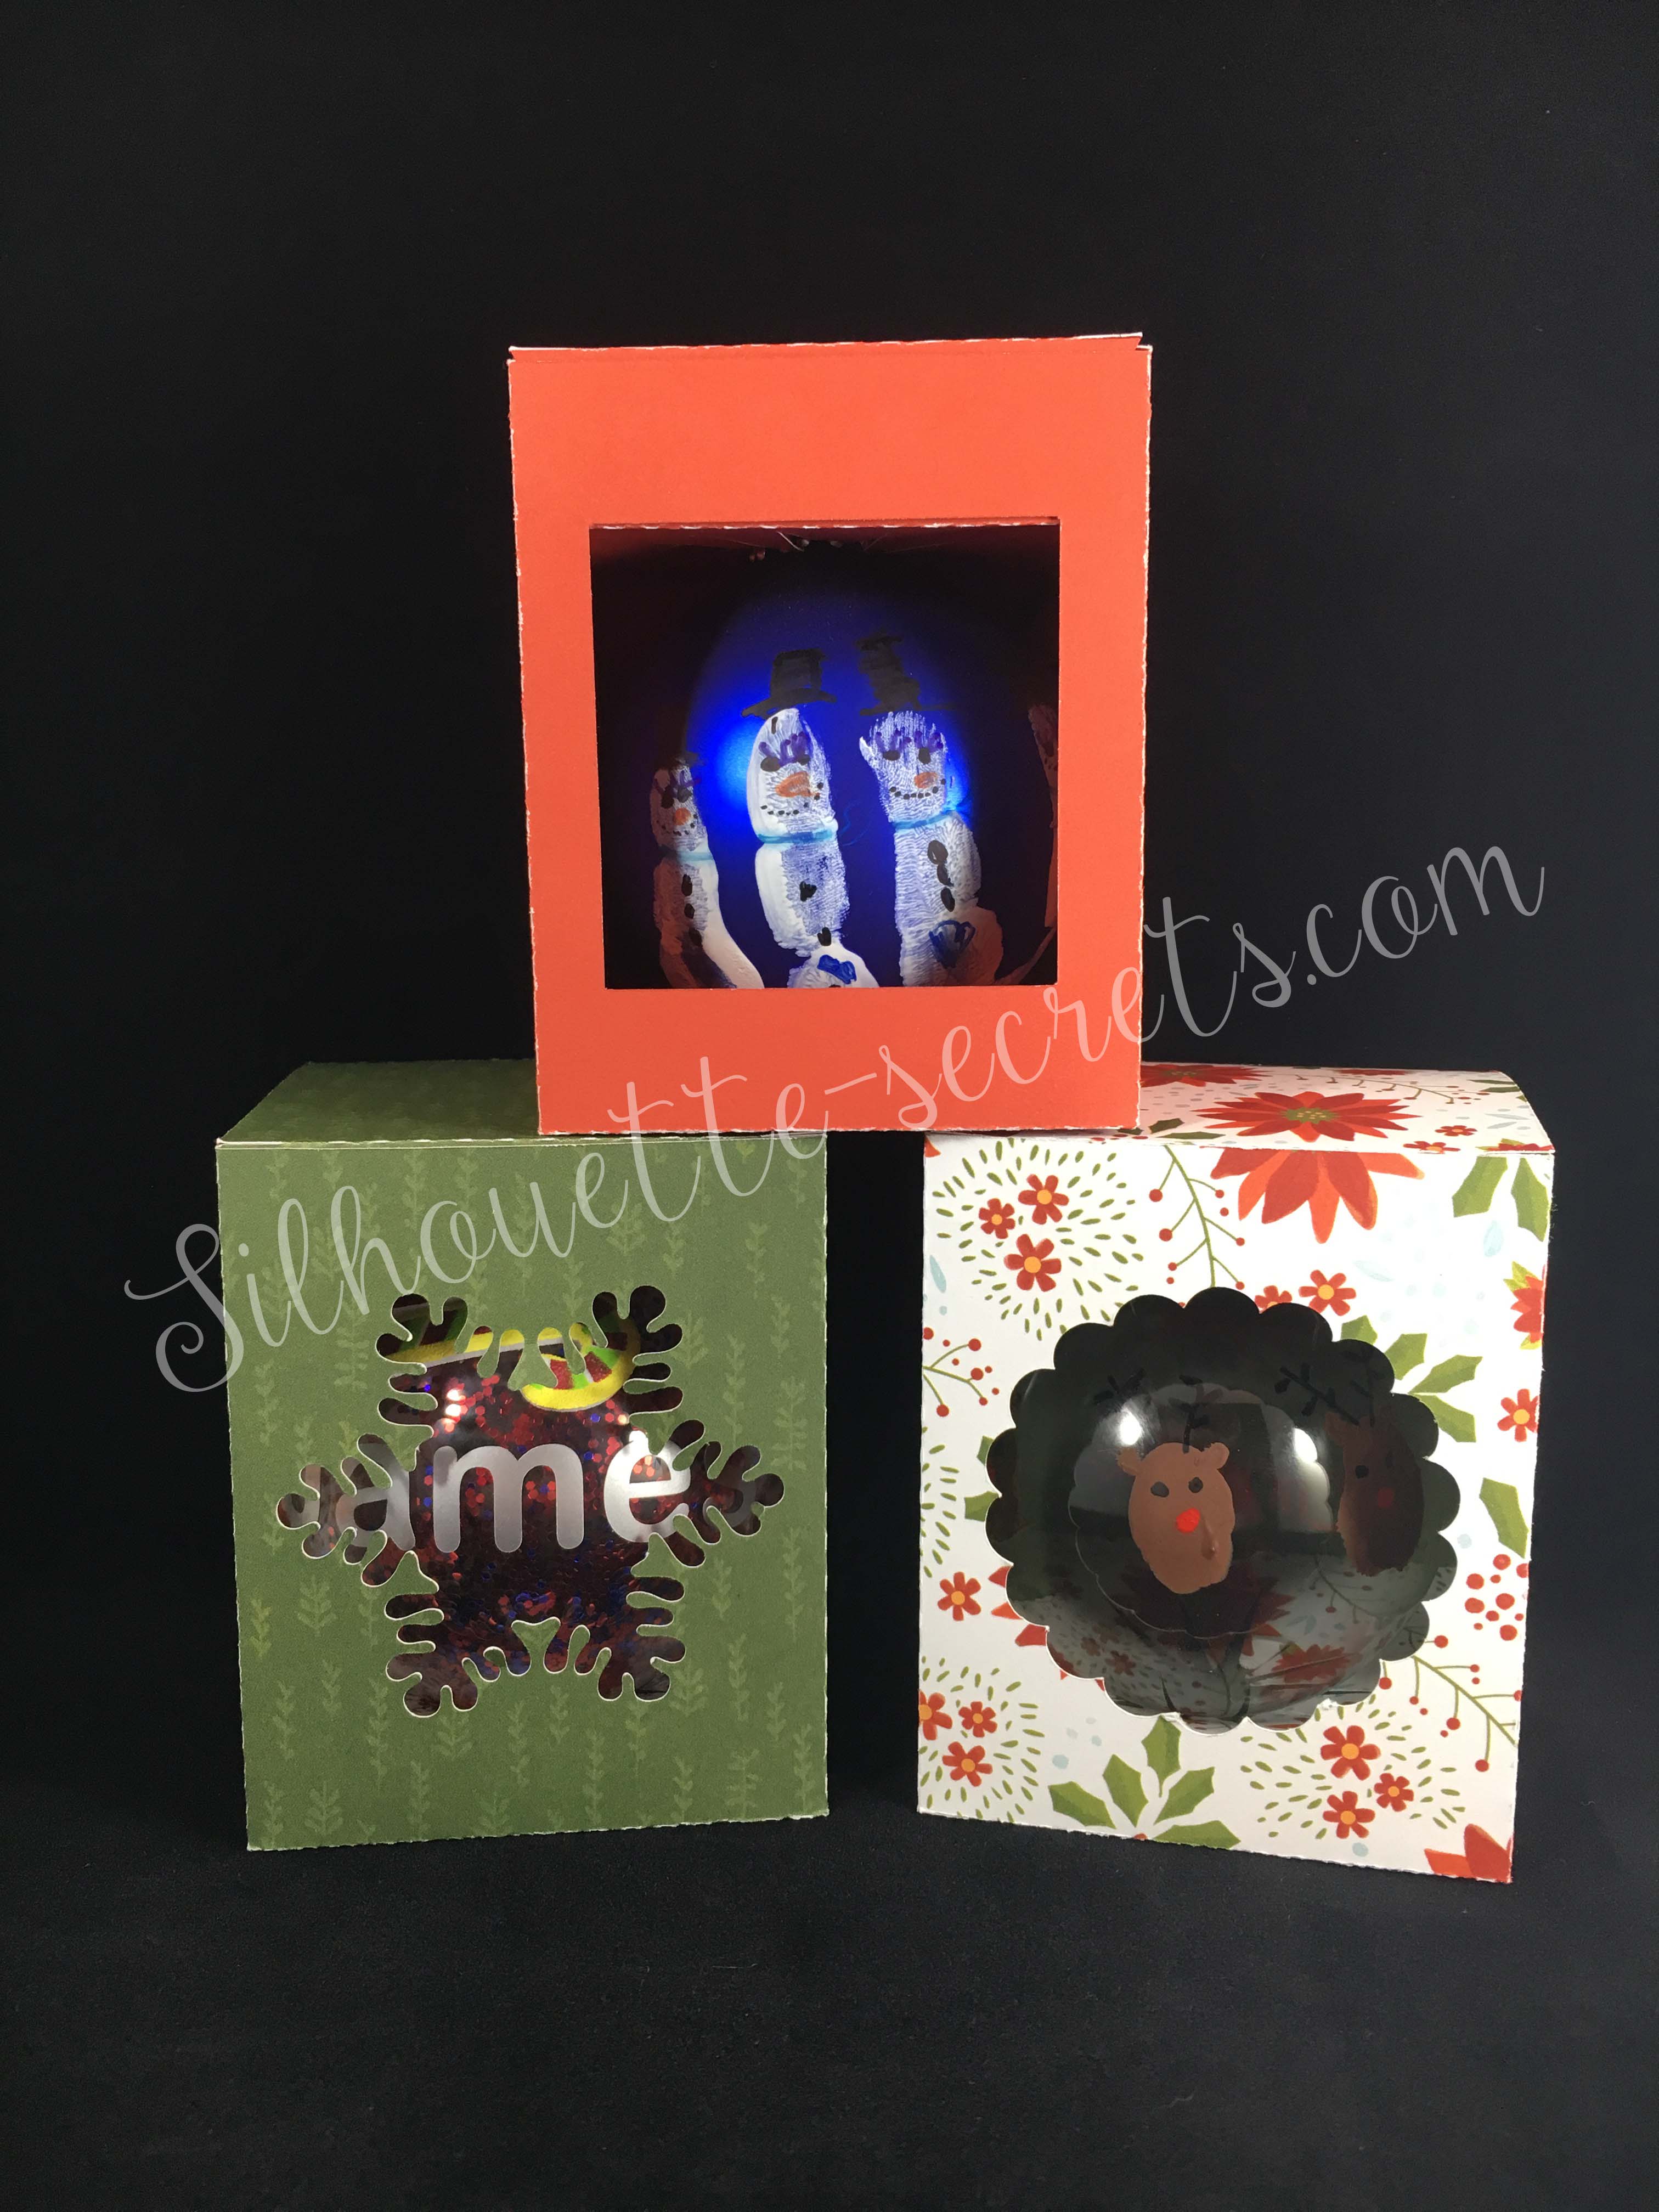
Above is the Scallop Ornament box by Samantha Walker. The Silhouette Design Store has many different styles of ornament boxes – find more HERE.
Now, what did I do….. I moved my design up a bit on my page & then go to my Send tab panel and select my Cut settings. That’s it – so simple!!!

I chose Textured cardstock as my material (I cut almost all cardstock on this setting with great results), set my blade depth and click Test Cut. Yes, Test Cut!…. this cuts a small square with a triangle out of the center of it and let me tell you, it will save you so much material!!! If it doesn’t cut correctly, you can make adjustments to your settings or blade depth before you cut the entire design.

After you have cut your design out, flip your mat over and peel your mat away from your material. This is a good practice to get in to for many reasons. I find that it helps my paper not to curl as bad and it also helps keep the adhesive on the mat longer. If you pull your paper or vinyl off the mat, it can bring up some of that adhesive with it.

On my second box, shown on the left, I noticed that my blade was not getting a crisp cut. Normally, I would recut this, but since I’m cutting for the purpose of my own storage box, I left it. However, I knew exactly how to fix it. A new cutting mat! Yes, as easy as that. The mat I was using with the one on the left (green) was well used and even though it felt sticky enough, if that cardstock moves even just a little bit, it can make your blade tear the cardstock. So when I went to cut my 3rd box, I pulled out a new mat and look at the difference on the right side (red). I changed nothing else, except using a new mat and it made such a better crisp cut. If you are having cutting issues and your mat is well used, even if you think it’s sticky enough, just try it – get a new mat out and see what the difference is. I do de-stick my mat a bit when I first open it by applying it to a clean cotton t-shirt a time or two before I stick my cardstock down on it.
If you are looking for a new mat or other Silhouette supplies, check out the prices at Swing Design – I always price check there first and they usually have the best prices. Plus, free shipping on orders over $35.

Above are all the pieces of this box….. 3 – yes 3! And do you know what is even better? There is only 1 tab that needs to be glued together. It’s so simple and a great project for a beginner.

I am a big fan of this liquid adhesive called Liquid Glass for any 3-D project. It is made by a company called Close to My Heart who is a papercraft & stamping company. I find just a little amount of the glue goes a long way and then I hold it together for the count of 10 and it’s stuck pretty good. You can find it HERE on my website.


Now, I purchased both the Scalloped box and the Snowflake box and here are my completed boxes cut with the same double sided paper. I used the Beary Christmas paper from the Close to My Heart Holiday Expressions catalog. This expired tonight at midnight, so grab it quick – available while supplies last!

And then I needed a 3rd box, so I decided to ungroup the original design, draw a rectangle that was the same dimensions as the snowflake and put that in for my 3rd box. This could be done with any shape that you would like to use. You can mix and match designs to your liking, but do keep in mind that it is the original creators file that you have used as your base.
And there you have it….. 1 cut, 1 tab glued and fold the box together. So simple!
There is a big sale going on in the Silhouette Design store right now, so pop on other there to grab this and so many others for 50% off.

I hope you enjoy your last evening in 2017 and I look forward to bringing you lots of new things in 2018!
Enjoy !
THANK YOU for your support! How can you help? Click HERE & buy a coffee. Every little bit helps with the cost of running the site.
Looking for more in-depth, step-by-step classes, check out all of my online Silhouette classes on my Teachable site HERE.

**This post may contain affiliate links. What that means is that I may receive compensation if you purchase through the links I have provided. The price you pay for the product or service is not higher but I may get compensated for sharing.
Discover more from Silhouette Secrets-Swift Creek Customs
Subscribe to get the latest posts sent to your email.


