
I do not usually get in to the painted sign projects, but I needed a bit of kitchen decor and thought I would make one. You may be asking…. “Well, why doesn’t she paint signs?”
Well, I know I can do it and my hubby has a shop full of woodworking tools. But, honestly, it takes too long for me…. I like to slap a vinyl decal on something & call it good. That is what works for me.
I found the images here at The Mountain View Cottage’s blog.
I do want to note that these files are for personal use only and using them to sell items you make is illegal. The designer has provided the free printable files for personal use only and I ask that you keep that in mind when using. You can find out more information on Personal Use vs Commercial Use licenses on Cutting For Business‘ blog, which is a great resource.
Now on to how I did it. First, I pulled the printable file in to the Silhouette Studio program. It was a PDF file and in order to open that file type you need to have the Designer Edition Upgrade or higher of the Studio program. When I opened the PDF, I chose the option to import “As an image”.Next, was to trace my images. Since these were black printable files, they traced really nicely. I am using Silhouette Studio v4.1.201 and chose the Trace Panel on the right side of the Studio.

Then you choose “Select Trace Area” and draw a rectangle around your object. Your object will then turn yellow and you want it to be as solid yellow where ever you want it to trace. For some objects, you may need to play with the settings in the Trace Panel to get the highest level possible for a good trace. I then clicked on the Trace option at the bottom of the Trace Panel.

There are 3 Trace options at the bottom and the one I use the most is the top trace button that has the inner & outer butterfly shape. It will trace around the areas that have yellow on them, inside and outside of the object.
Once I had all of my objects traced, I then click on them to Select and use the Fill Color Panel to fill them all with color. This helps to visualize your design and makes it easier to move them around the software. I then measured my board and decided how big I wanted to make the design.

I decide to give it a go cutting my vinyl without a mat. This is one of the perks of using a Silhouette machine, you do not have to use a mat if you are cutting a material that has a backing attached, such as adhesive vinyl or HTV. One thing to note when you are cutting without a mat is that you cannot cut as wide as you can with a mat. If you look at my photo above you can make out my red cut border around the edge of the white area, this is the software telling me it will not cut outside of that range. If you have a piece of 12″ vinyl, then it will take about 1/2″ of cutting area off of each side. You will also notice that it starts the cutting area on the edge of the vinyl on the left where the arrow is, this means it will start cutting almost immediately on your vinyl if that is where your image is. This differs from using a mat because the machine has to account for the edges around the grid area on the mat. So it makes a big difference if you tell the software you are cutting with or without a mat. You will also notice the Cut border on the right side of the design ends about an inch before my page size ends. This is the software telling me that it will stop cutting before it reaches the end of my material because the machine needs the space to grip the material & keep it in the machine.
Now, I will tell you that I highly recommend using a mat when you can for several reasons. The mat provides support for your material and gives it a solid surface to use when cutting. It also helps to hold your vinyl in place and there is less of a chance that it will move around and ruin your cut. However, the Silhouette does give you the ability to cut without a mat and it is a great feature, especially if you are cutting a lot of decals at once or one long decal. This ability to cut up to 10′ long sets it apart from other cutting machines.
On my Cameo 3, I needed to move my right roller in to the left just a bit to grip the vinyl. To do this, you unlock your roller and move it and then make sure to lock it back in place. The lock on the roller is very hard to see and is right next to the white roller, you twist to lock it back in. If you do not, then your vinyl will slide all over the place. You then line your vinyl up with the blue line & arrows on the left side and press load. After it cut, I then weeded out the parts of my design that would be my stencil and applied transfer paper.

I painted my board with Black Chalkboard paint from my stash and let it dry a full 24 hours…. again, this is why I say I don’t paint boards often….. time involved.. watching paint dry. While it dried, I gathered my supplies and worked on other projects.

I then applied my stencil using the hinged method, so I could get it as straight as I possibly could and not have it shift during application since it was so large.

After I applied my stencil, it occurred to me that using black vinyl as a stencil on a black board was probably not the best idea. But, you go with it at this point. I then added a border of painters tape around the edges of my vinyl and board, so I would not accidentally paint an area I didn’t want to.

I then sponged on my DecoArt Chalky Finish white paint. And let it dry for a couple hours. I had read a lot of posts that said to peel your stencil off while it was still wet, so I just kept coming back to check on it. You don’t want to do it while it’s too wet or it will smear and if you wait too long, then the vinyl could peel up more paint than you want.

Now, after removing my big piece of stencil, came the task of weeding out all the little pieces inside of each animal……

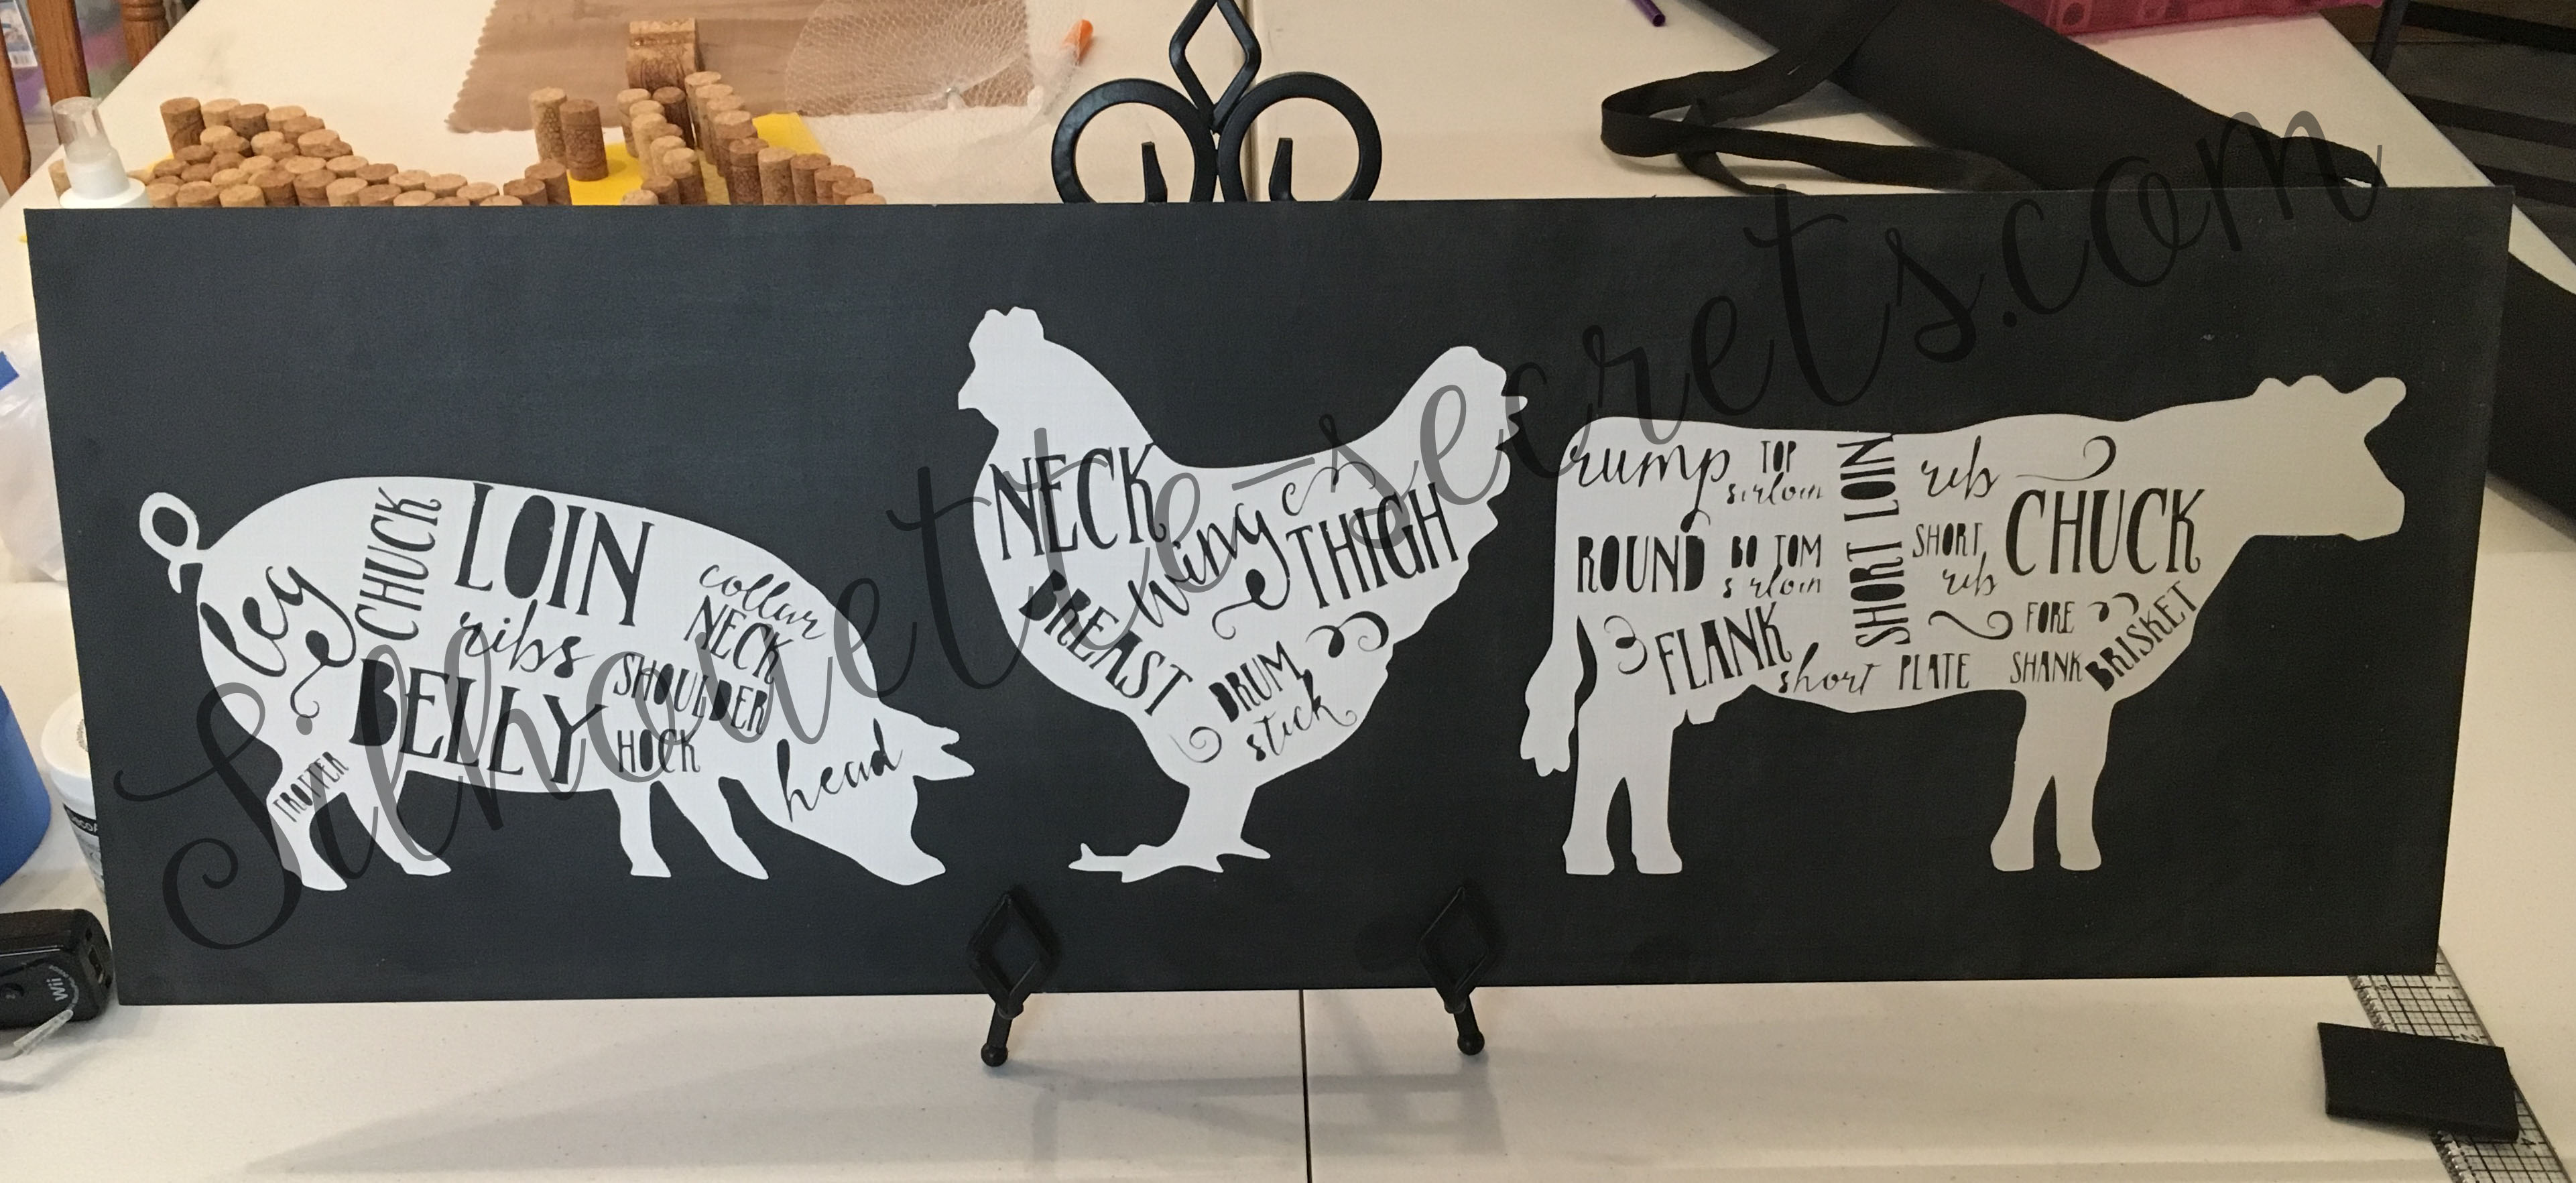
After I finished weeding out the inner pieces of vinyl, I let the entire piece dry for a good 48 hours. Once dry, I took a white piece of chalk and turned it sideways and “seasoned” the entire board to make it look more realistic.

And here is my finished kitchen decor board… well, almost finished. It still needs a frame, which will require more time.

The supplies I used for this project are:
Silhouette Studio Designer Edition software Cameo 3 cutting machine Oracal vinyl Transfer paper a board from my husband’s woodshop Craftsmart Black chalkboard paint from craft store DecoArt White Americana Decor Chalky Finish in white from craft store White Chalk
I am happy with how this sign turned out for my kitchen. The end result was exactly what I wanted, but it was no simple, quick project.
While I know that painting wood signs is not my preferred method…… I still encourage you to try a project out at least once. I may not paint a new sign every week, but I may have a few more in my future.
Enjoy !
THANK YOU for your support! How can you help? Click HERE & buy a coffee. Every little bit helps with the cost of running the site.
Looking for more in-depth, step-by-step classes, check out all of my online Silhouette classes on my Teachable site HERE.

**This post may contain affiliate links. What that means is that I may receive compensation if you purchase through the links I have provided. The price you pay for the product or service is not higher but I may get compensated for sharing.
Discover more from Silhouette Secrets-Swift Creek Customs
Subscribe to get the latest posts sent to your email.


