
I am so glad I added a sublimation printer into my craft studio!
It can be an investment and while I don’t use it daily, it does come in handy. Especially for gifts!
If you are not familiar with the sublimation process, I have several tutorials on the website HERE that explain it more in-depth. But in reality, it basically is creating the design, printing, and pressing that design to the blank or substrate.
Flat objects are much easier to press on than curved surfaces, but as with everything, it all just takes practice!

Sublimation does require special equipment such as a sublimation printer, paper, ink, and blanks that are all made for this process. But, it can also be a great way to add graphics that are difficult to cut with a cutting machine to objects for customization.
Affiliate links may be present in the following blog post and as an Amazon Associate I earn from qualifying purchases.
Sublimation Supplies
Epson F-170 Sublimation Printer
Epson Sublimation Inks
Sublimation Paper
Sublimation Coffee Mugs
Parchment Paper
Silicone Wraps
Alcohol Swab
Lint Roller
Heat Tape
Sublimation oven/Convection Oven
*dedicated for sublimation, not food
Optional: Paper Trimmer, heat safe gloves, heat safe protective mat
Sublimation with Silhouette Tutorial
The part that takes me the longest is deciding on a design.
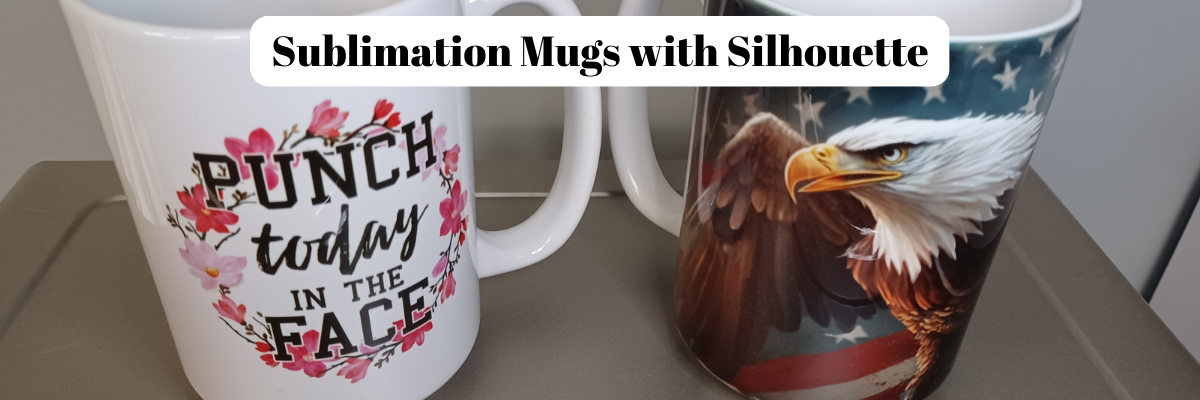
I finally chose a design from the Funny Sublimation Bundle by SVG Cuttables found HERE
and Eagle, American Flag, Patriotic Sublimation Wrap by SunDesign found HERE
Once I’ve decided on the design, I measure the coffee mugs to see how much space I have to work with.

Then I draw a basic shape in the Silhouette Studio software to create a “template” to design within.

If I have extra space on the page, I’ll try to fill it up with another design. But, sometimes that takes me too long to decide on what I want to print, so I just go ahead and get my project started.
In this case, I tried to print a couple pen wrap designs. That didn’t work out in the end as my pen template wasn’t quite long enough, but it was worth a shot.

I printed the design pages through my Epson F170 Sublimation printer.

Then I trimmed them down to size with my paper trimmer.

Next, I cleaned the mugs first with an alcohol swab to get any oils, dust, or debris off. Dust or debris can cause discoloration and odd spots on the finished project.

Then I clean with a lint roller for any fibers. Most times, you cannot see these fibers until after an object has been pressed, which can affect your final outcome.

Once it’s clean, I try not to touch the outside of the mug or blank, so there is no debris or oils transferred. Once it’s completely dry, I wrap or place the design on the mug and secure with heat tape.
Make sure to get it secure on the mug and as centered as you can.
Sublimation is permanent.

Next, I grab a piece of parchment paper and wrap it around the cup and then secure the Silicone Mug Wrap around it.

The parchment paper is very important otherwise the ink can transfer to your silicone wrap. That ink could transfer to a future project. I ended up ordering a 2nd set because I didn’t think to protect my first 15 oz wrap and it now has ink on it.
I preheated the Oster oven I have to 400 degrees. Once preheated, I carefully placed the mugs inside for 12 minutes. Make sure to check your specific sublimation mugs for the time and temperature that you should use.
Once the time was up, I carefully removed them with heat safe gloves and set it on my heat safe protective mat to cool.
Once cool enough to handle, I removed the sublimation paper and heat tape to reveal the design.

And they were ready to mail to my folks.
Unfortunately, the eagle mug did not make it to Montana in one piece. I had saved my file in the Silhouette Studio software and all I had to do was print and press again.
Now to get it in the mail and hopefully this time it arrives safely.
It took me longer to write out this post than it did to make the actual project.
I am loving having all the options. I do find that I still need to print from my Epson F170 printer at least every couple weeks or I end up having to do a print head cleaning. Sublimation ink is different than inkjet inks and if left too long without use the printer lines can get clogged up.
Hope this has given you some ideas of the possibilities with a sublimation printer and how easy it can be.
Save this for future reference by pinning the image below.

Enjoy !
THANK YOU for your support! How can you help? Click HERE & buy a coffee.
Every little bit helps with the cost of running the site.
Looking for more in-depth, step-by-step classes, check out all of my online Silhouette classes on my Teachable site HERE.

**This post may contain affiliate links. What that means is that I may receive compensation if you purchase through the links I have provided. The price you pay for the product or service is not higher but I may get compensated for sharing.
Discover more from Silhouette Secrets-Swift Creek Customs
Subscribe to get the latest posts sent to your email.


