The Silhouette Cameo Pro MK II opens up a whole new world of possibilities for makers who love working on a larger scale. From oversized decals and statement wall designs to banners, signage, and long-format heat transfer vinyl projects, this machine is built to handle it all—but success with long cuts comes down to more than just size. In this deep dive tutorial, you’ll discover practical, real-world techniques that help you get smoother feeds, more accurate alignment, and consistently clean cuts across extended lengths of vinyl.
Inside this post, you’ll find a quick breakdown of the key strategies covered in the full video, along with actionable tips you can start using right away. These insights are designed to help reduce common issues like material shifting, tracking errors, and uneven cutting—so your larger projects feel just as manageable as smaller ones. Whether you’re brand new to the Cameo Pro MK II or looking to refine your workflow, this guide will help you cut with more confidence and control on every long-format project.
Affiliate links may be present in the following blog post and as an Amazon Associate, I earn from qualifying purchases.
Watch the full deep dive video below and see a quick nutshell of tips below.
Tips for Success in a Nutshell – Cameo Pro MK II
Do you really need to cut 10 feet of material at one time?
If the design is one long design, then maybe yes. But, if it’s a bunch of designs, cutting it in smaller chunks can be more successful and less wasted materials and time in the long run.
Make sure the leading edge of the material is completely straight.
Set yourself up for success from the start. If the leading edge is crooked or uneven, then it will have a greater chance of failure because it will be more difficult to load straight.
Here is a look at my vinyl roll before I started. High rate of failure trying to use an uneven edge like this.

I have a large self healing sewing mat and use a rotary cutter with an acrylic ruler to straighten out my vinyl edge.

Silhouette Cameo Pro models do not like bulk rolls.
Bulk rolls can be very heavy and not easy to pull the vinyl off of.
Silhouette Roll Feeder Setup Properly
Make sure the roll is properly set up in the roll feeder on the front of the machine and is secure and moving freely.
Adjust the roll feeder screws to accommodate different roll thicknesses, but the vinyl should always sit on top of the roller of the roll feeder and roll freely. The roll should not be down in the roll feeder or resting on the table top inside the roll feeder.
The photo below shows improper setup of the roll feeder for this size of a roll. It is sitting down in the roll feeder and not on top of the rollers of the feeder.

Adjust the screws and lengthen the roller support as needed to fully support the size roll being used.

For best results, always use the roll feeder stability bar. If the material roll hits the stability bar, then the roll is too big and can have issues with feeding properly.
Fully Support Vinyl the Full Length in front and behind the machine.
Vinyl that is hanging off a table is working against gravity to pull up and into the machine.
Load Material Properly
The line on the far left of the Silhouette Cameo Pro MK II is for use with a 24″ cutting mat. The line on the right side that the arrow points to is for all other widths of materials or mats.

The left edge of the material should be next to the proper load line and the left roller completely on the material.

The right roller should be securely on the right edge of the material and in a location it can be locked in place.

Listen to Your Machine When Loading Materials
You will be able to hear it more than see it if the material catches on something as it is loading. There are multiple areas where materials can get hung up in the machine such as the bottom roller bar, the channel in front of the cutting strip, and the channel on the cross cutter on the backside of the machine.
Materials catching can affect the feed and if the vinyl is loaded straight. Crooked vinyl from the start will only get worse the greater distance it goes into the machine.
Settings that Affect the Feed in Silhouette Studio
On the Send tab in the Silhouette software, click on the gear icon in the bottom right corner. If you are having issues with feed and cutting specific designs, try adjusting the Cut Order Sorting settings to see if it helps.

Feed the Vinyl Through the Machine for the Full Length
This can help identify if there are going to be any issues before you even put the blade in to cut. It can save you time and money in materials by doing this.
If you continue to have issues with a material catching in the machine, feed in 4″+ to advance the leading edge of the material past all of the areas it may be catching on. 4″ of material can save you time and material in the long run. Use that 4″ for scrap later for other projects.
Test Cut, Test Cut, Test Cut!!!
Cut settings that are too deep can affect the feed and whether the cuts will connect and complete. It will save a lot of materials, time, and money
Get Extra Vinyl
It’s always a good idea to have extra vinyl on hand for any mistakes or errors, especially if working on a deadline.
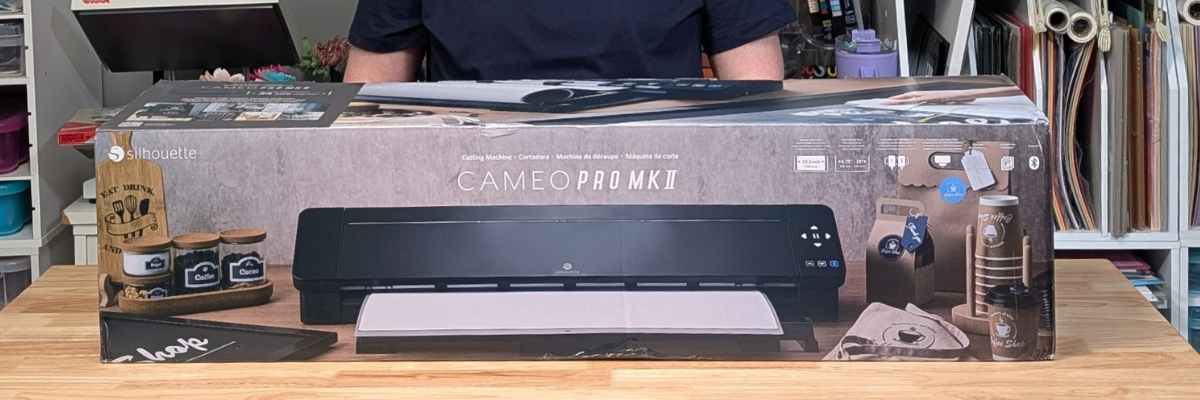
I share additional tips in the Silhouette Cameo Pro Unboxing as well.
- Silhouette Cameo Pro MK II Unboxing blog post with photos & tips
- Silhouette Cameo Pro MK II Unboxing video
Save this for future reference by pinning the image below.

Enjoy !
THANK YOU for your support! How can you help? Click HERE & buy a coffee.
Every little bit helps with the cost of running the site.
Silhouette Classes
Never stop learning! Let me help you take the anxiety out of learning with Silhouette and get to creating faster! My Silhouette classes are heavily focused on software, so you can take the skills & techniques taught and apply them to many future projects!