
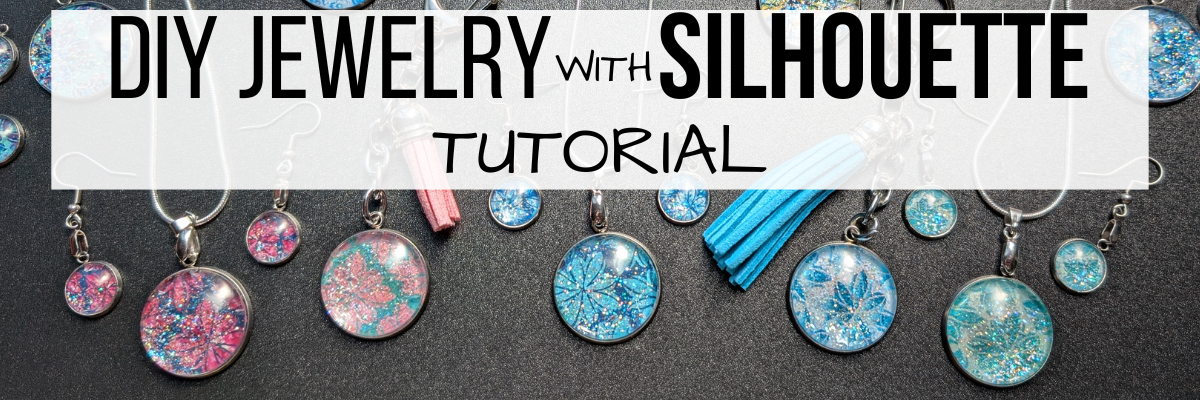

Jewelry making just got a whole lot more creative! In this tutorial, I’ll show you how to design and create dazzling custom jewelry pieces — perfect for pendants, earrings, bag tags, keychains, and more — using Silhouette with stencil designs and a variety of patterns. From selecting your supplies to following step-by-step instructions, you’ll learn how to turn simple materials into stunning, personalized accessories that sparkle. Whether you’re making gifts or adding a touch of charm to your own style, this project is a fun way to blend creativity, craftsmanship, and a little bit of shimmer.
Scroll down for the full tutorial, or check out the video version for a closer look! You can also download the printable supply list and step-by-step instructions PDF to craft along at your own pace.
- Sparkle and Shine: DIY Custom Jewelry with Silhouette | Make Custom Pendants, Earrings & Bag Tags Video Tutorial available HERE
Affiliate links may be present in the following blog post and as an Amazon Associate, I earn from qualifying purchases.

DIY Custom Jewelry Supplies
- Silhouette cutting machine
- Silhouette Studio Software
- Silhouette Autoblade
- Epson Presentation Paper – Matte
- Printer: Canon TS9521C
- Bezel Pendant Trays Blanks 25 mm (larger)
- Bezel Pendant Tray Blanks (smaller)
- Mod Podge Sparkle
- E6000 adhesive
- Craft stick
- Foam Brush or small paint brush
- Silicone Mat
- Stencil design or other design style: Hand Carved flower stencil by Kassy’s Parlour
- Digital Patterns as desired
Steps to Create Custom Jewelry with Silhouette
*Tutorial written in Silhouette Studio version 4.5.812
Blog post is photo heavy
Open the Silhouette Studio software and set the page size/media size to Letter or whatever size you are printing on.

Open the Registration Marks Panel and turn on the registration marks for print and cut. Click the Restore Defaults button to reset the defaults for your most accurate print and cut results.

Save the file using File > Save and select a location on your hard drive to keep your work safe.
Measure the jewelry blanks to know what size to create the design at.
In Silhouette Studio, using the Drawing Tools on the left, select the Draw Ellipse tool, hold down the Shift key and draw a circle. This will create a perfect circle.

Using the Scale Tools, adjust the size of the circle to the size of the jewelry measurement. I adjusted the circle to 1″.
Since I am filling the circle with a pattern and colors, I made an offset to create a manual print bleed. This ensures that exact size I need for the pendant is cut, it will not have white edges on it. I have no issues with print and cut using Silhouette as I follow the same steps every single time. However, it is one of the most common issues we see with troubleshooting with users and it’s usually due to something in the setup.
Silhouette has a 1/16″ off cut that is within the normal range of accuracy with the machines. Adding your own “print bleed” is just another way you can ensure success with your project turning out how you like it. There is also an automatic print bleed option in the Silhouette software, but it doesn’t always yield the look you want.
Open the Offset Panel. Select Offset and adjust the distance of the offset as desired. Set yourself up for success with this keeping in mind that 1/16″ off cut possibility. I used an offset of 0.110″. There is no magic number here and it can vary for all projects.

Open the stencil design. I am using a Hand Carved flower stencil by Kassy’s Parlour . The steps taken here may vary depending on the design you choose to work with.

In order to fill the design with color, the design needs to be a cut file. If using an image file such as a png or jpeg, then you would need to trace the design to get “cut” lines to fill in certain areas with color.
For this design, first change the fill color to transparent. This makes the next steps easier to work with.
- Right click and choose Release Compound Path.
- Move the outer line away.
- Left click and drag across all the remaining pieces to select all, then right click, and choose Make Compound Path.
- Add a fill color back to the design to see how it looks.
Again, these steps may vary depending on the design you are working with. If you want to follow my exact steps, I’d recommend grabbing the Hand Carved flower stencil by Kassy’s Parlour so you are working with the exact file I’m using.

Copy and paste the stencil file to the print and cut project mat. Using the corner bounding box, scale the design down to fit within the circle offset and position as desired. Right click on the stencil design and choose Send to Back. Select everything and make a copy. Then save the file.

I actually made 2 copies and pulled the stencil design away so you could see it on the left side. The copies will come in handy in the next steps.
On the original design, hold the Shift key down and select the circle offset and the stencil design by clicking on them. Open the Modify Panel on the right side and select Crop. Now the design is cropped to the offset circle.

Once Crop is selected, it will break all the pieces of the stencil design apart. Make sure to Group the pieces back together. I use Ctrl+G to group as the keyboard shortcut.
Also, when using the Crop tool, the outer offset circle is now gone. This is where the copies come in handy. Make a copy of the offset circle from the left side and move it onto the design mat. Select the new offset circle, the cropped stencil design and the original circle; then use the Align tools to Center it together.

Make a copy of this completed design and pull it off to the left side. Then save the file.
If the wrong circle was selected when using Crop, simply use the Undo feature and go back to start again.
For this design, since we created our own print bleed, we only need to cut the inside circle and not the offset or the stencil design. Hold the Shift key down and click on the offset circle and stencil design to select them, then click on the Send tab and choose No Cut. This will turn the cut line off for the offset & stencil design. You can do this step at the end of the process too, however, if you remember before you make copies, then it can be a little bit easier.

Now it is ready to start filling it with a pattern and colors. If you want to use different patterns and background colors, make additional copies and space across the page.
I am using patterns from the Silhouette library. These are mostly files I’ve purchased from the Silhouette Design Store over the years and I have quite the collection. You can add your own patterns to the Silhouette library Patterns folder, however, I do caution users on doing so as patterns can be large files and quickly eat up storage space in your Silhouette cloud storage. I typically use the drag and drop method for bringing in patterns from an outside location. More details on Pattern Fill HERE.
Select the stencil design on the first one. Then either open the Library tab or click on the Show/Hide Library icon in the bottom left corner. Show/Hide Library will do a split screen of the Silhouette Library which can sometimes be easier when designing and less flipping back and forth on the screen.

Select the Patterns Folder in the Silhouette library on the left side and then choose a pattern. This will fill the selected object on the design mat with that pattern.

When working in the split screen, you can adjust the sections on the library if needed. This will depend on the computer screen size you are working on. Move the mouse cursor over the line the arrow points to above and then you will see a slider double arrow cursor to adjust the sections to see more of the pattern fill library. To go back to the full screen Design tab, simply click on the Show/Hide Library icon again and it will close.
Repeat this process for all the additional designs. I used a variety of different patterns for my pendants. Sometimes you really don’t know how it will print out and you may like some better than others once printed.
If you want to adjust the patterns further, open the Fill Color Panel – Tab 3 and you have additional options to Scale, Pan, Rotate, etc.

For the backgrounds, I chose to pull a color from each pattern and use that as the background color. Select the offset circle, then open the Fill Color Panel – Tab 1 and using the eyedropper tool, select a color from within the pattern. It may help to zoom in on the design to select the color you want.

If the colored circle covers the design, as shown above, right click and choose Send to Back. This happens because we made a copy of the offset and added it on top of the design and we need to reorder it.
If you don’t like the color, simply repeat the steps and select another color until you find one you like. Repeat these steps for all of the designs.

You can also use the Custom Color slider in the bottom of the Fill Color Panel to move the dot around to change the color to different shades of the color palette or even enter a HEX code at the bottom too.
I chose to print 2 copies of each pattern so I could make different projects with each or if I messed one up, I had a spare.

Continue to fill the page as desired. When the page is full, click File > Print and print the page. I printed onto Epson Presentation Paper – Matte and used the high quality photo matte settings.
Here is a look at one of my design pages before I printed it.

When doing a print and cut, set yourself up for success! Here are a couple tips that can help eliminate a lot of the issues we see users have with print and cut.
- Use the default registration marks. This is where the most accurate print and cut results will occur consistently. Adjusting the marks or making them smaller increases the chance of a misread and off cut.
- Keep the design out of the crosshatched area of the design screen. This is the safety zone for the optical eye to read the registration marks. Any colors or design aspects within that crosshatched area can interfere with an accurate reading.
- Use a Silhouette cutting mat. The Silhouette machines are calibrated specifically for a Silhouette cutting mat. 3rd party mats are not typically the same page margins around the outer edges of the adhesive area and can cause issues with print and cut.
- Place the printed page in the top left corner of the adhesive area on the grid exactly as it shows on the Silhouette software screen.
- Hold the mat level or slightly elevated so the mat remains level as the registration marks are read. If the mat is hanging down in front of the machine it can cause it to bubble up in the middle between the rollers and this can affect how the registration marks are read. You can easily test this by simply loading your cutting mat and let it fall, then lift it up. You should be able to see the mat will flatten out in between the rollers when supported.
- Have good lighting and not variable lighting or shadows. We have seen users have issues with print and cut simply by the amount of light from morning to afternoon. If your room lighting changes throughout the day, it can affect print and cut results. Avoid harsh shadows as well. Shining a bright light directly at the machine can also interfere with the optical eye reading the marks correctly. Shiny materials such as glossy surfaces or holographic can also interfere with an accurate reading as well as the light bounces off the material.
Keep in mind that the optical eye is not a high level of intelligence. It is simply a laser eye that turns on and is looking for black registration marks in a very, very specific location on the page.
The machine creates it’s own light, so technically it should be able to read the marks even with the lid closed.

The Epson Presentation Paper – Matte is a lighter weight paper and I love the print quality of images on it. I will use a slightly older cutting mat for this paper and used the Copy Paper settings with a blade depth of 2.

Once the machine has done it’s magic, then I like to remove the main paper first and I can carefully go back and remove all the circles. To help with any curling on materials, I will flip my mat over and peel the mat away from the material. I have to tell myself to slow down so I don’t tear the designs sometimes too! It’s not the machines fault if I tear it getting it off the cutting mat.
Next, it’s time to add the sparkle with the Mod Podge Sparkle and a foam brush. On a safe surface, give each of the designs a good coating of the Mod Podge Sparkle and let that dry. I use a silicone mat for easy clean up.

The first ones I made, I only used one layer of Mod Podge Sparkle. The second round, I added a second layer and let that dry completely before the next step. The double layer added even more sparkle and I felt it just added a bit more to the pendants. The design on the left has one layer of Mod Podge Sparkle on it versus 2 layers as shown on the right side.

Once it’s completely dry, then I applied a thin layer of E6000 to the inside of the jewelry pendant and carefully added the design on top and spun it around a bit. This helps to spread out the adhesive evenly. Make sure all areas are secure and let the E6000 dry completely before the next steps.

Once it’s dry completely, then add a thin layer of E6000 on the top of the design and a thin layer on the backside of the pendant glass. Then apply the glass on top of the design and spin it around to spread the adhesive evenly. Press to secure it completely. If you add too much glue, then it can seep out the edges and blur on the glass globe, but you want enough to have an even thin layer between the globe and design.

Let this dry completely before adding jewelry hardware and then admire your projects.

Here are a couple close up photos of the completed projects.

Once you get started, it’s hard to stop creating.

I had so much fun creating this mess… I mean these projects! They turned out fabulous! Sometimes you just need to allow yourself to get started and see where the project will take you.
Additional Resources on the Silhouette Tools Used in this Tutorial:
- Drawing Tools
- Offset Panel
- Print Bleed
- Basic Print and Cut Setup
- Test Print Colors in Silhouette Studio
- Compound Paths
- Crop
- Pattern Fill
- More Print and Cut Resources
Save this for future reference by pinning the image below.

Enjoy !
THANK YOU for your support! How can you help? Click HERE & buy a coffee.
Every little bit helps with the cost of running the site.
Silhouette Classes
Never stop learning! Let me help you take the anxiety out of learning with Silhouette and get to creating faster! My Silhouette classes are heavily focused on software, so you can take the skills & techniques taught and apply them to many future projects!


**This post may contain affiliate links. What that means is that I may receive compensation if you purchase through the links I have provided. The price you pay for the product or service is not higher but I may get compensated for sharing.
Discover more from Silhouette Secrets-Swift Creek Customs
Subscribe to get the latest posts sent to your email.


[…] Instead of making a full bracelet this time, I made it smaller and customized it with a custom pendant using the same image that is on the book decor. Find more on creating custom pendants HERE. […]