
So I scored big time right before Christmas at Michael’s store.
I was walking by an end cap and a couple of these cookie jars, there was of course no price on them, but I was next to a price scanner, so just happened to pick them up & price them…. Well, there were on clearance!!! I purchased the one directly below for like $5 and the big ones below that were $1.99 each.
Needless to say I grabbed the 2 big ones I saw that were $1.99 and ran to the register to check out. After she had already rang me up, I asked if she could tell me if there were more in the store… I made sure to do this after, so she couldn’t change the price on me, just in case……
I had grabbed the last 2… but still – what a deal!
And of course, with my Silhouette Cameo & etching creme, nothing glass is safe!
So home I came to make some vinyl decals.
I use Oracal 631 vinyl as my stencil and never have an issue with it.
One of these was for a neighbor gift, so it took me a bit to decide on a design I liked, but once I saw this one in the Silhouette store, I knew it would fit.
You can find the Made with Love design HERE in the store.


I use Etchall creme for my projects, as that is what we used in Terri Johnson Creates hands on retreat and I love the fact that you can scrape off the excess and reuse it. So it lasts a long time.
I leave my creme on for 20 minutes or a bit longer and it always turns out great!
You can find Etchall creme HERE.
 The first one I applied the vinyl to was the one on the left in the photo above…. it was a bit trickier due to the curve and the varied size of the jar. I grumbling a bit when I went to apply the vinyl to the jar on the right and then it went on like a dream.
The biggest factor when applying your vinyl stencil to a glass item to etch is you want the edges of your design to have a great seal on them, so the etching creme doesn’t sneak up under the vinyl.
The flatter you can get the decal on your object the better, any creases are areas that the etching creme might sneak in to.
The first one I applied the vinyl to was the one on the left in the photo above…. it was a bit trickier due to the curve and the varied size of the jar. I grumbling a bit when I went to apply the vinyl to the jar on the right and then it went on like a dream.
The biggest factor when applying your vinyl stencil to a glass item to etch is you want the edges of your design to have a great seal on them, so the etching creme doesn’t sneak up under the vinyl.
The flatter you can get the decal on your object the better, any creases are areas that the etching creme might sneak in to.

 I love how they turned out but I do have to confess that after over a month of it sitting on my counter, it’s still empty…..
I don’t bake that often because then I end up eating them…..
One of these days, I’ll put something in it.
I love how they turned out but I do have to confess that after over a month of it sitting on my counter, it’s still empty…..
I don’t bake that often because then I end up eating them…..
One of these days, I’ll put something in it.
Enjoy !
THANK YOU for your support! How can you help? Click HERE & buy a coffee.
Every little bit helps with the cost of running the site.
Looking for more in-depth, step-by-step classes, check out all of my online Silhouette classes on my Teachable site HERE.
**This post may contain affiliate links. What that means is that I may receive compensation if you purchase through the links I have provided. The price you pay for the product or service is not higher but I may get compensated for sharing.

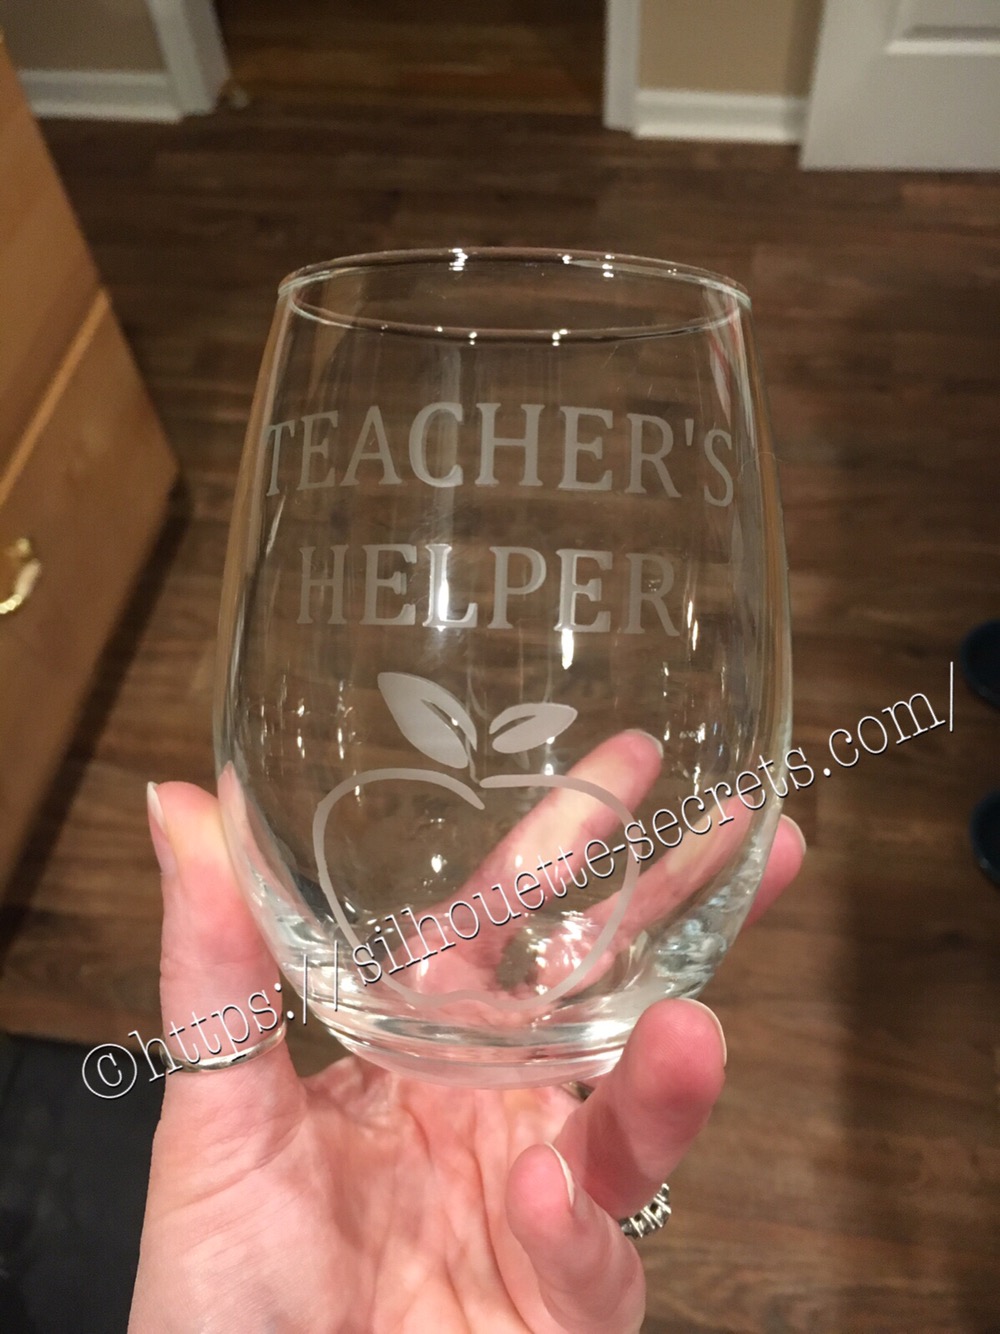
 I always pick up a new tip when I’m doing a project….


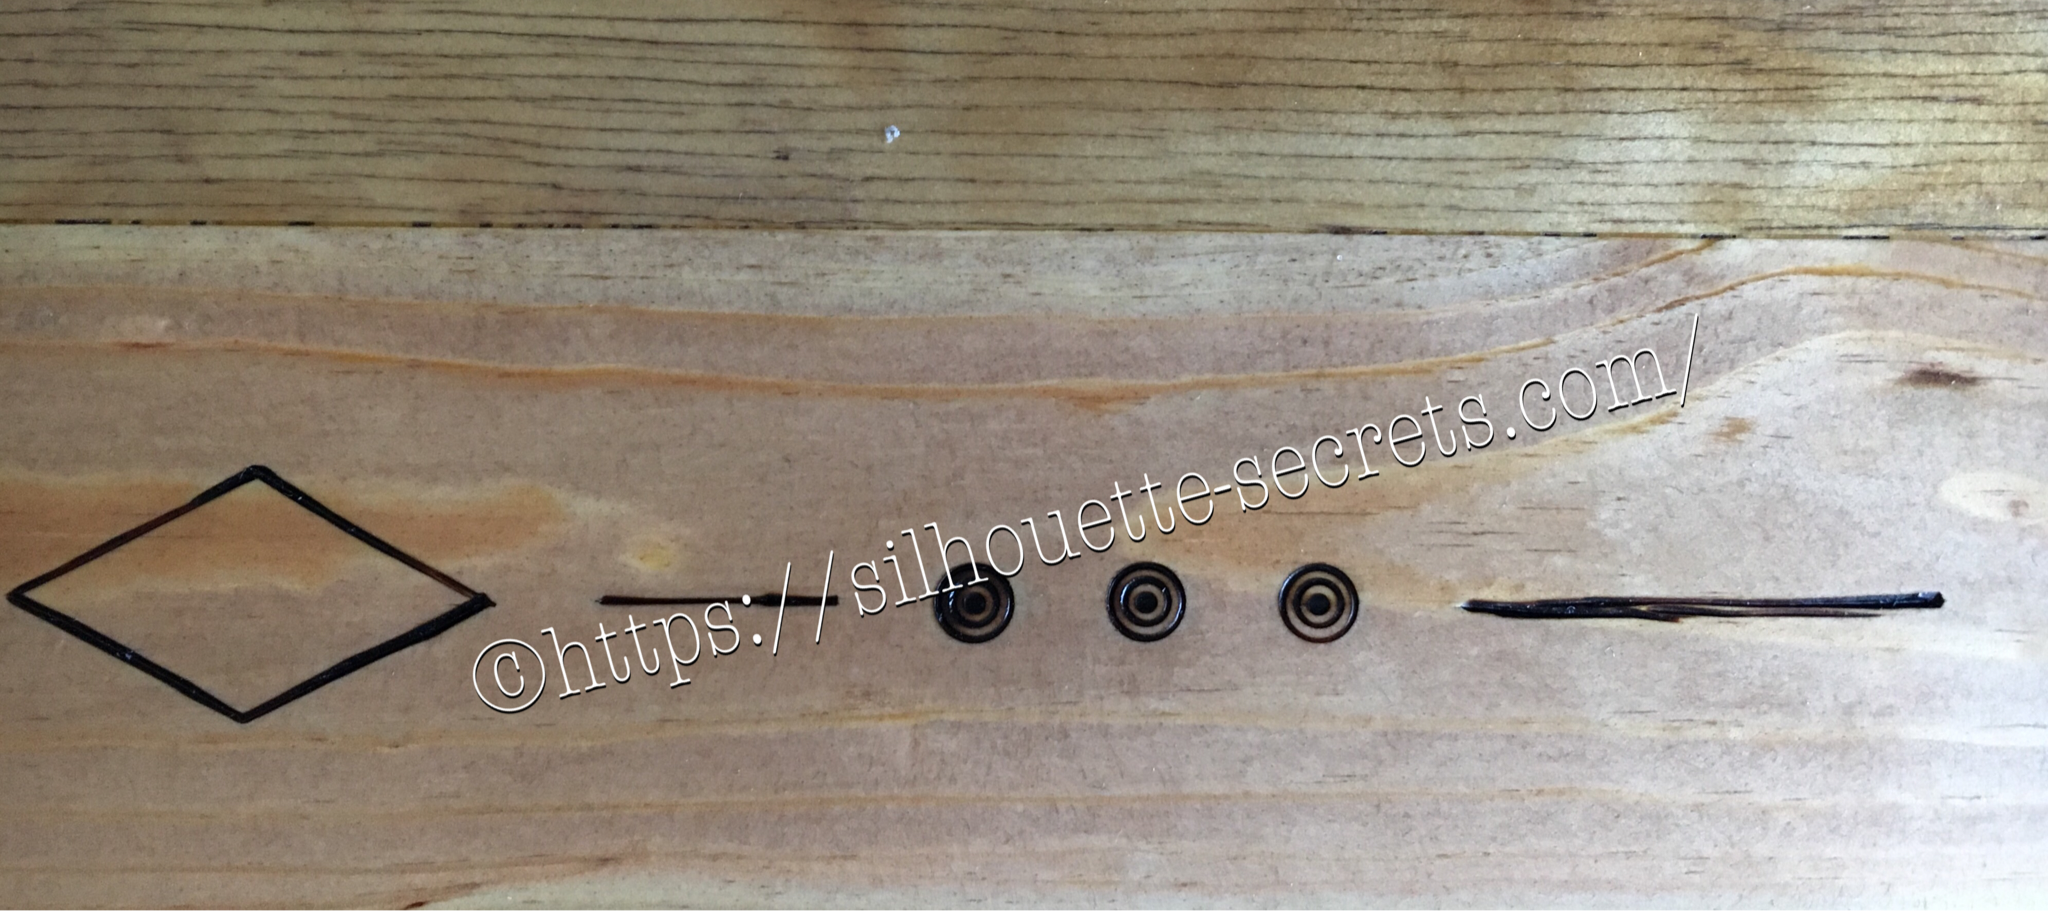
 Here is the stencil I cut out of Silhouette Chipboard for him to use.









