
I love trying new things!
Affiliate links may be present in the below and as an Amazon Associate I earn from qualifying purchases. What that means is that I may receive compensation if you purchase through the links I have provided. The price you pay for the product or service is not higher but I may get compensated for sharing.
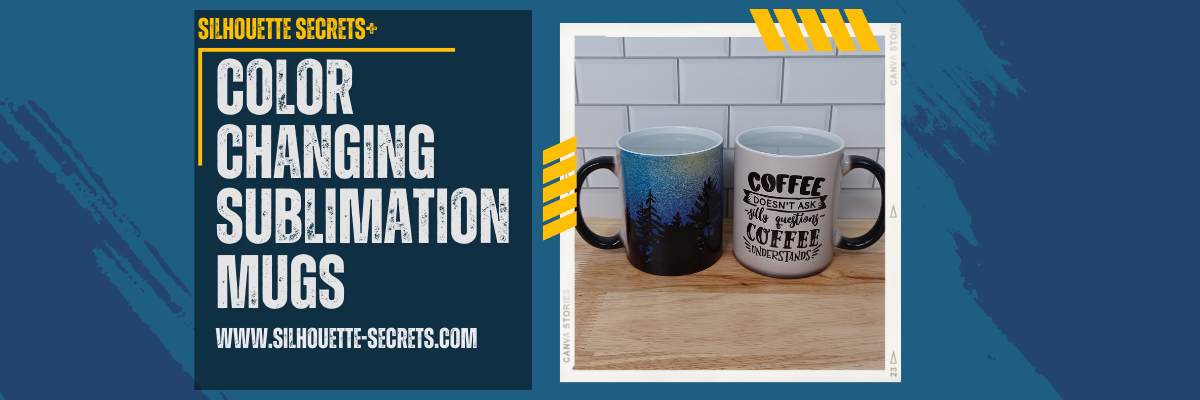
I am so excited to share this project! Well frankly, I’m excited to make myself some new coffee mugs.
I saw these color changing mugs at 143 Vinyl and knew I had to try it out.
I’ve been so excited to use my new mug press on the StarCraft 8-in-1 heat press that I’ve got all kinds of ideas!
Check out the post I did on the heat press HERE with my first project.
Note: this is a photo heavy tutorial but I also have a video tutorial on the the Silhouette Secrets+ YouTube Channel HERE too!

Let’s get started!
Measure your blanks and write down the measurements if needed.

Draw a template shape with the Drawing Tools in Silhouette Studio and adjust the height and width to match your measurements.

Select designs and scale to fit within template shape.

I used these designs:
Coffee Clipart, Sublimation, Zombie, Mombie by CuddleBunnieStudio
Funny Coffee Bundle SVG by BlackCatsMedia
Tree Night Skyline Sublimation by Enliven Designs
Chose File > Print and select the sublimation printer to print the design onto sublimation paper.

Gather all supplies needed to apply the sublimation print to the mug.

Supplies used:
– Color Changing Mugs from 143 Vinyl
– Protective Project Mat from Artesprix (optional but so worth it) – with stands up to 400 degrees F
– heat safe gloves (not pictured)
– Lint Roller
– Heat Tape
– Heat Tape Dispenser (optional but so worth it)
– Alcohol swabs
– Paper Trimmer
– Printed Sublimation Paper
– Mug Press – mine is the StarCraft 8-in-1 Heat Press
– Epson F170 Sublimation Printer
Trim design as needed. This can make it easier to handle and line up the design.

A paper trimmer is a handy tool to have in the craft room.
Clean mugs with alcohol wipe and a lint roller to remove any debris and oils.
The alcohol removes oils & dirt while the lint roller picks up fibers and debris unseen to the eye.
Fibers can cause colored specks to appear on the sublimated blank as the ink binds to those areas and is permanent on your blank.

Check the pressure on the mug press by placing the mug in it and closing before you heat the press up. This will help ensure that the pressure is right before you have the design in place.
Make any adjustments needed before it’s hot.

Securely tape the sublimation prints onto the mug.

Set the mug press time and temperature according to the recommended directions. These called for 370 degrees for 250 seconds found in the description on the 143 Vinyl website.
Wrap parchment paper (blow out) paper around the mug and carefully slide into the mug press. This will protect your mug press adapter from any sublimation ink that might “blow out” around the print.

Press for the time and temperature recommended.
Using heat safe gloves carefully remove the mug and place on a safe surface. This silicone high temperature protective mat from Artesprix is great for sublimation and keeping my workspace safe from burns.

Let the mugs cool completely on this safe surface.

Since the mug is hot, you can see that the color changed from black to white.

As the mug cools, the black color comes back. This is perfect to know when the mug is cool enough to handle and remove the sublimation print.

Waiting for it to cool can be the longest part of the process.

But the reveal is worth it…. well…. maybe.
It does say on the product description that it is a black color-changing coating (image slightly visible under coating).
Just add a hot liquid

and watch it appear!

Check out the full video tutorial video HERE.
I also want to add that the product description does state they are not microwave or dishwasher safe.
Loving my 2 new coffee mugs for my Studio area!
What new things have you tried lately?
Let us know below.
I would love to see what you are creating with your Silhouette software or machines!
Feel free to post on my Facebook group at
Silhouette Secrets with EllyMae.
Save this for future reference by pinning the image below.

Enjoy !
THANK YOU for your support! How can you help? Click HERE & buy a coffee.
Every little bit helps with the cost of running the site.
Or if you are looking for more in-depth, step-by-step classes, check out all of my online Silhouette classes on my Teachable site HERE.

**This post may contain affiliate links. What that means is that I may receive compensation if you purchase through the links I have provided. The price you pay for the product or service is not higher but I may get compensated for sharing.
Discover more from Silhouette Secrets-Swift Creek Customs
Subscribe to get the latest posts sent to your email.


