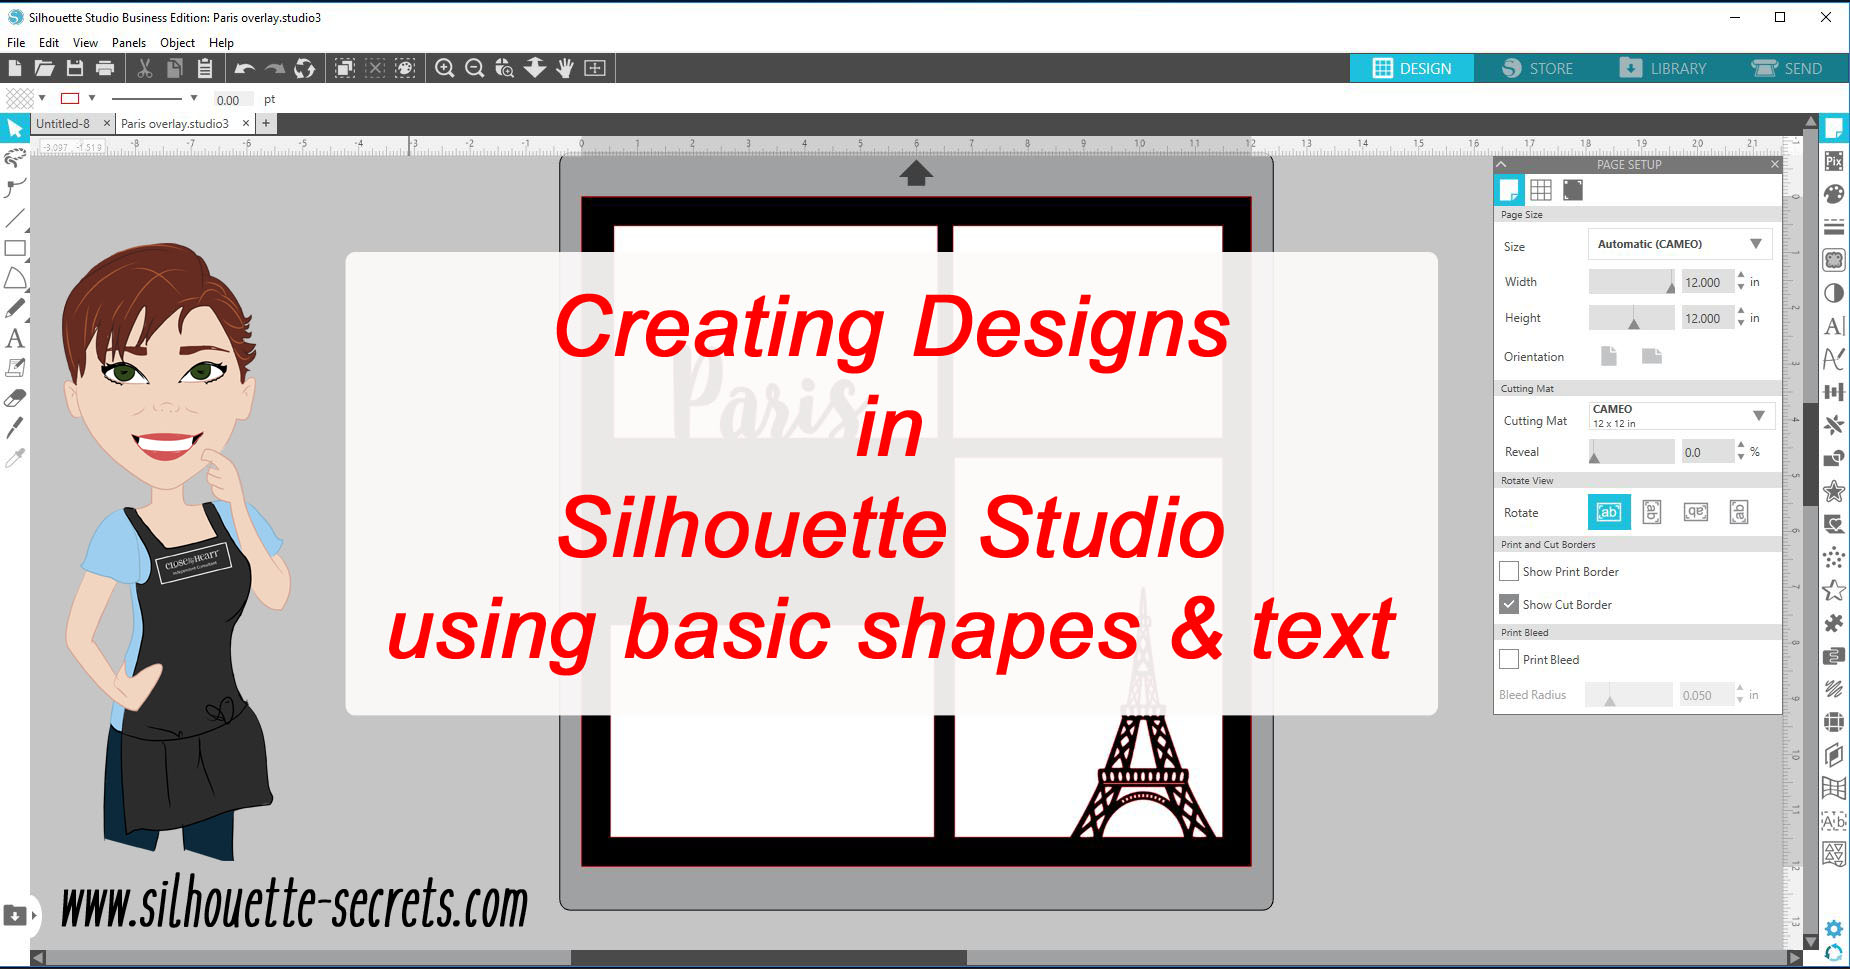
This week let’s take a look at how to create your own design in the Silhouette Studio software using basic shapes and text.
We will create an overlay that could be cut out of cardstock or other materials. I most often see these at trade shows cut by big, fancy laser cutters.
But, why can’t you create your own?
You can!
With just a few basic shapes and tools, you can open up so many doors.

Let’s Explore how to create this overlay in the Silhouette Studio v4.
Start by drawing a square using the Draw a Rectangle Tool on the left side.

To draw a perfect rectangle, hold down the Shift key while drawing the shape.
Do not worry about drawing an exact rectangle dimension.
Use the Scale Tab (2nd tab) located under the Transform Panel on the right side, click on the lock to lock the Aspect so that the dimensions of the object change proportionally. Then type 12 inches in the width and hit enter.
Since the lock was closed, the height will automatically change keeping the proportion of the design.
Select the Square by clicking on it and then choose the Center to Page option. This is found in the QAT (Quick Access Toolbar) or under the Transform Panel – Align Tab.

Now, draw 2 more rectangles and resize them using the Transform Panel – Scale Tab to 3.8″ x 5.8″ and 4.8″ x 6.8″.
These are the sizes for a 4″ x 6″ and 5″ x 7″ photo, the overlay will overlap the photos by just a little bit when it sits on top of it.
Make a copy of the 3.8″ x 5.8″ rectangle and move it to the bottom left side.
My favorite way to make a copy is to hold down the Alt key and drag a copy off of the design.
Make another copy of the 3.8 x 5.8″ rectangle and move it to the top right corner. Resize this rectangle using the Scale Tab to 3.8″ x 5.8″.

Next, use the Transform Panel – Align Tab to align the rectangles.

Select the top right and bottom right rectangles, choose Align Right.
Select the top left and top right rectangles, choose Align Top.
Select the top left and bottom left rectangles, choose Align Left.
Select the bottom left and bottom right rectangles, choose Align Bottom.

For the next step, select all the rectangles including the 12″ x 12″ rectangle.
To select everything on the page, left click and drag the cursor across all the objects or on the keyboard hold down the Ctrl + A buttons.
With all the rectangles selected, click on the Fill Color Panel and fill it with black.

Now, what you have created is 4 rectangles on top of the 12″ x 12″ rectangle.
We are going to take those 5 separate objects and combine them into 1 object by making a compound path.
With all 5 rectangles selected, right click and choose Make Compound Path.

This combines those 5 objects into 1 layer.
Check out this post on Compound Paths for more information.

With those basic shapes you have created the overlay base.
You can create any combination of layouts you want using any shapes you want for the overlay.
Now, let’s add a few more things to this.
Click on the Text Tool on the left side, then click on the design mat to get a text cursor and type “Paris”.
Click off of the text to deselect it and then back on it once to select it.
Open the Fill Color Panel and fill the text with black.
Then open the Text Style Panel on the right side and choose the Text Style you prefer.

Each text style you choose may be different. I chose LW Kaylee’s Script by Lori Whitlock. Resize the text to your liking.
Because of the slight angle of the text from left to right, I also rotated the text to sit straighter on the frame. This is a personal preference and each user may vary in what they like.
Move the Paris text so it overlaps the bottom section on the top left rectangle.

Next, let’s add one more element to this. I have an Eiffel tower image from the Silhouette Design Store by Samantha Walker – Design #41675.
From the Silhouette library, double click on the image and it will add to the design mat.
If it does not and opens onto another design mat, either copy and paste it to the previous work space or go back into the library and right click and choose Merge.
Click on the Eiffel tower to select it, then using the Fill Color Panel, fill it with black.
Then resize it to your liking and place it in the bottom left rectangle overlapping at the bottom.

And now the final step. Select the overlay background, the Paris text and the Eiffel tower design and right click and choose Weld.

Keep in mind that once you weld or change text in any way, it is no longer editable text, so you might want to make a copy or use the Sticky Note feature to make yourself a note on the Text Style used. For more information on Text tips, check out this post HERE.
And we have now used basic shapes, text and a design to create a overlay.
Click on the Send tab and it will show us how this will cut. It will all cut as 1 piece except the dot of the i, since it was not overlapping any other piece, it does not weld to the frame.

What will you create today?
Check out the video of creating this overlay here:
I would love to see what you create – feel free to post on my Facebook group at
Silhouette Secrets+ with EllyMae.
Enjoy!


**This post may contain affiliate links. What that means is that I may receive compensation if you purchase through the links I have provided. The price you pay for the product or service is not higher but I may get compensated for sharing.
Discover more from Silhouette Secrets-Swift Creek Customs
Subscribe to get the latest posts sent to your email.


[…] For Easter he received a make over and dressed up as a bunny. Check out these posts Designing with Shapes & Creating Your Own Designs. […]