
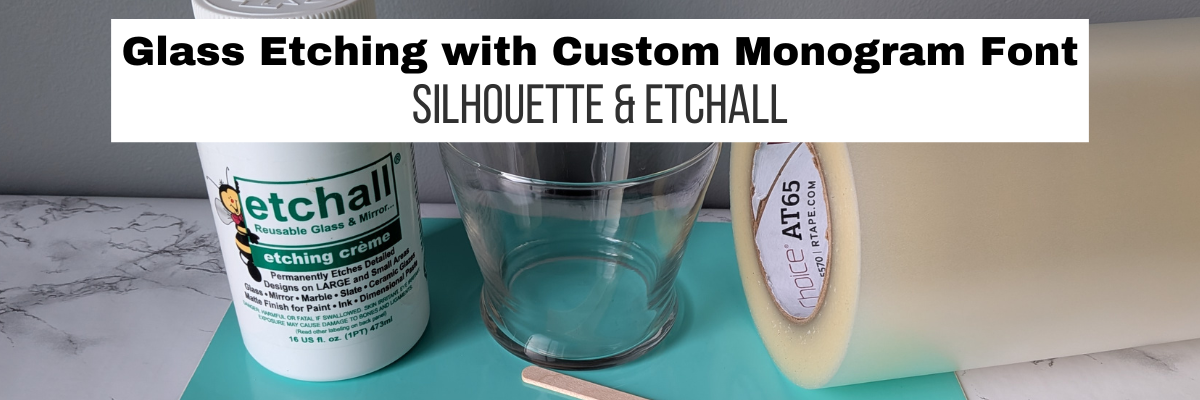

I love being able to create custom gifts for friends, family, and for events I attend. When I was brainstorming the 5th project for the month of July’s weekly newsletter I had several options. The one that beat out the other ideas was because it can be used as a gift for a family friend for the holidays. The winner? A custom etched monogram on a glass container with Etchall etching creme. This could be used for a candy dish, candle holder, home decor, or many other things. I’ll leave that up to the recipient to decide what to do with it.
Affiliate links may be present in the following blog post and as an Amazon Associate, I earn from qualifying purchases.

Steps to Etched Glass Projects
- Create a stencil for etching.
- Clean glass blank with alcohol and allow to dry.
- Apply stencil.
- Mask off edge of stencil to prevent bleeding
- Apply Etchall Etching Creme and allow to sit for 20 minutes.
- Remove any excess Etching Creme and place back in the bottle.
- Wipe off remaining excess with a paper towel and safely discard paper towel.
- Run water in the sink and rinse off decal thoroughly.
- Remove masking tape and adhesive vinyl under running water.
- Rinse blank thoroughly.
- Dry and Enjoy!
Glass Etching Supplies
- Silhouette Studio Software
- Silhouette Cameo or other cutting machine
- Silhouette Autoblade
- Silhouette cutting mat
- Etchall Etching Creme
- Glass Container: Vase, Candle Holder, etc. – Dollar Tree
- QFD Big Snowflake Monogram Font
- Adhesive Vinyl
- AT65 Transfer Tape
- Squeegee
- Silicone Mat
- Nitrile Gloves
- Popsicle Stick
- Optional: Ranger Heat It Craft Tool
Gather the supplies. I started by grabbing a sheet of Oracal 651 adhesive vinyl in a color that I don’t really use often, however, I ended up using a scrap from my scrap pile because the design fit on it and I have a drawer full of scraps.

Enlist a helper, whether you really want their help or not. Supervisor Goldy decided she was going to test out the tools and if I turned my back she would have taste tested the adhesive vinyl and transfer tape too!

Measure the blank and create the design to cut for the stencil. For this project it does have a bit of a conical shape to the widest part of the vase, so I used the Conical Warp tool with the etched monogram design to help with that. I shared this technique in the March 2026 Crafting Community member exclusive tutorial when making etched martini glasses.
See more on the etched martini glasses HERE.

Then I grabbed a scrap of adhesive vinyl and cut it with the Silhouette Cameo. Any Silhouette model machine can cut adhesive vinyl for stencils.

Glass etching is permanent. So I do like to add a little bit of heat to the glass etching stencil when it has fine details. I do this carefully so not to burn myself and then let the glass and stencil cool completely. This step can help the adhesive vinyl adhere a bit better and smooth out any areas that may have had allowed etching creme to seep underneath. And then I add a layer of painter’s tape around the edges just in case any etching creme dribbles or runs.

While you could cut a larger piece of adhesive vinyl with the stencil to avoid using the painter’s tape, then you run the risk of more wrinkles and the stencil not adhering completely flat on a curved surface.
I then cover the entire stencil area where the design is with Etchall etching creme and wait 20 minutes.

When 20 minutes is up, I carefully scrap the Etchall etching creme off and put it back in the jar. It can be reused. Then I will carefully wipe the design with a paper towel before running water in the sink and rinsing off any remaining creme. At this step, you do want to be careful not to dislodge any pieces of the design. It never fails that when an oops happens and the creme touches an area you do not want to etch, it will happen in seconds.
Once the Etchall etching creme has been rinsed, removed the stencil and painter’s tape, and then carefully dry the glass container. Then admire the custom glass etched monogram project.

I love how this turned out! A perfect gift idea with a custom etched monogram. And it was a very economical project to complete too! Glass jar from the Dollar Tree (which isn’t a dollar anymore, but still reasonable) and reusable Etchall etching creme that can make many, many more projects!
Save this for future reference by pinning the image below.

Enjoy !
THANK YOU for your support! How can you help? Click HERE & buy a coffee.
Every little bit helps with the cost of running the site.

Silhouette Classes
Never stop learning! Let me help you take the anxiety out of learning with Silhouette and get to creating faster! My Silhouette classes are heavily focused on software, so you can take the skills & techniques taught and apply them to many future projects!


**This post may contain affiliate links. What that means is that I may receive compensation if you purchase through the links I have provided. The price you pay for the product or service is not higher, but I may get compensated for sharing.
Discover more from Silhouette Secrets-Swift Creek Customs
Subscribe to get the latest posts sent to your email.









I used to have a helper just like yours! Butterscotch! Thanks to him I had to buy a toolbox to keep my tools and my other items safe from him. I have always wanted to do etched glass. You make this seem pretty easy! Thank you!!
You are welcome! Glass etching is definitely something you could do! I would recommend starting with a straight edged object versus a curved shape. Butterscotch is a perfect name!