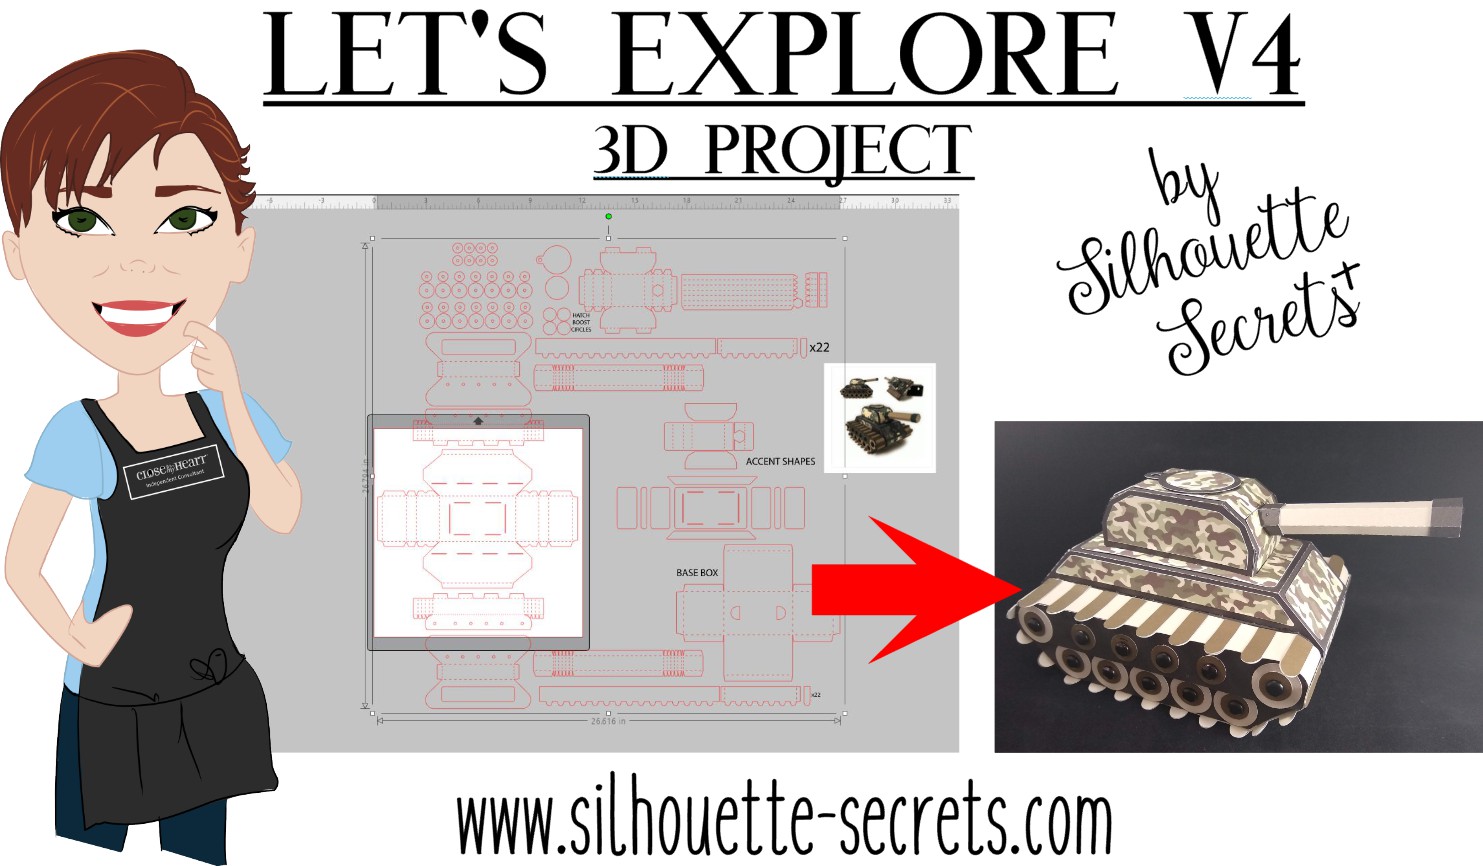
I love creating 3-D paper projects and my kids love to shop over my shoulder when I’m looking in the Silhouette Design Store. My son who loves army, tanks, and soldiers saw this Combat Tank 3D Box design in the store a few weeks back and has been asking me to build it ever since.

I think his idea of building it was a bit different than mine. He was glued to my side while cutting all the pieces. He even helped unload the mat and remove some of the pieces off the cutting mat. Then he ran off, like little boys do.
When I’m working with a file that has many pieces to it, the first thing I do is open it up and take a look. I have to tell you when I first purchased this file, I opened it and then closed it. I wasn’t going to cut it that night.

That is a lot of pieces, but it is a 3-D project after all and I love seeing it all come together.
The first thing I like to do when working with a 3-D file is to screen grab a photo of the design.
I am a PC gal, so I use the Snipping Tool. If you have a Windows computer, type Snipping Tool in the bottom left search bar and it will pop up.
I use this tool so often that I have it pinned to my bottom task bar for quick access.

When it pops up, it looks like this.

Click on New and then draw a box around the object you want to “snip” on the page. Then choose to save that “snip” to the computer or copy and paste it into the Silhouette Design mat.
(On a MAC – Hold down the Command button, Shift & 4 – then drag the cursor around the object)

This gives me a reference to look at when I’m working with the file.
Since I have the ability to cut 12″ wide, I scaled this file up to cut it as large as I could. I moved the largest piece that would be cut on top of the Silhouette virtual mat and used the bounding box in the corner to increase the size of the entire design.
Make sure if you resize a design, that you are resizing the entire design at the same time to keep it all at the same scale, or the pieces will not fit together.
Next, I ungroup the entire design if needed and then fill all the pieces with the color it will be cut out of. Then I move the same colors together to all be cut at the same time.

Now, you will see on the left side that those are not filled in. I did not have any Camouflage paper, so I went back to the Silhouette Design Store and found this Camouflaged Print Pattern by Nilmara Quintela.

By that time, my son had run back into the room and was excited to see how I was going to take this image on my screen and print it onto paper to cut out.
Now just like so many other things in the Silhouette software, there are a couple ways you can do this. Let’s Explore the difference between using the Modify Panel vs Pattern Fill.
Modify Panel
Step 1 – Open a new design mat.
Step 2 – From the Silhouette library, choose the Camouflaged Print Paper file.
Step 3 – Next, I scaled the paper down to fit on my 12 x 12 virtual design mat.
Step 4 – Copy the pieces from the 3-D design mat and paste them onto the new design file.

*note – line thickness has been increased on the tank pieces for visual reference
Step 5 – Select all of the objects on the virtual design mat.
Step 6 – Open the Modify Panel and choose Crop.

And I can still hear the gasp from my 7 year old son when he saw it change on the screen. That had to be the best part! I even had to do it over again and again for him to watch it.
Pattern Fill
Step 1 – Open a new Design mat.
Step 2 – Copy the 3-D file pieces and paste onto the new design mat.
Step 3 – Select all the pieces.

Step 4 – Open the Fill Color Panel and choose the 3rd tab = Fill Pattern.
Step 5 – Find the pattern in the fill pattern options and select it.

This method looks a bit different and you have more options to Scale & Pan the Pattern. It is really a matter of personal preference on how you want the objects to be filled.
For this tank & camouflage pattern, I used the Modify Panel.
Next, I set this up as a Print and Cut file.

I follow the same steps every single time to setting up a print and cut and it works great. Check out this Print & Cut – Part I blog post for step by step setup and troubleshooting tips too!
Then, I printed it on my Canon 9521C large format printer. I have to say, I was hesitant to add this to my craft studio because it was more than I wanted to spend on a printer, but I am so glad I did. I purchased it after the November 2018 All Things Silhouette Conference and I have not regretted it since. I have printed so many high quality images for blog posts, classes, gifts, and more.

Always double check that all the registration marks printed correctly and are not missing. For more tips on troubleshooting Print & Cut projects – click HERE.
Once all the pieces for the tank are cut, comes the assembly time.
The first thing I did was go look in the Silhouette Design Store and see if the designer had linked instructions in the description. This is a lot of pieces and having a tutorial is helpful in assembly.

The link did not take me directly there, but a quick search of the blog and it popped right up.

Why does this happen? It can be for many reasons. Sometimes a link just doesn’t code correctly, a page was moved or renamed, etc. This was an easy one to find and often I find a quick search is all that is needed. But, when I find these things, I do let Silhouette know so they are aware.
And I have to say, this was a was great tutorial to put this tank together.
 Find the full tutorial for this Combat Tank 3-D Box by Snapdragon Snippets – HERE.
Now, some assembly photos.

I used a combination of Scrapbook Adhesives E-Z Runner and Liquid Glass by Close to My Heart to assemble these parts.

For the smaller pieces, I used my Xyron Sticker maker which makes this so much easier.
Once it was all assembled it was time for photos.

And of course he wanted to do some staging.

It was a bit big for my photo box, but he didn’t care.

And we had to take it for a test drive.

And the Army guys definitely blend in. How many can you spot?

He even set up a little battle, although I think one side was a bit overpowered.

He was more than tickled to go put on his “Tank top” from last summer, his Camo pants and pose for this photo. I think this was a success!
Have you tried a 3-D project? Check out the 3-D section in the Silhouette Design Store for lots of fun projects.

I would love to see what projects you create! Feel free to post on my Facebook group at Silhouette Secrets with EllyMae.
Enjoy!

![]()
**This post may contain affiliate links. What that means is that I may receive compensation if you purchase through the links I have provided. The price you pay for the product or service is not higher but I may get compensated for sharing.