Posted on — Leave a comment

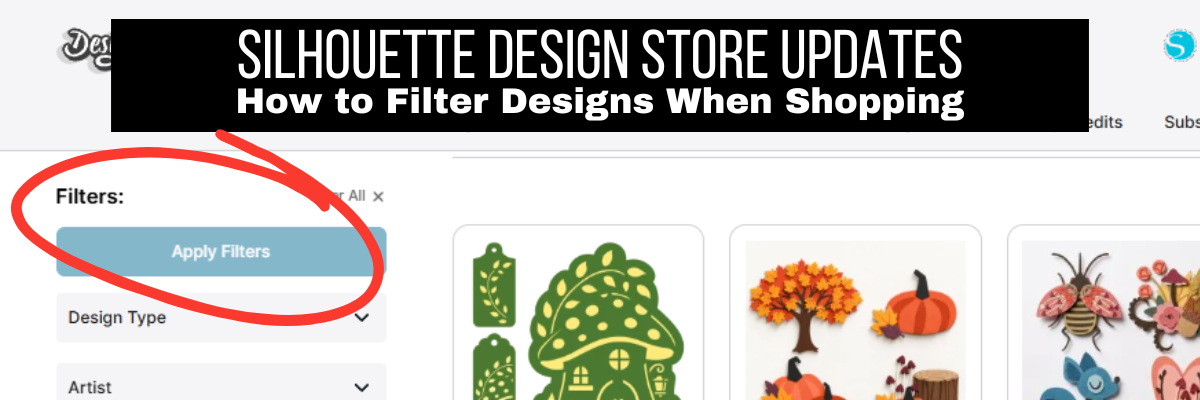
Silhouette Design Store Updates | How to Filter Designs When Shopping

Silhouette Secrets+ with EllyMae

We have seen some major changes to the Silhouette Design Store the past couple years and they are continuing to improve on it since the website migration that didn’t go as planned. Not only have we seen improvements in the Silhouette Design Store, but in general there have been some major changes in the world. AI has now become a big deal world-wide. For this blog post we are referencing AI specifically for designs for cutting machines. There has been a big jump in AI created designs and AI designers in general.

Affiliate links may be present in the following blog post and as an Amazon Associate, I earn from qualifying purchases.

AI designs are supposed to be labelled so the person buying the design or using the design knows that it is AI. That was one of the recent updates at the beginning of 2026 to the Silhouette Design Store. Now all designs have to be labelled as either AI assisted or Fully AI generated. This is something that is filled out by the designer when they upload the file. When this was added into the Silhouette Design Store in January 2026, designers were notified to update their files.

This information can be found in the design information under the title of the design in the Silhouette Design Store. It will be labeled as AI assisted or Fully AI generated. This is something that the designer has to input when they upload designs and is completely the designers responsibility.

Graphic showing a product page for a Christmas design featuring a cow with a Christmas tree, highlighting the 'AI-Assisted' feature.

In addition to the new labelling which was implemented in January 2026, there is now the option to filter designs based on criteria such as AI, CU (Commercial Use), File Type, etc.

At the time of writing this, the AI filter is not available under all menus, but it is available under some of the categories such as “Designs” tab at the top of the website.

Screenshot of the Silhouette Design Store showcasing various design options, including filters for design type, artist, and license type, with examples of designs like 'Mushroom House Postcard' and 'Silly Halloween Ghosts Set'.

Something to note here is that these screenshots are taken the day this blog post is composed and changes to the Silhouette Design Store website can occur at any time. The information should be relevant, even if the location of the items might change compared to the screenshots.

At the time that I write this, the AI filter is not available if you do a search by keyword on the website, however, I have asked that it be added to all of the website locations.

I share a few more details and show a demonstration of selecting by filters in this video.

I still continue to shop in the Silhouette Design Store and support my favorite designers. I purchase Credit Boosts so my credits do not expire and are ready for use whenever I am looking for something. I also watch for sales on Credit Boosts, which can get you even more credits per level purchased.

If you find a designer that you want to “bookmark”, you can add them to your “Artists I Follow” section on the Silhouette Design Store. You will need to be logged in so it remembers your account.

Then you can click on the Follow button under the designers store or on an individual design, scroll down and locate the designers name and you should see a “Follow” button.

Screenshot of a Design Store profile with floral background, featuring the name 'Clikchic Designs', a brief description of the artist's work, and a 'Following' button highlighted in red.

Here is a look at what my “Artists I Follow” looks like today. I had to zoom out quite a ways to show them all. But, I do spend a lot of time looking at designs and planning what might work for the Silhouette Secrets+ newsletter Crafting Creativity series.

A grid layout showcasing various artists followed by the user, each represented by their logo or design, along with the number of designs they have created.

I hope these tips have helped and you are able to narrow down the designs easier for something you might like.

Additional Resources:

Save this for future reference by pinning the image below.

User interface screenshot of the Silhouette Design Store showing filter options, including 'Human-Created' and a button to 'Apply Filters'.

Enjoy !

THANK YOU for your support! How can you help? Click HERE & buy a coffee.
Every little bit helps with the cost of running the site.

Silhouette Classes

Never stop learning! Let me help you take the anxiety out of learning with Silhouette and get to creating faster! My Silhouette classes are heavily focused on software, so you can take the skills & techniques taught and apply them to many future projects!

Silhouette step-by-step Classes by Silhouette Secrets+

Silhouette Secrets+ with EllyMae
**This post may contain affiliate links. What that means is that I may receive compensation if you purchase through the links I have provided. The price you pay for the product or service is not higher, but I may get compensated for sharing.

Posted on — 6 Comments

Get more out of your Silhouette designs

It all starts with 1 design.
And then you never know where it will take you.

Long story short, I volunteered to provide a craft for my son’s 4th grade class. He picked the design and then it just snowballed from there. One project after another.

Affiliate links may be present in the following blog post and as an Amazon Associate I earn from qualifying purchases.

Today I’m going to show you how I took this simple Reindeer Gnome design by Lilium Pixel SVG and created a layered cut file from it using a few tools in Silhouette Studio.

The Design

The first thing to start with is the design.
This one of the most important things to understand.

All files are created differently. Each designer creates differently. Each designer saves differently. Each design could be made up differently.

I will show you how I worked with this file and the more you do this, you will start to see patterns. The tools and steps I use may need to be done in a different order depending on how the file was created. That will make more sense after we get started and the more you work with files.

Gnome Example

Open the Reindeer Gnome design by Lilium Pixel SVG.

Change the Fill Color to transparent using the Fill Color Panel or the QAT Fill Color drop down.

This makes it easier to work with Compound Paths.
Compound Paths are one of the hardest design concepts for most users to understand.
The basics of a compound path are each design is made up of pieces. If you make or release a compound path, it will affect how those “pieces” act.
For more in-depth information on Compound Paths check out this post HERE.
They are a great tool to play around with as you will see farther down.

Next, right click and choose Release Compound Path.
This should break the design up into individual pieces.
However, you may also need to right click and choose Ungroup.
This will vary depending on each design. You may need to ungroup more than once or you may need to release compound path more than once.

What you are looking for is all those individual selection boxes around the “pieces” of the design. Each of those gray boxes is a selection box and now means that we can select those individual pieces and work with them.

Click off the design and then click back on 1 piece.
Now, fill each piece with color using the Fill Color Panel or QAT dropdown.

Note: You will need to click exactly on the red cut line for each piece to select it.
Using the Zoom tools at the top of the software can help to make it easier to click the lines.

Any pieces that are the same color can be selected together and then right click and choose Group.

Repeat this step for all the interior parts.

The more you do this, the more comfortable you will become with it, and start to recognize the patterns.

Don’t be afraid to push the buttons and the Undo button is your best friend!
I am very familiar with the keyboard short cut for Undo – Ctrl+Z is one of my most used tools.

Next comes the background color.

Notice if you select the outside edge and fill it with black, it fills in all the little pieces in the area of the hat. So we need to change that.

If you filled the outer edge with color, change it back to transparent or hit Undo.

In order to take out the inner bits of the hat, select the outside edge of the design, hold the Shift key down, select the inside bits of the hat around the reindeer antler, and then right click and choose Make Compound Path.

Now, fill it with color to check that the right pieces were selected for the Compound Path. If not, hit Undo and try again.

Note: when a Compound Path is made or pieces are grouped together, it can reorder how the pieces are stacked on top of each other.

Right click on the black layer and choose Send to Back.
This will send the black layer behind all the other colors.

Adjust the colors as desired to see how it will look.

Now you have a layered file that was created from the original black outline design.

The first project I did was cutting all the pieces from cardstock and creating craft kits for the 4th grade class.

Then I used the same layered file to create a shaped edge card.

And then my son asked how big I could make the gnome?
Challenge accepted and we settled on a 36″ tall gnome who he named “Ger-gnomio” that I cut with my Cameo Pro.
For more Cameo Pro tips, check out the header on the blog HERE.

One design turned into 3 different projects. I had no idea when I first started playing with the design that it would turn into several more projects. You never know when that creative bug will hit!

Check out the video tutorial on my YouTube channel HERE too!

I would love to see what you are creating with your Silhouette software or machines!
Feel free to post photos or questions on my Facebook group at 
Silhouette Secrets with EllyMae.

Save this for future reference by pinning the image below.

Enjoy!

THANK YOU for your support! How can you help? Click HERE & buy a coffee.
Every little bit helps with the cost of running the site.

Silhouette Classes

Never stop learning! Let me help you take the anxiety out of learning with Silhouette and get to creating faster! My Silhouette classes are heavily focused on software, so you can take the skills & techniques taught and apply them to many future projects!

Silhouette step-by-step Classes by Silhouette Secrets+

Silhouette Secrets+ with EllyMae

**This post may contain affiliate links. What that means is that I may receive compensation if you purchase through the links I have provided. The price you pay for the product or service is not higher but I may get compensated for sharing.


