
Have you ever had a design that just kept “talking” to you and creating more ideas to be made with it?
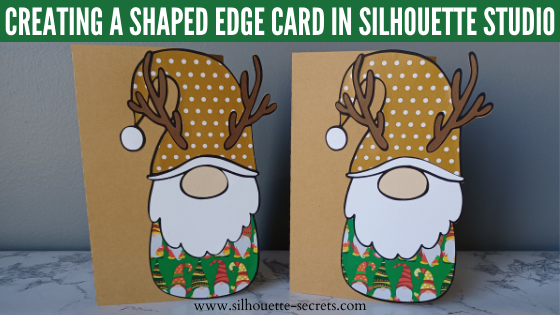
My gnome design file took on a life of it’s own and one project after another came to mind. In this post I’m sharing how I created a Gnome Shaped Edge card. I am using the same design from the last post found HERE where I used this simple Reindeer Gnome design by Lilium Pixel SVG to create a layered cut file.
Affiliate links may be present in the following blog post and as an Amazon Associate I earn from qualifying purchases.
Then the ideas just kept coming and this shaped edge card came to life.

In just a few steps create a shaped edge card base.
Creating a Gnome Shaped Edge Card
Start with a card base.
The standard sizes for U.S. are 4.25″ x 5.5″ or a 5″ x 7″ card.
However, you can create the card base any size you want.
Keep in mind that you want it to fit in an envelope if mailing.

Here are 2 ways you can create the card base:
Draw your own using a rectangle and a line – check out how to do that HERE
or use the Project Wizard to create the card base – more on how to do that HERE.
Make sure that the score line is ungrouped from the outside edge of the card base.
In the photo above, you can see there is a gray selection box around both the outer edge and the score line in the middle. This means that they are no longer grouped together.
Open the design to use for card edge onto the same design mat as the card base.

Check out the tutorial on
Creating a Layered Cut File from an Outline HERE
Next, move the design to the right side of the card base so the right edge of the design is on the right edge of the card base.

Scale the design to fit exactly from the top to bottom of the card base.
Use the corner bounding box to scale the design down. Keep the design within the boundaries of the card base you’ve created so you know it will fit in the envelope after it’s cut.

Now that it is the size we need, make a copy and pull to one side.
Using the design that is still on the card base, ungroup it if necessary and move the pieces off. We only need to work with the background/outline of the design since we have a copy of the original.

Double click on the card base outer edge to bring up edit points.
Edit points are the data points that create a design. The Silhouette machine “connects the dots” in order to complete the cut.

For more detailed information on edit points check out this post –
Let’s Explore v4 – Edit Points HERE.
With the Edit Points active, click at the top of the gnome shape to add an edit point.

Next, grab the top right corner and move it inside the gnome shape.

Now click at the bottom of the gnome shape to add an edit point.

Next, grab the bottom right corner and move it inside the gnome shape.

Select both the card outer edge and the gnome shape.
Do not select the score line.
To select, click off the shapes to deactivate the edit points. Then click back on the gnome shape, hold the Shift key down, and click on the outer card base line.

With both selected, right click and choose Weld.
If the shape was filled with color when welded, the entire shape will take on that color. It may also bring it to the front. Right click and choose Send to Back and/or change the fill color as needed.

Move the original copy of the design on top of the shaped edge and it should fit together.

Ta-da! You’ve created a shaped edge card.
Cut all the pieces and glue together to create a unique card.
Check out the full video tutorial on my YouTube channel HERE.
I would love to see what you are creating with your Silhouette software or machines!
Feel free to post photos or questions on my Facebook group at
Silhouette Secrets with EllyMae.
Save this for future reference by pinning the image below.

Enjoy !
THANK YOU for your support! How can you help? Click HERE & buy a coffee.
Every little bit helps with the cost of running the site.
Silhouette Classes
Never stop learning! Let me help you take the anxiety out of learning with Silhouette and get to creating faster! My Silhouette classes are heavily focused on software, so you can take the skills & techniques taught and apply them to many future projects!


**This post may contain affiliate links. What that means is that I may receive compensation if you purchase through the links I have provided. The price you pay for the product or service is not higher but I may get compensated for sharing.
Discover more from Silhouette Secrets-Swift Creek Customs
Subscribe to get the latest posts sent to your email.


[…] I also have another tutorial on creating a little bit different shaped edge – check that out HERE. […]