

Four Ways to Open Patterns in Silhouette Studio
Using patterns in the Silhouette Studio software can give your projects a unique look. Whether you are doing a print and cut project or creating a digital graphic image. Digital patterns can be a great asset to your toolbox. As with many tools in the Silhouette Studio software, there can be multiple ways to do it. I’m sharing 4 ways that patterns can be opened in Silhouette Studio below, but first what is a pattern?
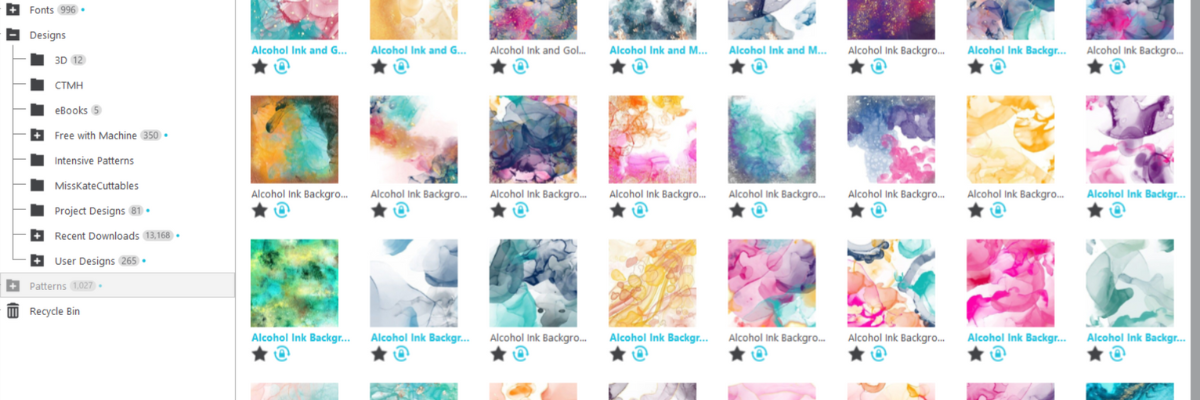
A digital pattern is a photo file. It is typically a JPEG, PNG, or TIFF file format. Before we get too far into it, one thing to note about digital patterns is that they can be quite large. A digital pattern, when designed properly should be 300 dpi for print quality. That means the file size is much greater than your average SVG file. Since every user has a different computer with different specifications, that also means that each user’s computer may handle data differently. When working with heavy data files, close any programs that are not necessary and any tabs within Silhouette that are not needed. I’d also recommend clearing out any Recovered Documents and keep that cleared out as well. This will help your computer and software run as smooth as it can.
4 Ways to Open Patterns in Silhouette Studio
1 – Open the pattern from the Silhouette Library Patterns Folder.
If you want to open the full pattern on the design mat, double click on the pattern in the Silhouette Library Patterns folder.
If you want to fill a particular shape, click on the shape to select it on the design mat. Then click on the Library Tab, Patterns folder and single click on the pattern. Click back on the Design tab and the shape will be filled with the pattern selected.
If you double click with a shape selected, it will fill the shape and then also open the full pattern on top of that too.

2 – Select a pattern from the Fill Color Panel – Tab 3.

3 – Click on the Show/Hide Library icon in the bottom left corner of the design tab.
This will open a split screen showing the library and the design tab. This can be much easier to see larger images of thumbnails and design with instead of having to swap back and forth between the Design and Library tabs.
Select a pattern the same way as in #1.

4 – Drag and drop a pattern from a folder saved on your computer or storage device.
When dragging and dropping, drag the pattern to the shape you want to fill and hold it until the pattern has filled the shape. If you move too fast and release the mouse button too quick a little white rectangle will appear and not go away. The only way to get it to disappear is to close and reopen the software.

I am sharing even more information in this video on the Silhouette Secrets+ YouTube channel found HERE.

I hope these tips have helped give you some ideas on how to work with patterns and create unique projects in Silhouette Studio. Check out the additional resources below to learn even more!
Additional Resources:
- Fill Color Panel – Tab 3
- Pattern Fill
- Show/Hide Library in Silhouette
- Recovered Documents
- File Types for Silhouette
Save this for future reference by pinning the image below.

Enjoy !
THANK YOU for your support! How can you help? Click HERE & buy a coffee.
Every little bit helps with the cost of running the site.
Silhouette Classes
Never stop learning! Let me help you take the anxiety out of learning with Silhouette and get to creating faster! My Silhouette classes are heavily focused on software, so you can take the skills & techniques taught and apply them to many future projects!


