Affiliate links may be present in the following blog post and as an Amazon Associate, I earn from qualifying purchases.
Just popping in to share a couple Halloween signs I finished up this week. I mean, there is nothing like decorating 2 days before Halloween right?
I have been collecting round door hangers designs by Diva Watts Designs for a long time and finally just told myself to stop everything else and get it done! She has so many different design styles available, make sure you go check out her store HERE. I’ve already got a list started for Fall and Christmas.
Here are the first 3 I made.

Supply list
- Wood rounds
- Acrylic paint in desired colors
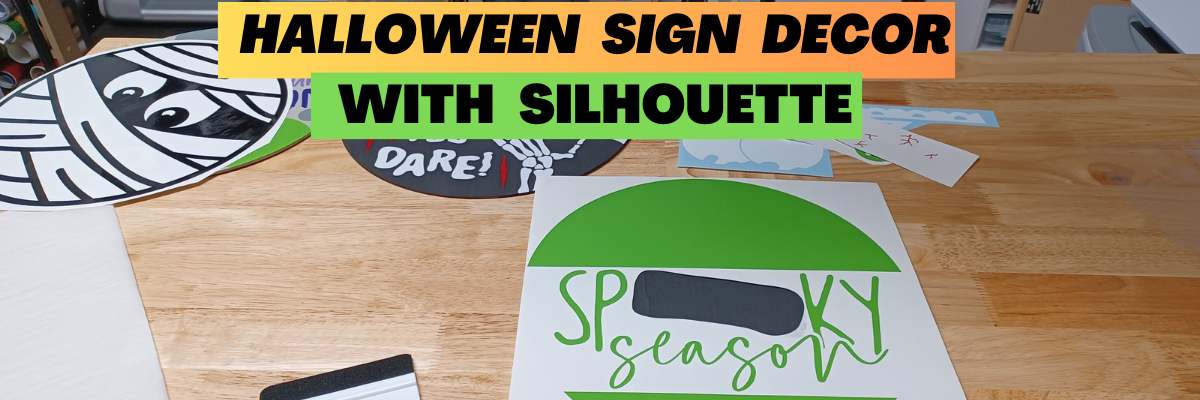
- Knock If You Dare design by Diva Watts Designs – Design #451514
- Spooky Season design by Diva Watts Designs – Design #451841
- Come in Pick Your Poison design by Diva Watts Designs – Design #448396
- Round Mummy design by Wispy Willow – Design #420018
- Oracal 651 Adhesive Vinyl in colors of choice
- AT65 Transfer Tape – I reuse my transfer tape until it’s no longer sticky
- Cutting machine – I used a Silhouette Cameo 5
- Weeding tool
- Spatula for applying vinyl
I started by painting the boards. I painted both sides and let it dry overnight.

While the boards were drying, I cut all of the Oracal adhesive vinyl for each sign with the Silhouette Cameo 5 and organized them into piles. This way it was ready for when the boards were completely dry.
And then I started adding each piece to transfer tape and applying to each sign. It went pretty quick, since I had it all cut and organized by sign.
I thought this one was appropriate for my son’s room.

I just loved the look of this one with the eyeballs.

But this one I think is my favorite. I think it just may be because it has so many pieces to puzzle together and it wasn’t that hard.

And this one was just dying to come out….

Hinge Method
Have you ever used the hinge method?
This allows you to apply a small section of the design and get it placed without committing everything at once.

I removed all of the backing off of the vinyl and then cut the backing into sections.
Then removed only the top section and lined it up.

This allowed for easier positioning and I didn’t have to commit the entire design all at one time.

Then I removed each section and smoothed it down to the wood round.
So fun! Can’t wait to make more! I may need to buy another package of wood rounds as I keep seeing more doors in my house that need a sign.
Save this for future reference by pinning the image below.

Enjoy !
THANK YOU for your support! How can you help? Click HERE & buy a coffee.
Every little bit helps with the cost of running the site.
Silhouette Classes
Never stop learning! Let me help you take the anxiety out of learning with Silhouette and get to creating faster! My Silhouette classes are heavily focused on software, so you can take the skills & techniques taught and apply them to many future projects!