Posted on Leave a comment

Simple Santa Ornament

Here is another simple ornament made using basic shapes within the Silhouette Studio program.
I created a long rectangle belt after measuring the circumference of my square ornament, which I then cut out of black 651 vinyl.
Then I made 2 squares and used the Subtract all feature to make the belt, which I cut out of silver 651 vinyl. santa-ornament-copy

I then used transfer tape to place the images onto my ornament.

img_4059-1

And added a few clear rhinestones with some E6000 glue and you have a simple Santa belt ornament.

img_4062-2

Hope you are able to create something today1


Enjoy !

THANK YOU for your support! How can you help? Click HERE & buy a coffee.
Every little bit helps with the cost of running the site.

Looking for more in-depth, step-by-step classes, check out all of my online Silhouette classes on my Teachable site HERE.

SS Logo snip it
**This post may contain affiliate links. What that means is that I may receive compensation if you purchase through the links I have provided. The price you pay for the product or servic
Posted on Leave a comment

On to the holidays….

I have seen these ornaments all over Pinterest and I wanted to give them a shot, but I wanted to create the entire image myself, so I was not limited on the options I have to use it.

This was a pretty basic design to complete, since it uses basic shapes and fonts.
Make sure if you are going to reproduce these items for sale or to sell the cut file as an svg, that you are using a font that has a Commercial Use license, so everything is legal.

img_4054

I positioned the design on one mat, then placed my vinyl on each space of my mat in the same position as in the Design Software.

img_4055

The ornaments were purchased at Hobby Lobby and I used Polycrylic on the inside, let it drain well and then used extra fine glitter on the inside.
I cut all of my pieces and then pieced it together

Now to get these in the mail & make sure my little ones don’t see it before our elf Jingles brings it to them.

Enjoy!
ss_signature-copy


Posted on Leave a comment

TJC Licensed Instructor

A few weeks ago, I had the honor of attending Terri Johnson Creates first Licensed Instructor class. I was ecstatic when I saw her announce the opening of her first Licensing event and I had to sign up immediately.

img_3606

Why?
Well, I’m a Silhouette fanatic and have been since I first started using the machine.
I started out using a Cricut machine and found it very limiting….
Why could I not change the image and adjust it how I wanted it to be?
I was very familiar with their Design program, but did not like how little I had control over.
Then I won a Silhouette Portrait in a digital scrapbooking challenge and that changed everything. The first time I used the machine I knew that I need the bigger Cameo.
Yep, I upgraded immediately. I fell in love with it.

 Now, almost 4 years later I am a graduating member of the TJC Instructor program.
Several times I have thought back to years before that when a friend told me about this awesome machine that she just knew I would love and had so much potential.
Boy, do I wish I had listened to her sooner (you should have pushed harder Bobbi)!

instructor-liscensing-logo

Since the retreat, I have been working on a business plan & this new blog site.
It’s a work in progress and I plan to show all the projects that I work on right here.
I am an avid crafter at heart and love to try all kinds of projects to see if they will turn out.

I am so glad that I was able to attend this training and can’t wait to see what is to come.
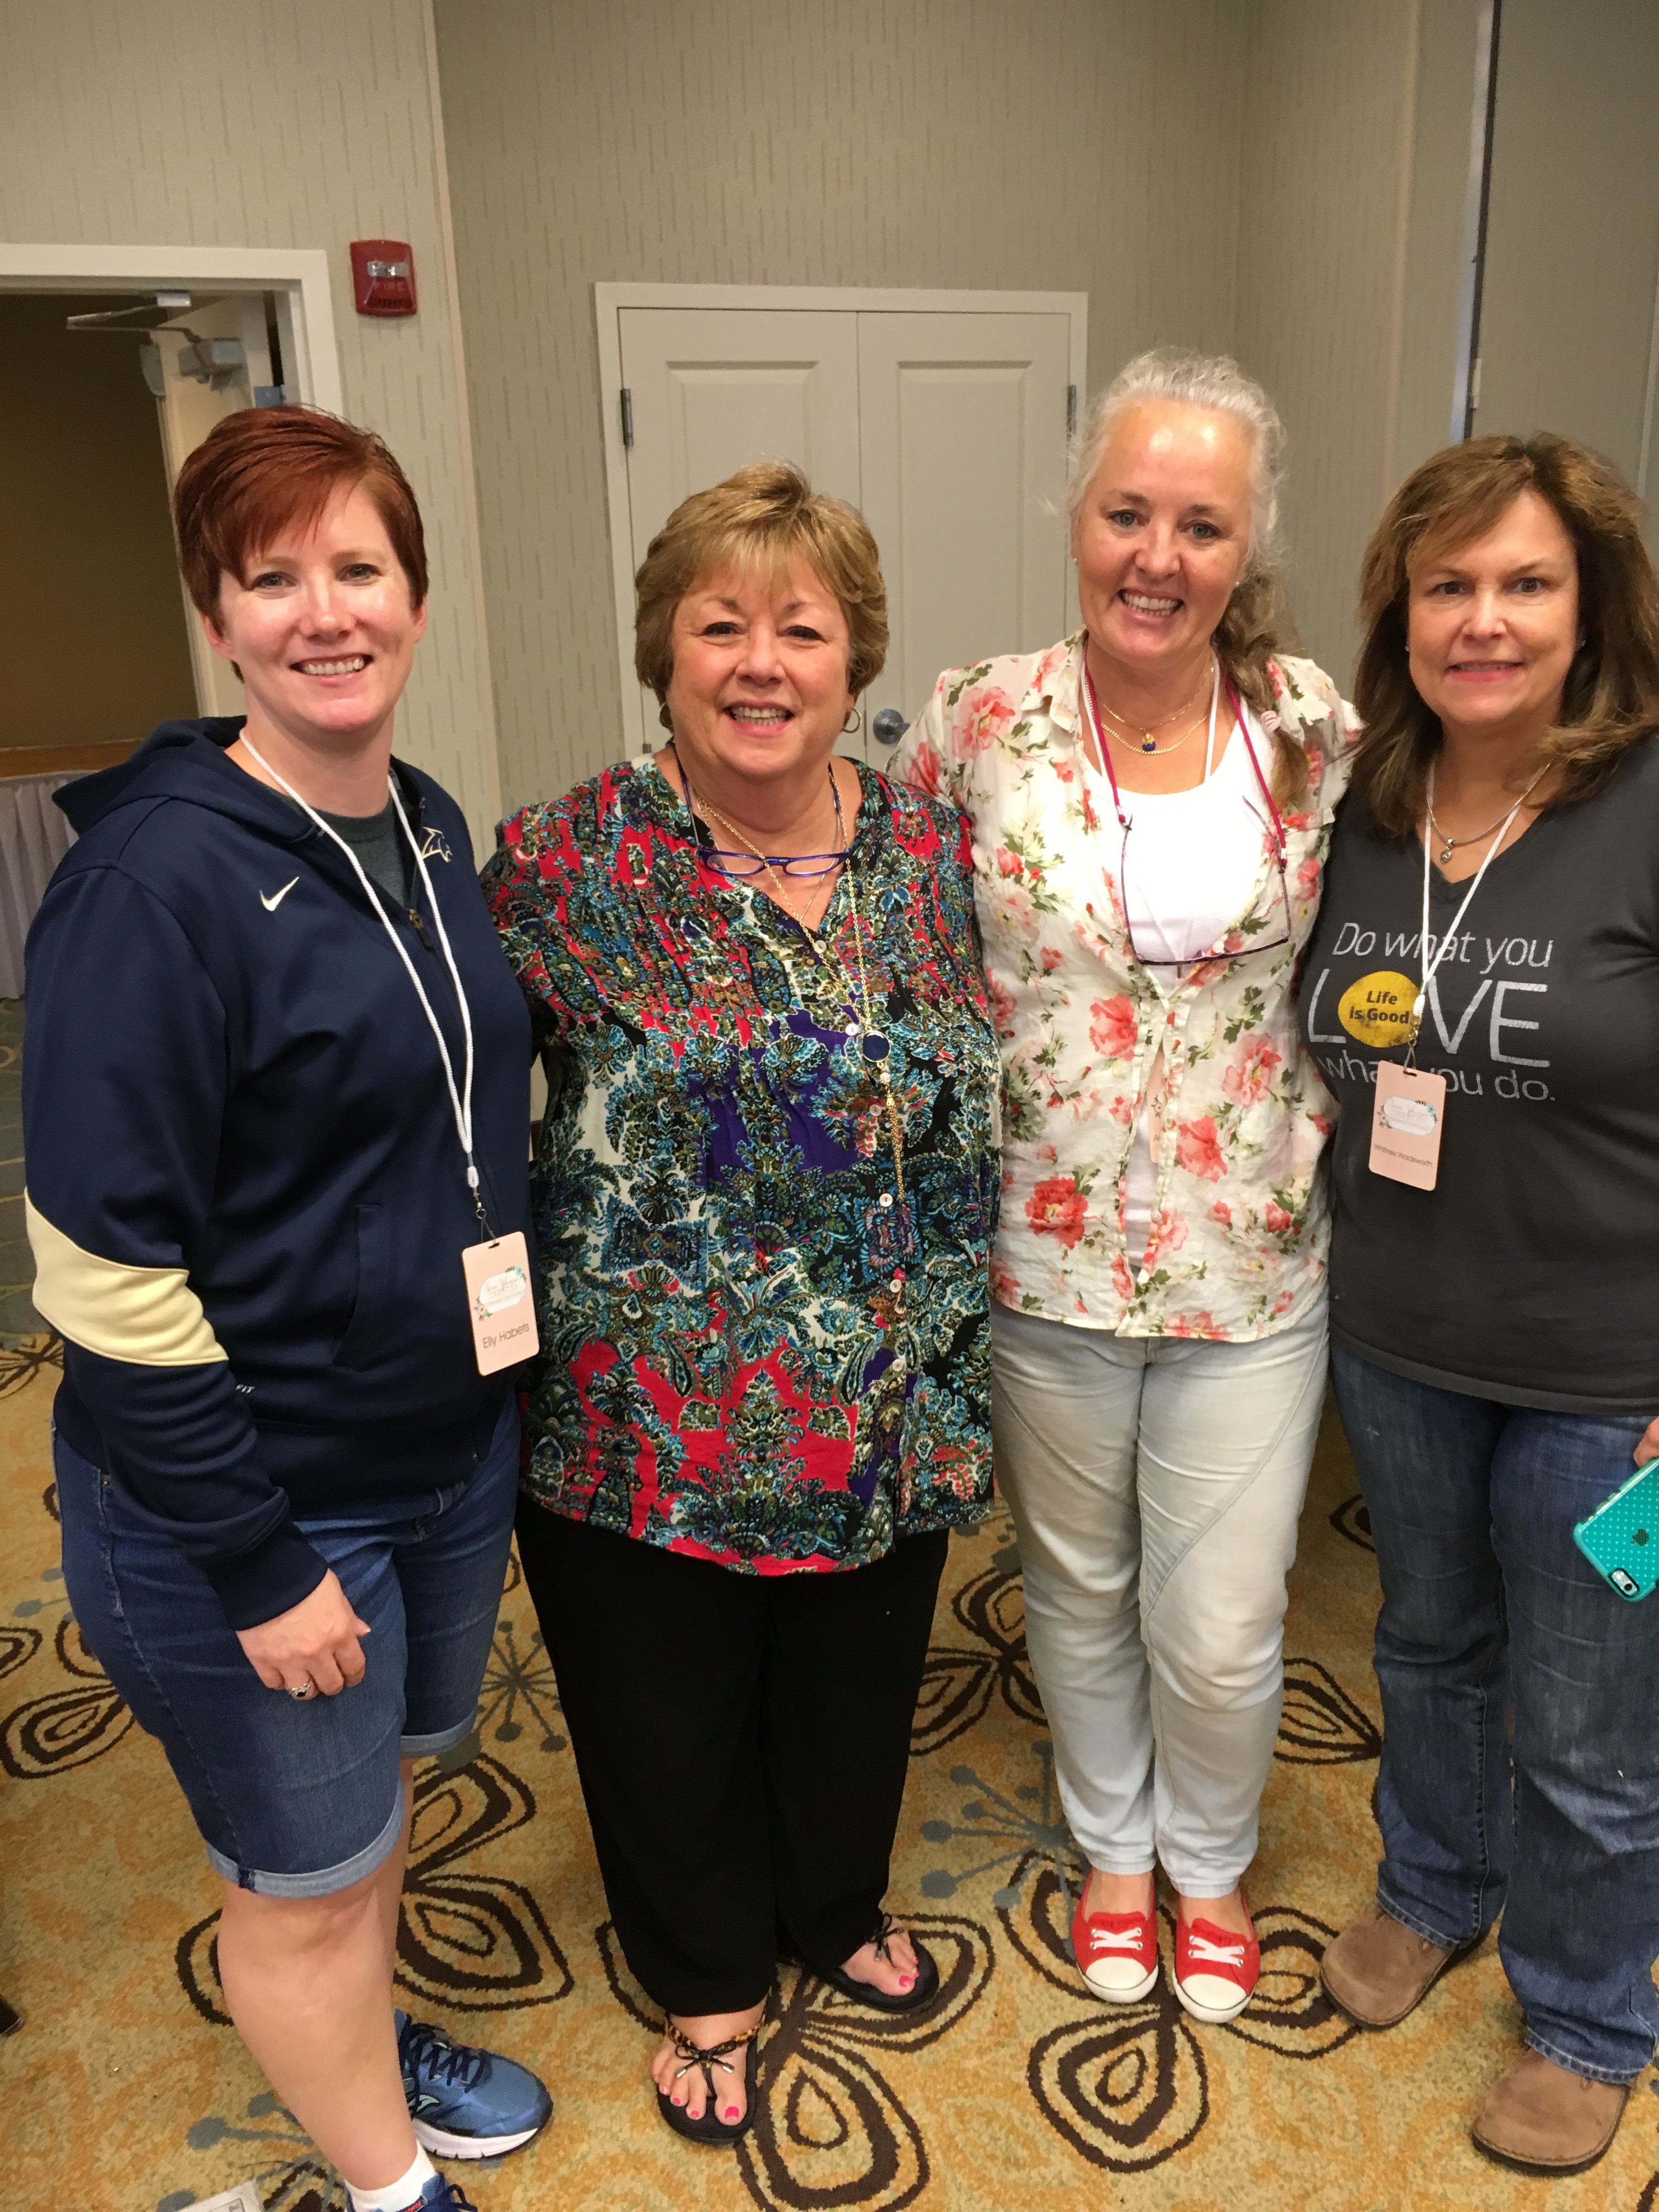
Here is the 1st graduating class of the TJC Instructor Programtjc-photo

If you are interested in learning more about TJC Instructor Program you can visit Terri’s website for more information.
Terri Johnson Creates

Stay tuned for more projects, tips, training and personal instruction.
Details will be posted on this site as I get everything ironed out.

ss_signature-copy