Posted on Leave a comment

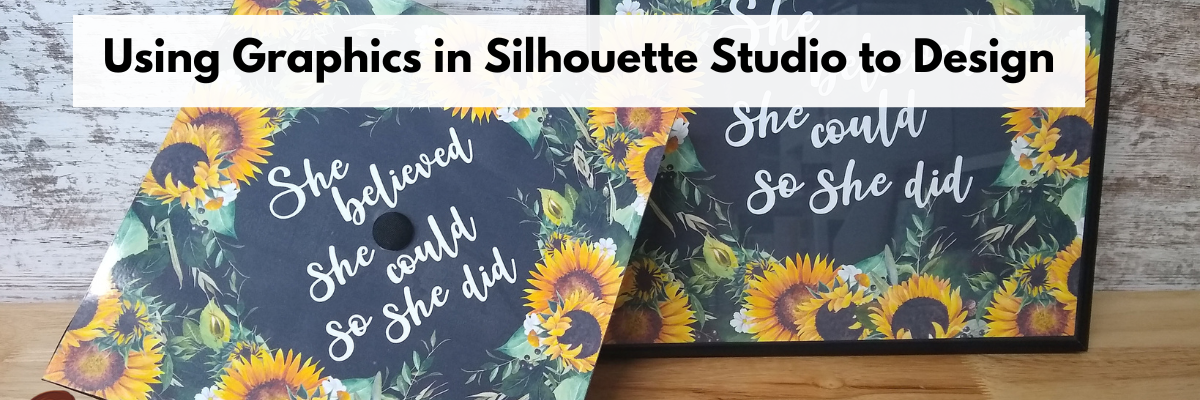
Using Graphics in Silhouette Studio to Design With – Graduation Cap & Framed Décor

Join me in the new video tutorial on the Silhouette Secrets YouTube channel as I share how I created a graduation cap topper using graphic images in Silhouette.

But I couldn’t stop there and I loved the image so much that I had to make myself a framed décor piece too!

I share this process step-by-step in this new video HERE.

Affiliate links may be present in the following blog post and as an Amazon Associate I earn from qualifying purchases.

Supplies Used:

Watercolor Sunflower Bundle
Beauty Dina Font
Graduation cap

More information on the tools used in the Silhouette software:
Let’s Explore v4 – Make Compound Path
Crop
Print and Cut

What will you try today?

Save this for future reference by pinning the image below.

Enjoy !

THANK YOU for your support! How can you help? Click HERE & buy a coffee.
Every little bit helps with the cost of running the site.

Looking for more in-depth, step-by-step classes, check out all of my online Silhouette classes on my Teachable site HERE.

SS Logo snip it
**This post may contain affiliate links. What that means is that I may receive compensation if you purchase through the links I have provided. The price you pay for the product or service is not higher but I may get compensated for sharing.
Posted on Leave a comment

Beach Home decor

Sometimes you just can’t pass by something in the craft store. I really don’t need any more paper in my craft stash but beach themed was calling my name…… and it jumped in my cart.

img_6106 These images were all part of 12 x 12 sheet of paper and I cut it apart to make 4 – 6 x 6 squares. I found canvas blanks that were the same size and used Mod Podge to add the paper onto the canvas. Once the Mod Podge was dry, I sponged some ink on the edges of each one to match the background colors.

These canvas squares do not have backing on them so I will just add a 3M hanger to the back to hang on our walls. img_6107Now that these are dry, it’s time to find a place for them in our house.

I only used one sheet of paper and now have the entire pack to use for other projects. A very low cost home decor item that I can change out at any time that came together very quickly. img_6130

Enjoy !

THANK YOU for your support! How can you help? Click HERE & buy a coffee. Every little bit helps with the cost of running the site.

Looking for more in-depth, step-by-step classes, check out all of my online Silhouette classes on my Teachable site HERE.

SS Logo snip it

**This post may contain affiliate links. What that means is that I may receive compensation if you purchase through the links I have provided. The price you pay for the product or service is not higher but I may get compensated for sharing.

Posted on Leave a comment

Halloween decor – yes that’s right!

Halloween is of course several months in the past, but when you can pick something up on clearance…. why wait until next year to finish it.
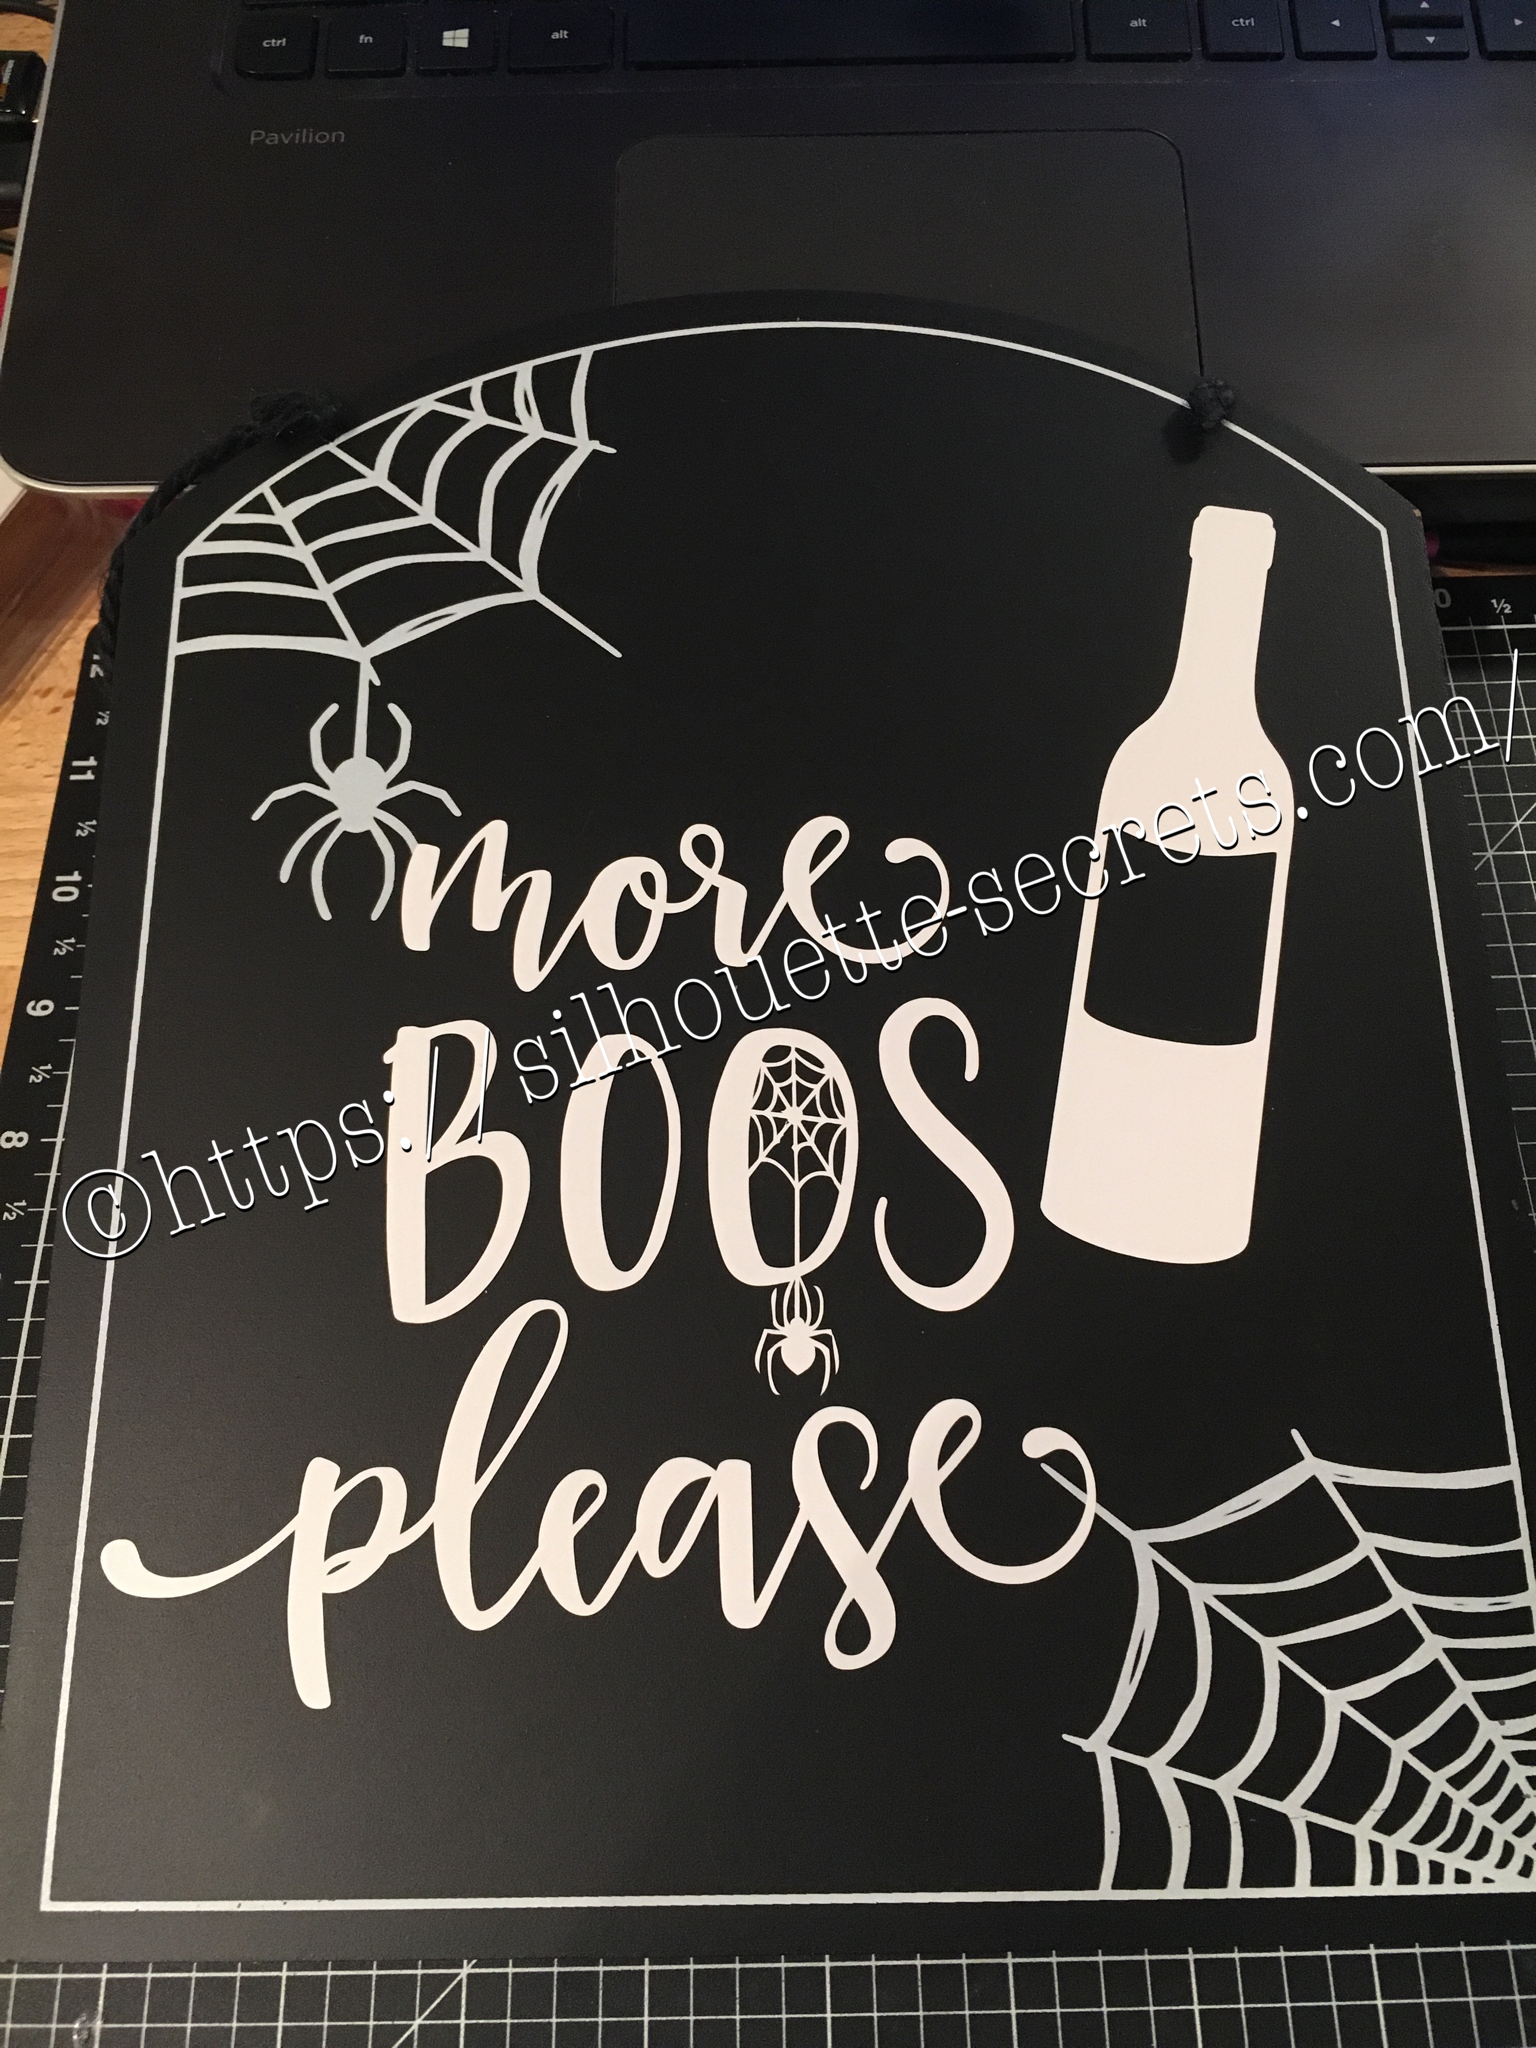
I found a couple signs at Target that were perfect to add vinyl to.

I had a couple files from the Silhouette store & they were perfect for these…..

img_6072-1

With my first design, I weeded the large area first & then I applied my transfer tape & uses a technique commonly called “reverse weeding” in the Vinyl crafting lingo.

How do you reverse weed?

Burnish your design well, so it all sticks to your transfer tape.
Then peel the backing off of your vinyl design & very carefully weed out the bits of vinyl from the delicate parts of your image.
This works especially well if you have small eye pieces or small dots for letters, etc. It does take some practice to get the hang of it.
The first time I did it, I hated it because my transfer tape kept sticking to me.
But, the more you practice & get the hang of it, the more you fall in love with the technique & use it for those delicate designs that you don’t want your pieces moving on.
In my design, I used this for the spider web that was in the center of my “O”.

After weeding my design, I then carefully placed my design on my sign & burnished it down really well. Then I carefully peeled the transfer tape off, watching for any vinyl that did not come off the transfer tape and I would put it back down & burnish it some more to get it to stick.

img_6074-1

And my second design, also from the Silhouette Design Store.


img_6075-1

Now these are ready to pull out for next year and will go perfectly in my dining room that has a wine theme.

Whenever you get the chance to grab some decor items at a discount, grab them, but don’t let them sit around too long without adding all the finishing touches.

Enjoy !

THANK YOU for your support! How can you help? Click HERE & buy a coffee. Every little bit helps with the cost of running the site.

Looking for more in-depth, step-by-step classes, check out all of my online Silhouette classes on my Teachable site HERE.

SS Logo snip it
**This post may contain affiliate links. What that means is that I may receive compensation if you purchase through the links I have provided. The price you pay for the product or service is not higher but I may get compensated for sharing.
Posted on Leave a comment

Simple Santa Ornament

Here is another simple ornament made using basic shapes within the Silhouette Studio program.
I created a long rectangle belt after measuring the circumference of my square ornament, which I then cut out of black 651 vinyl.
Then I made 2 squares and used the Subtract all feature to make the belt, which I cut out of silver 651 vinyl. santa-ornament-copy

I then used transfer tape to place the images onto my ornament.

img_4059-1

And added a few clear rhinestones with some E6000 glue and you have a simple Santa belt ornament.

img_4062-2

Hope you are able to create something today1


Enjoy !

THANK YOU for your support! How can you help? Click HERE & buy a coffee.
Every little bit helps with the cost of running the site.

Looking for more in-depth, step-by-step classes, check out all of my online Silhouette classes on my Teachable site HERE.

SS Logo snip it
**This post may contain affiliate links. What that means is that I may receive compensation if you purchase through the links I have provided. The price you pay for the product or servic