
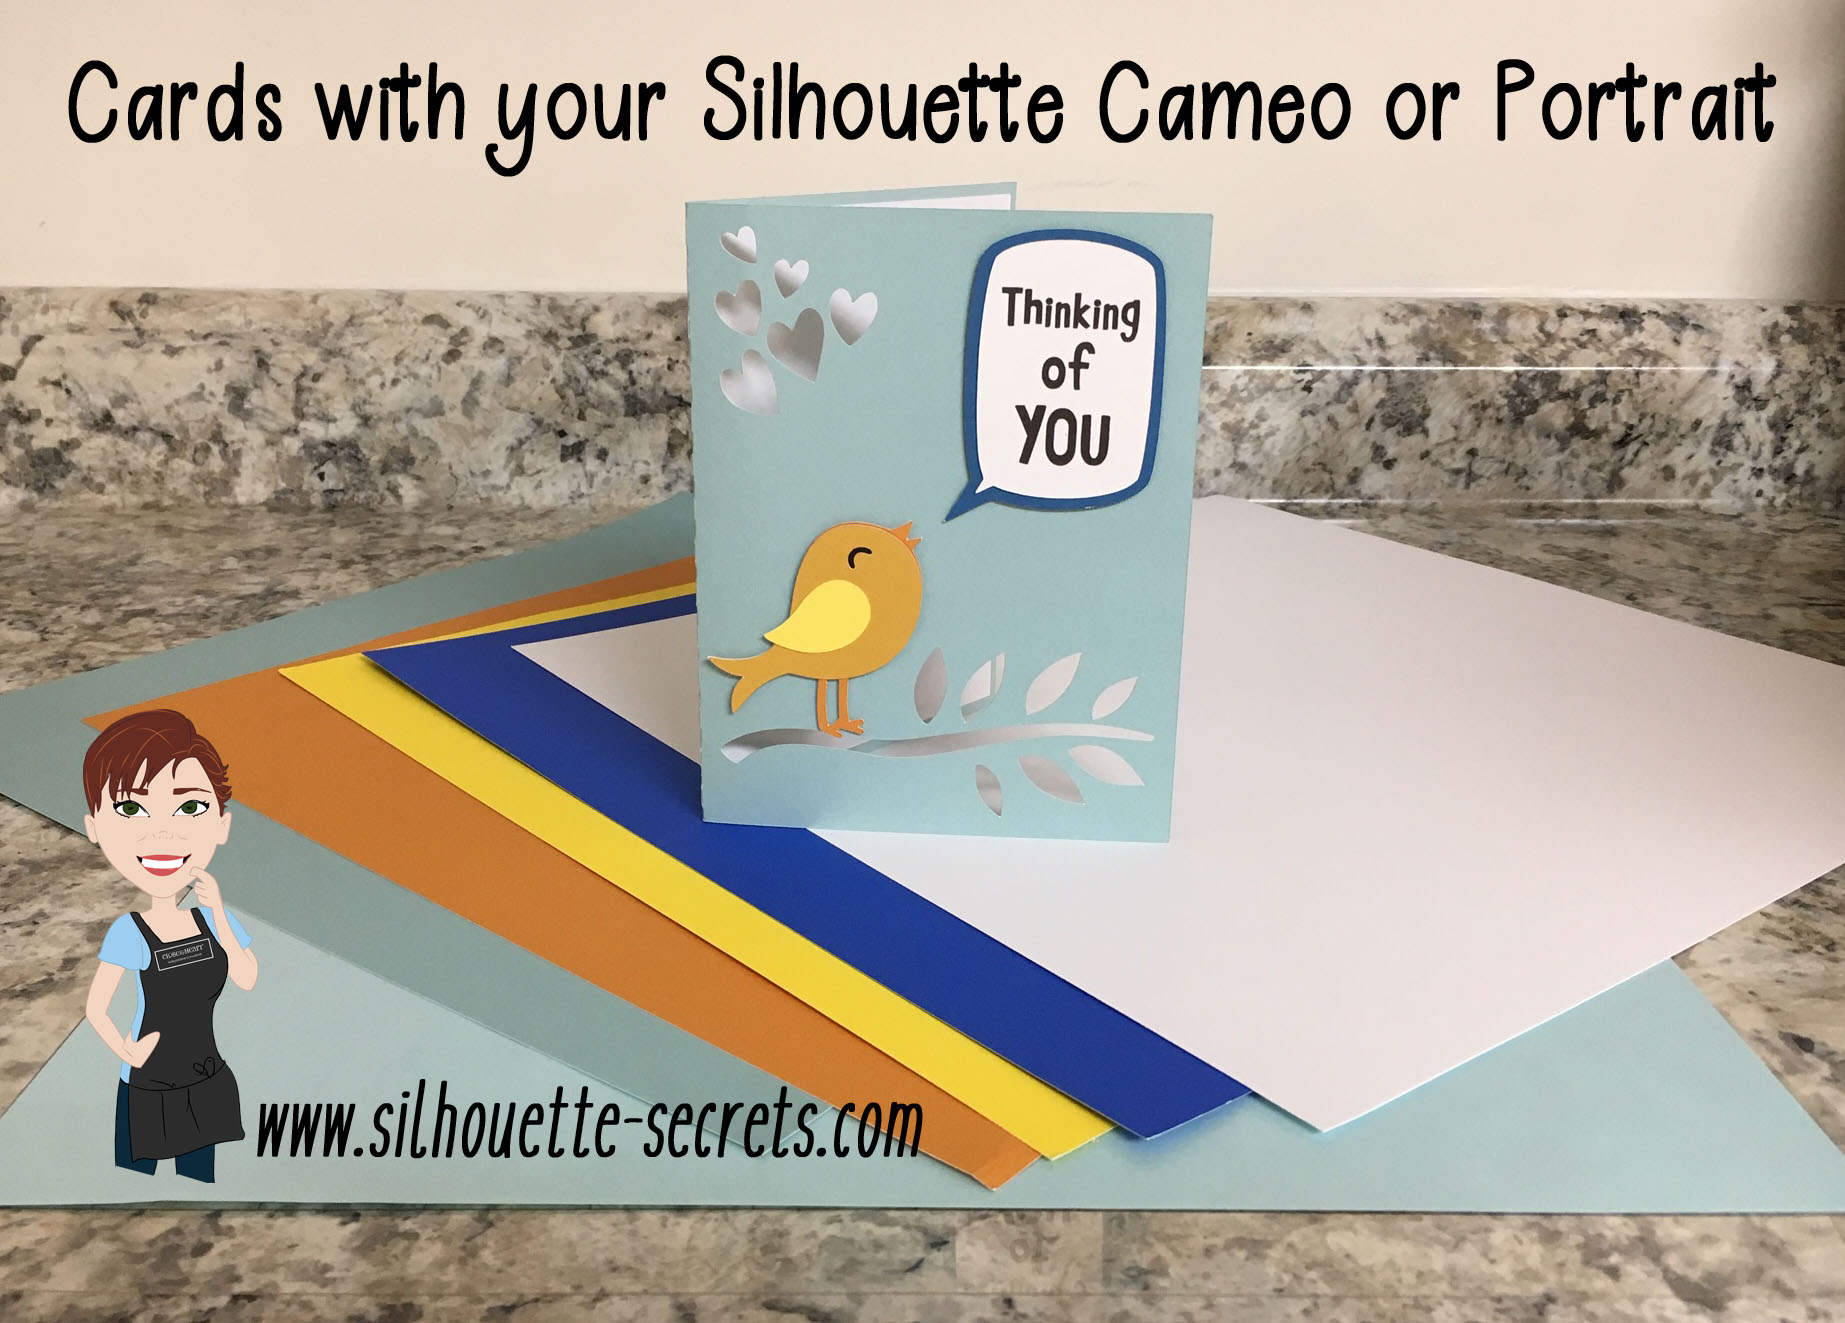
Did you ever need a quick card?
Grab that cardstock and an easy cut file from the Silhouette Design Store.

I used Lori Whitlock’s Sympathy Card Thinking of You – Design #258278. While the card says Sympathy, it could be used for a lot more than that. This was a pretty easy card to cut.
Open the Design and right click to ungroup the pieces.

Next, move the pieces around on the mat and place the cardstock in the same location of the mat.
To see how I did this with Oracal vinyl as well, check out this post on the Acrylic ornaments – HERE.

Tips
– I use the Reveal Mat and increase it to 100% to see the grid lines of my cutting mat, so I can line up the material in the exact location and cut it down to the size needed with my paper trimmer.
– A sticky mat is important to hold down the entire piece of cardstock so it does not move while it’s being cut. A mat that is too sticky will hold the paper too tight and make it harder to get it off after it’s cut. De-stick your mat a few times on a clean cotton t-shirt or towel. I usually use my t-shirt I have one, as that is the quickest.
A mat that is not sticky enough and the paper is not held down for a crisp cut.
– I use the textured cardstock setting for almost all cardstock and it works well. It will lightly score the mat, but that is normal as you are cutting completely through a material.
– I like the cardstock packs from Michael’s to test and play with cutting cardstock. It cuts well and is inexpensive to play around with. I do prefer to cut smooth cardstock versus textured. I just found that there was more chance for a cut to not connect with the textured – again a really sticky mat will help with this and holding that textured cardstock in place.
– Play, play, play and you will pick up tricks and tips. Even experienced users still have issues, so if you do, it is all part of the process.
Keep on trying!

And use a bit of adhesive and you are finished.
You can get as detailed in card making as you want or as simple.
I would love to see what you create – feel free to post on my Facebook group at
Silhouette Secrets+ with EllyMae.
Enjoy!


**This post may contain affiliate links. What that means is that I may receive compensation if you purchase through the links I have provided. The price you pay for the product or service is not higher but I may get compensated for sharing.









