Affiliate links may be present in the following blog post and as an Amazon Associate I earn from qualifying purchases.
This month I am participating in a project challenge hosted by Heat Transfer Warehouse.
We received a box with some supplies inside and are tasked with creating a project.
The rules were simple. We could only use products from the package we received, we had to use at least 3 products from the package, and our theme was Mental Health.
So first, here is my challenge submission.

Everyone approaches a project differently and I thought I’d share how I tackled this one.
Keep in mind there is more than one way to get things done, so my process might not be the same as yours.
You do what works for you!
Supplies I used:
– Every Day is a New Beginning by Jillibean Soup – Design #392220
– Hibiscus Flower Bunch by Samantha Walker – Design #10873
– Honu Turtle by Suzanne Cannon – Design #291495
– Waves by Tanya Batrak – Design #301458
– Bella Canvas Fleece Shorts
– Port Authority Outdoor UV Bucket Hat
*this might be my new favorite – it is UV and bug repellent so maybe the mosquitos will leave me alone
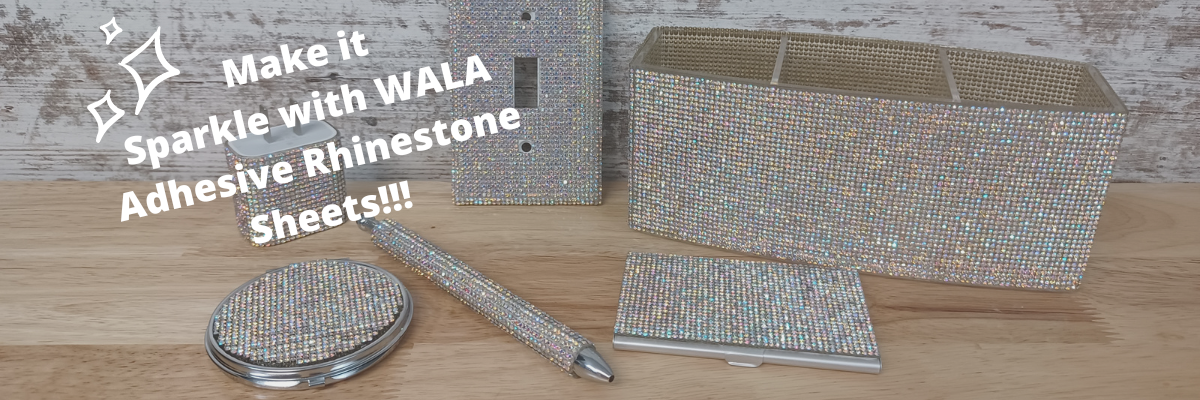
– Siser Glitter HTV Ember Orange
– WALAKut White HTV
– WALAKut Black
– WALAKut Yellow
– Siser Heat Press
My Project Design Process
Step 1 – Assess the Materials
These are the items we received in our challenge package and the only ones we could use for the challenge.

Step 2 – Brainstorm Ideas
I do most of my brainstorming sitting in front of the TV with my Ipad in hand and browsing Pinterest and design websites. And then I start a list of possibilities and any idea I think of goes on the list.
Most times, my list will not make much sense to anyone but me and sometimes even I can’t remember what I was thinking when I wrote it.

I had to think about this one a bit with the theme of mental health.
I searched and searched for designs with this theme and as I did, I found I was drawn to things that speak to me. And this may not make sense to anyone but me, but isn’t that what it is all about?
You can’t pour from an empty cup and each person has to find what fills them back up.
All of these items speak to me in one way or another. I settled on the Honu turtle, hibiscus flowers, and I felt the Turtle New Day new Beginning saying fit perfectly with this category – for me.
Your design may be something completely different or maybe it isn’t even craft related at all.
Step 3 – Create a Mock Up

When I’m designing I will use shapes or images of the actual blank I’m working with to see how it will look.
In this case, it helped me to get an idea of how the designs would look on the Bella Canvas Fleece Shorts and also a little bit of an idea on how the colors might look too!
Check out this post Creating a Mock Up in Silhouette Studio for how I do this.

And I wanted to decorate the Port Authority Outdoor UV Bucket Hat but I instead of getting a photo of the item, I needed measurements.

I took measurements of the brim of the hat on the outer edge and the inner edge. Then drew 2 circles that size and center aligned them.
Then I could design around the brim of the hat with the waves and turtle design.
Next I measured the width of the bucket part of the hat and the diameter so I could draw a long rectangle and use that to design within.
This gave me a pretty good idea of what would fit and how many I needed to cut.
Step 4 – Get Started Cutting
Once I have settled on a design – which can be the longest part of the process for me – it’s time to start cutting!

And then it’s time to weed the designs.

And then time to press it all and see how it comes together!

Pressing on the hat was interesting and I just continued to work around the hat in small sections using a pressing pillow.
Step 5 – Final Photos
And then taking the photos of the finished projects!

This may be the part I struggle with the most and I just continue taking photos until I get some with good lighting. That could be setting up in my studio with photo lights or using natural lighting outside.

Now I’ve shared a behind-the-scenes look at how I work when I’m creating a project!
Do you have a method in how you approach a project?
Let us know in the comments below.
Save this for future reference by pinning the image below.

Enjoy !
THANK YOU for your support! How can you help? Click HERE & buy a coffee.
Every little bit helps with the cost of running the site.
Looking for more in-depth, step-by-step classes, check out all of my online Silhouette classes on my Teachable site HERE.