Posted on Leave a comment

Beginner’s Guide to the Silhouette Cameo 5 Step-by-Step Class Now Available!

Silhouette Beginner's Guide to the Cameo 5
Silhouette Secrets+ with EllyMae

Are you ready to start crafting with your Silhouette Cameo 5 but don’t know where to begin? 🎉 Our brand-new Beginner’s Guide to the Silhouette Cameo 5: Crafting Made Easy is here to help! This step-by-step class is designed with beginners in mind, walking you through everything from unboxing your machine to mastering your first project. Whether you’re brand-new to Silhouette or want to boost your confidence with the Cameo 5, this class is packed with practical tips and easy-to-follow instructions to set you up for crafting success. Let’s get started on your creative journey today! 🌟

Beginner’s Guide to the Silhouette Cameo 5: Crafting Made Easy
step-by-step class
Click HERE

Take the guesswork out of using your Silhouette Cameo 5 with this hands-on, step-by-step class designed for beginners. You’ll learn how to set up your machine, navigate the essential features of Silhouette Studio, and master the basics of cutting with confidence. This class covers everything from opening the box to getting your first successful cuts, with expert tips all along the way. Perfect for new users, this guide will leave you equipped with the skills and knowledge to bring your creative ideas to life!

Portrait 4 owners: this video course can also be used for Portrait 4 machines as well. Most of the information is the same for both machine models, the main difference is the cutting width of each machine.
View an unboxing of the Portrait 4 here.

The supplies needed for this class are minimal. I used Oracal 651 adhesive vinyl, AT 65 Transfer Tape, and Cardstock.

Complete course outline below:

Introduction, Unboxing, and Proper Setup of the Silhouette Cameo 5 – 20 minutes

  • Unboxing the Silhouette Cameo 5
  • Explanation of all parts included in the box
  • Proper Setup of Silhouette Cameo 5 machine
  • Proper Installation of the included Roll Feeder on the Silhouette Cameo 5
  • Explanation & Tips to Autoblade Installation and Tool Housings

Silhouette Cameo 5 New Machine Setup & Warranty Registration – 15:53 minutes

  • Set up on the Silhouette America Website
  • Registration to Your Account
  • Silhouette Studio Software
  • Silhouette Cameo 5 Setup
  • Silhouette Cameo 5 Firmware Updates

Silhouette Studio Software: Important Information

  • Silhouette Studio software version information

Silhouette Cameo 5: First Cuts with Adhesive Vinyl & Cardstock – 56:40 minutes

  • Setting up a Design Using Text
  • Cut Settings on the Send Tab Explained
  • 2 Ways to Do Test Cuts
  • First Cuts from Adhesive Vinyl
  • Explanation of the Autoblade Adjustment
  • Removing materials from the cutting mat
  • Weeding Tips
  • Applying Transfer Tape
  • Removing the Backing off Adhesive Vinyl & Cutting Tips
  • Changing Blades & Reinstalling for Cardstock Cuts
  • Test Cuts on Cardstock
  • Drawing Basic Shapes & Adjusting a Polygon
  • Cutting Basic Shapes from Cardstock
  • Troubleshooting Tips for Cut Issues
  • Tips to Removing Materials, Saving Adhesive on the Mat, and Materials Not Curling When Removed
  • More Tips

Additional Resources
Terms of Use

This class will help get you up and cutting faster than figuring it out yourself! Help yourself get started quicker and be on your way to more fabulous projects in no time!

Beginner’s Guide to the Silhouette Cameo 5: Crafting Made Easy class found HERE
Check out all of the Silhouette classes HERE.

Save this for future reference by pinning the image below.

Silhouette Cameo 5 Beginner's Class

Find more Silhouette resources and tutorials on the A to Z section on the blog HERE.

Enjoy !

THANK YOU for your support! How can you help? Click HERE & buy a coffee.
Every little bit helps with the cost of running the site.

Silhouette Classes

Never stop learning! Let me help you take the anxiety out of learning with Silhouette and get to creating faster! My Silhouette classes are heavily focused on software, so you can take the skills & techniques taught and apply them to many future projects!

Silhouette step-by-step Classes by Silhouette Secrets+

Silhouette Secrets+ with EllyMae
**This post may contain affiliate links. What that means is that I may receive compensation if you purchase through the links I have provided. The price you pay for the product or service is not higher but I may get compensated for sharing.

Posted on Leave a comment

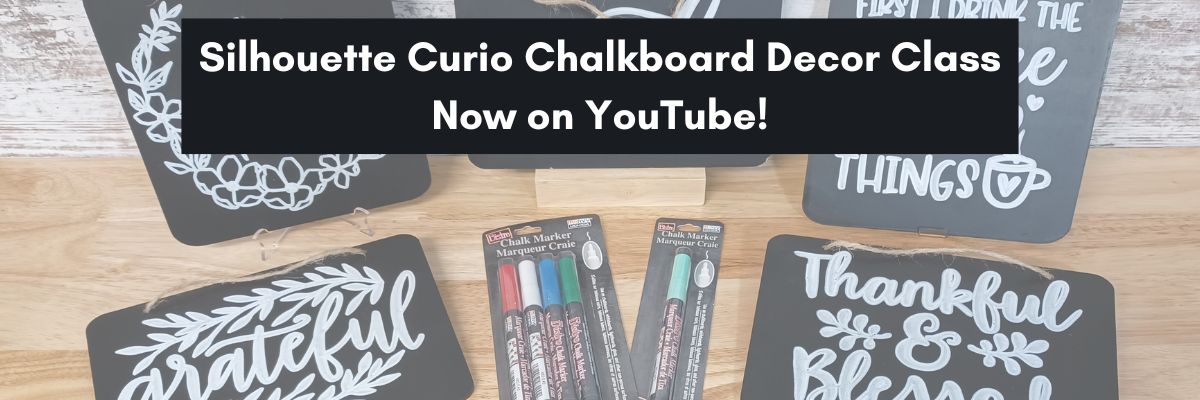
Silhouette Curio Chalkboard Class

This is not something I do often, well in fact, it’s the first time ever!
I just published one of my step-by-step Silhouette Curio classes to the
Silhouette Secrets+ YouTube channel.

It can also be found for Free on my Silhouette Secrets+ Teachable site HERE, if you prefer not to watch through YouTube.

This is a rare “wild hair” because classes take a lot of time to develop, test, record, and edit.
But, why not mix things up a bit this year!

If you have a Curio, this is a fun project to do!

This is the full, step-by-step course. Nothing is left out or skipped over to shorten it for YouTube release. I share so many tips to working with the Curio in this video, it would be hard to chop it up.
In fact, I edited the videos again to add 2 bonus videos to the end so you can see it all exactly as I created it.
The full class is 1 hour and 30 minutes long and you can view it all!

Supply list

Affiliate links may be present in the below and as an Amazon Associate I earn from qualifying purchases. What that means is that I may receive compensation if you purchase through the links I have provided. The price you pay for the product or service is not higher but I may get compensated for sharing.

These are the supplies I used in this class to create these chalkboards:
– Silhouette Curio machine, Silhouette small base cutting mat, Curio platforms and base
– Chalkboard sign – Michaels – 6.6” square, arrow shape, rectangle shape
Michaels bulk chalkboard options – rectangle 8 pk, arrow 8 pk, Square 8 pk
or Amazon
NOTE: chalkboards can vary in thickness – it needs to be under 5 mm thick & fit on the Curio base
No frames or borders. Remove any twine attached.

Create by Cali Arroyo – Design #215617
Bistro Chalk Marker by Marvy Uchida White
– Optional: Bistro Markers Colors – Fluorescent, Primary
– Silhouette Pen Holder Type A – Silhouette America, Amazon
Digital Calipers – highly recommend for Curio projects
– Ruler with mm
White Chalk
– Clean Towel
– Notepad & pen
– Optional designs also featured: Design #317171, Design #404761, Design #304784,
Design #400058, Design #229894, Design #154513
Optional: extra twine, scissors

I hope you’ll join me in creating fabulous projects with your Silhouette Curio!
Find all the Silhouette Curio classes on my Teachable site HERE.

Save this for future reference by pinning the image below.

Find the video on the Silhouette Secrets+ YouTube channel
or on my
Silhouette Secrets+ Teachable website.

Enjoy!

THANK YOU for your support! How can you help? Click HERE & buy a coffee.
Every little bit helps with the cost of running the site.

SS Logo snip it
**This post may contain affiliate links. What that means is that I may receive compensation if you purchase through the links I have provided. The price you pay for the product or service is not higher but I may get compensated for sharing.
Posted on Leave a comment

New Silhouette Class Released

Creating a Custom Knockout Design in Silhouette Studio

New Silhouette class available on my Teachable site HERE.

This class is one I created for the May 2022 All Things Silhouette Conference and it was a hit! The attendees took the class ideas and ran with it. I loved seeing all of their creations and it really inspired me to want to create even more.

I’ll be honest and typically after all the time that goes into the testing, recording, and editing to create a new class – I usually am “over” the class topic and it might be awhile for me to do it again. For instance, my Foil Quill didn’t get unpacked for a year after teaching at an ATS conference a few years back.
But, this class has been different as I see all the creations coming in. I am sharing a few of those below the class information so make sure to keep scrolling below.

This is a step-by-step class that explores the complete process of creating your own unique design. We start with downloading an image, tracing, discuss compound paths, text, offset, and the modify-subtract tools. This class is jam-packed with information that will help you in many future projects!

Check out the full class details

HERE

I am including the list of supplies I used in the class below.
Affiliate links may be present in the below and as an Amazon Associate I earn from qualifying purchases. What that means is that I may receive compensation if you purchase through the links I have provided. The price you pay for the product or service is not higher but I may get compensated for sharing.

Class Supplies:

-Silhouette machine, blade, cutting mat
Paint Stroke design from Pixabay – Download HERE – how to download will be included in the class – alternate options are listed below as well
Hello Friend Brush Script Font by Gina Marshall – Design #271670
– Optional Text Design by Silhouette Secrets – download HERE or use text style of choice
– Patterned HTV, Transfer Mask (if needed), Solid color HTV of your choice
Sparkleberry Ink Patterned HTVStaci’s Watercolor HTV used in class photo
Use code SILSECRETS to save 10% at Sparkleberry Ink
Transfer Mask for Sparkleberry HTV
– Siser Easyweed color to match – Siser Easyweed Sky Blue used in class photo
– Shirt, tote, pillow, or other blank to press on

Optional design options:- Brush Stroke design alternatives – no tracing needed: Design #400679, Design #405377, Design #240013, Design #398421, Design #314334, Design #290326, Design #393147,
– Other Sparkleberry Ink combinations: Watercolor Wash (video class), Confetti Blue, etc.

I have also included a list of the class content in the description on Teachable.
There is a lot of information packed into this class. The best part is once you are registered, you can watch at your convenience and as many times as needed to really soak in the information.
Check out all the details HERE.

During the All Things Silhouette Conference attendees will post their completed project photos in our private Facebook group and WOW! I was blown away with their creations and the variety of different patterns, shapes, and text used in this class.

It truly shows that the techniques learned in the class can be used in many different ways for all users.

Custom Knockout Show & Tell

Here are a few that I received permission from the creators to share with you all.

Design Creation by C following the Custom Knockout Class
Design Creation by Paula P. following the Custom Knockout Class
Design Creation by Renee H. following the Custom Knockout Class
Design Creation by Nikki H. following the Custom Knockout Class
Design Creation by Sheri S. following the Custom Knockout Class
Design Creation by Darlene T. following the Custom Knockout Class
Design Creation by Michele M. following the Custom Knockout Class

There were so many fabulous creations!

It is a good thing it was not a contest as I could not have picked just one!

When creating a class, I always have several demos that I’ve created in the testing and recording times of the course. Here are a few more I created using this same technique.

I do not necessarily like the feel of glitter HTV on a shirt that I wear, but I still love the look of glitter. This is Siser Glitter HTV applied to a piece of fabric and then I glued the fabric to the photo backing.

Here is the same design with a different pattern on a tote bag.

And once you start, sometimes it’s hard to stop, especially when you have a stash of patterned HTV.

And one more!

I have had this patterned HTV for several years and never found a design that I wanted to use it for. This pattern reminds me of a Lisa Franks design and it was perfect for this Inspire and Create design by Donna Downey – Design #32502.

And now after seeing all the creations from those who’ve already done the class, I have so many more ideas. I’ll have new shirts for the rest of the year!

Check out this class

HERE

And I would love to see what you create with it!
I’d love to see what you are creating with your Silhouette software & machines!
Feel free to post on my Facebook group at 
Silhouette Secrets with EllyMae.

Save this for future reference by pinning the image below.

Enjoy !

This image has an empty alt attribute; its file name is logo.jpg

THANK YOU for your support! How can you help? Click HERE & buy a coffee.
Every little bit helps with the cost of running the site.

Or if you are looking for more in-depth, step-by-step classes, check out all of my online Silhouette classes on my Teachable site HERE.

SS Logo snip it
**This post may contain affiliate links. What that means is that I may receive compensation if you purchase through the links I have provided. The price you pay for the product or service is not higher but I may get compensated for sharing.
Posted on Leave a comment

Silhouette & Michaels Class

Yesterday I was able to teach a class from the Silhouette Headquarters in Utah.

It was a beautiful fall day.

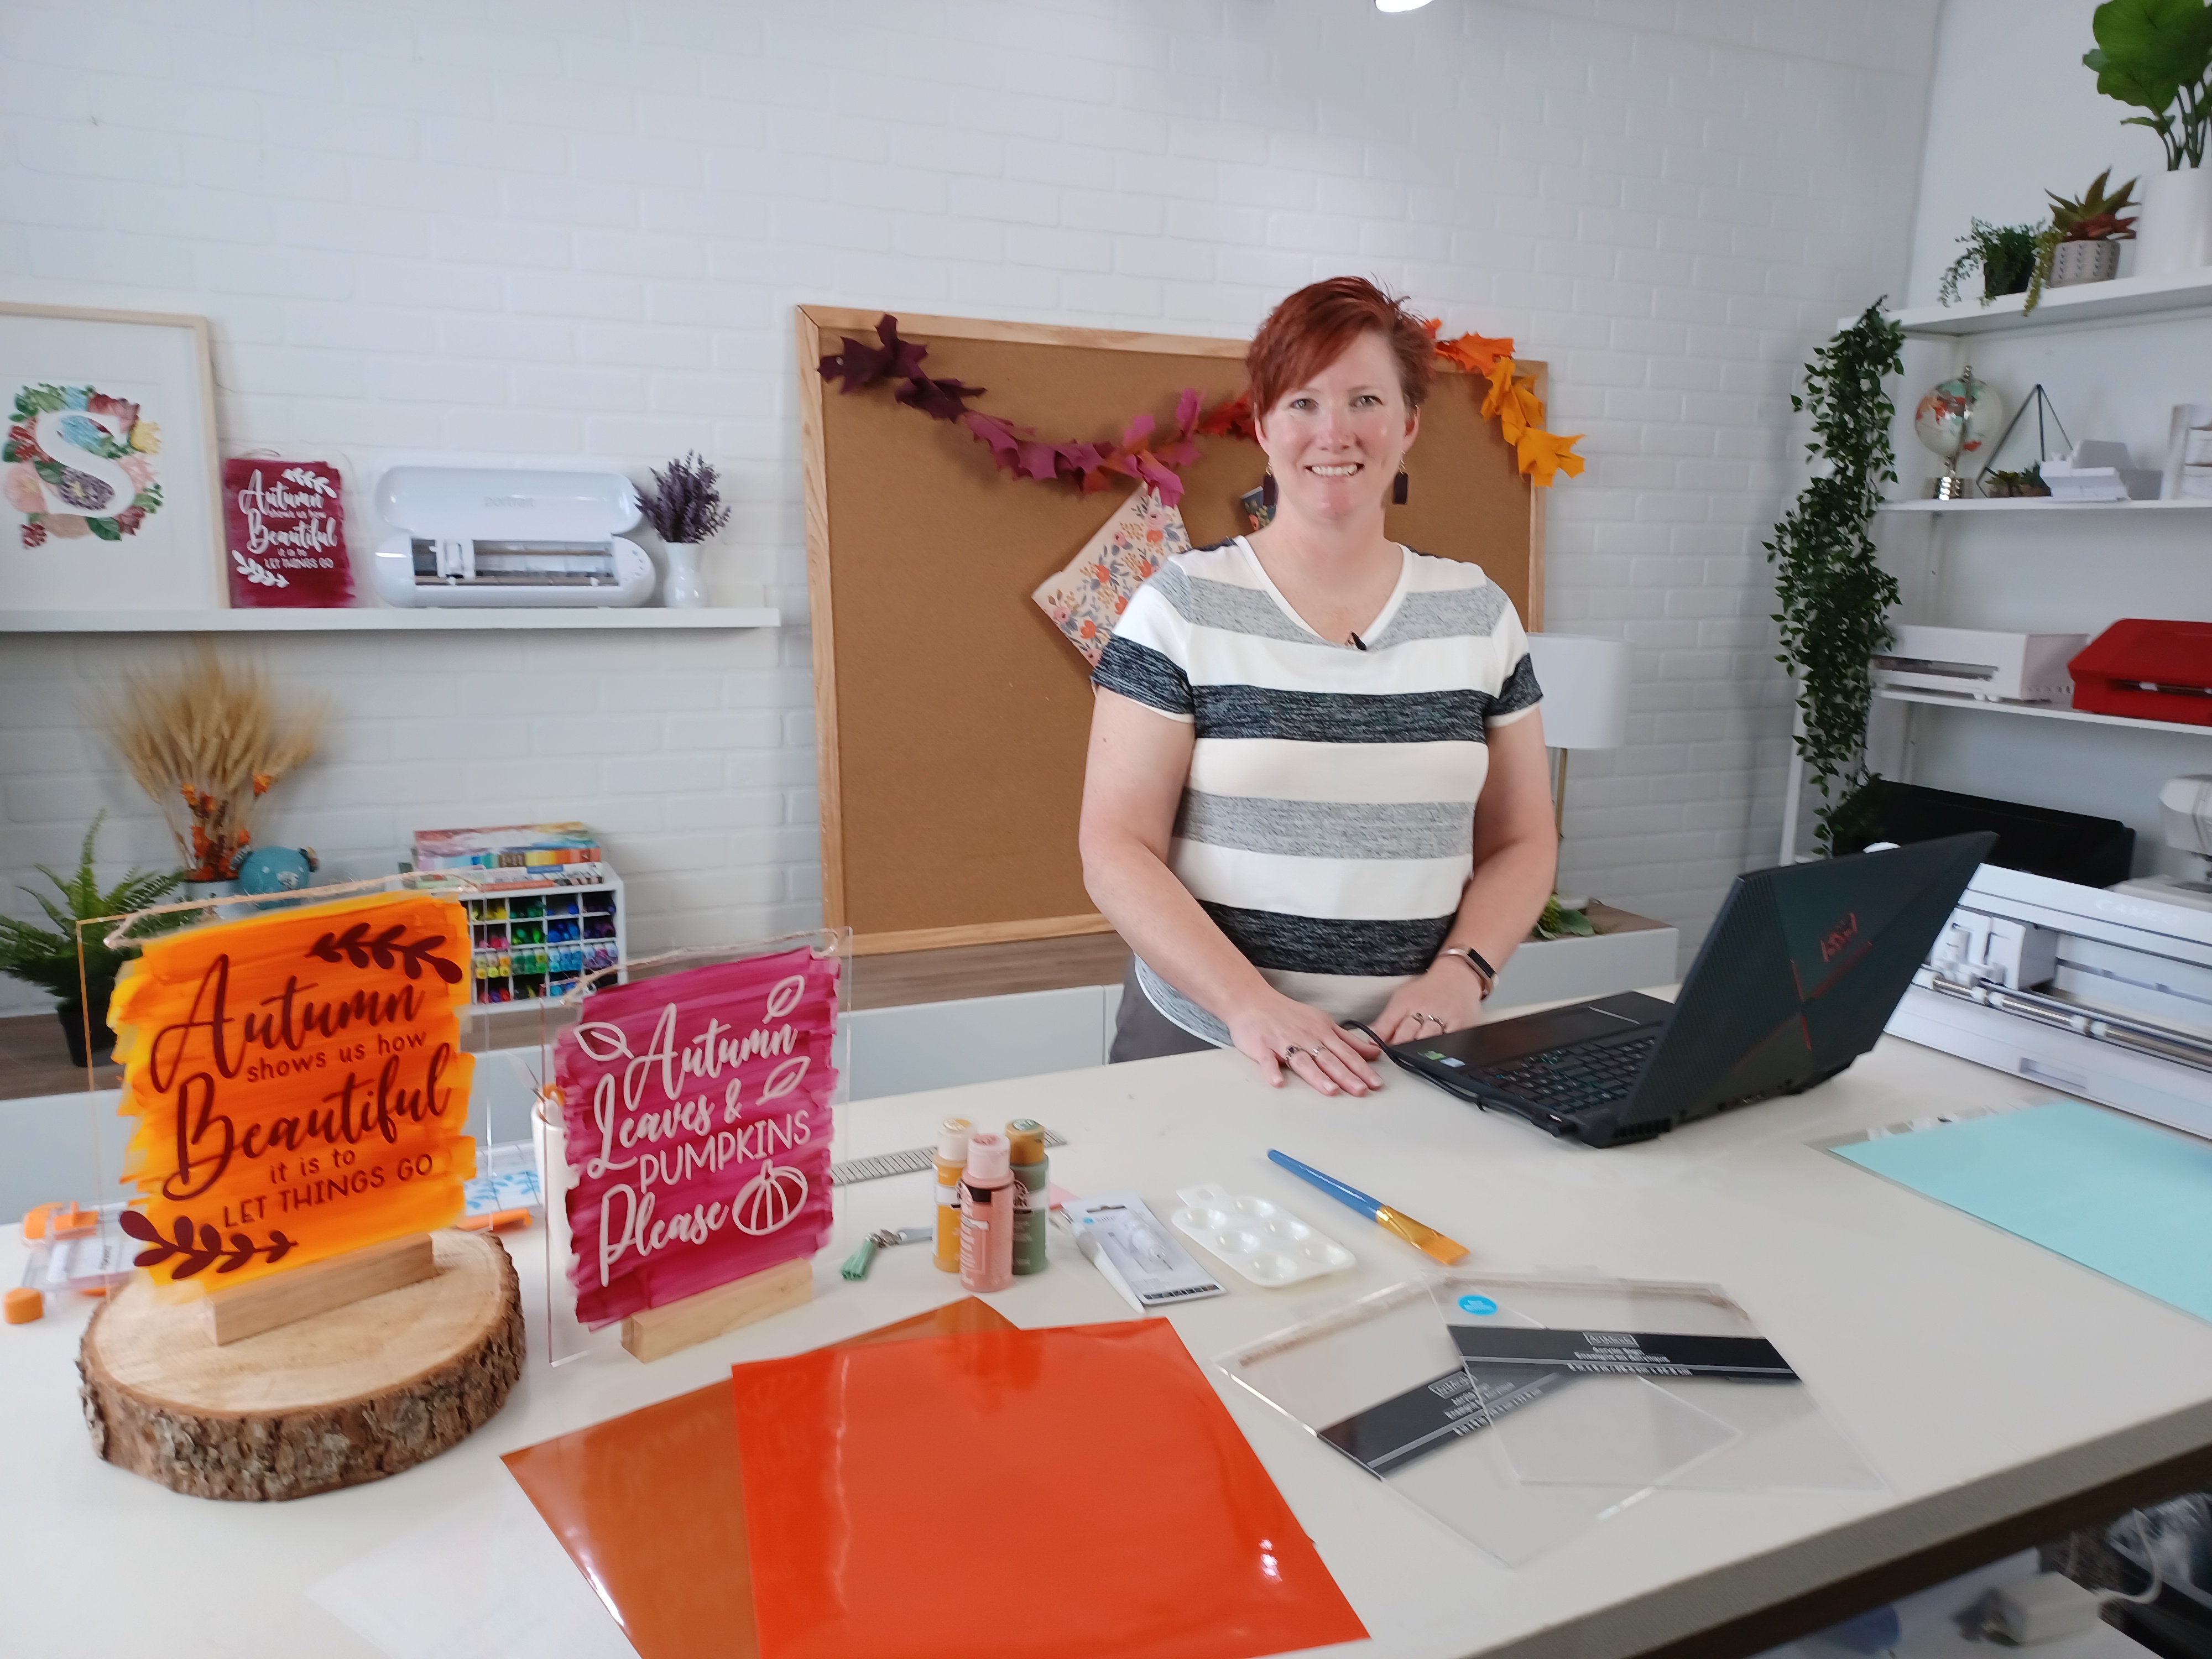
Here is a peek at the look at the Silhouette video and photography studio before we started the Zoom class.

The video recording is now available for viewing on the Michaels YouTube channel.

Check it out HERE

For more ideas of what you can do with the acrylic sign decor that I demoed in the Silhouette & Michaels Zoom class, check out this post HERE.

After the Silhouette and Michaels Zoom class, we did a quick Facebook Live on the Silhouette America Facebook page.

Check that out HERE

I hope I will see what you are creating with your Silhouette software & machines soon!
Feel free to post photos or questions on my Facebook group at 
Silhouette Secrets with EllyMae.

Save this for future reference by pinning the image below.

Enjoy!

This image has an empty alt attribute; its file name is logo.jpg

THANK YOU for your support! How can you help? Click HERE & buy a coffee.
Every little bit helps with the cost of running the site.

Or if you are looking for more in-depth, step-by-step classes, check out all of my online Silhouette classes on my Teachable site HERE.

SS Logo snip it
**This post may contain affiliate links. What that means is that I may receive compensation if you purchase through the links I have provided. The price you pay for the product or service is not higher but I may get compensated for sharing.