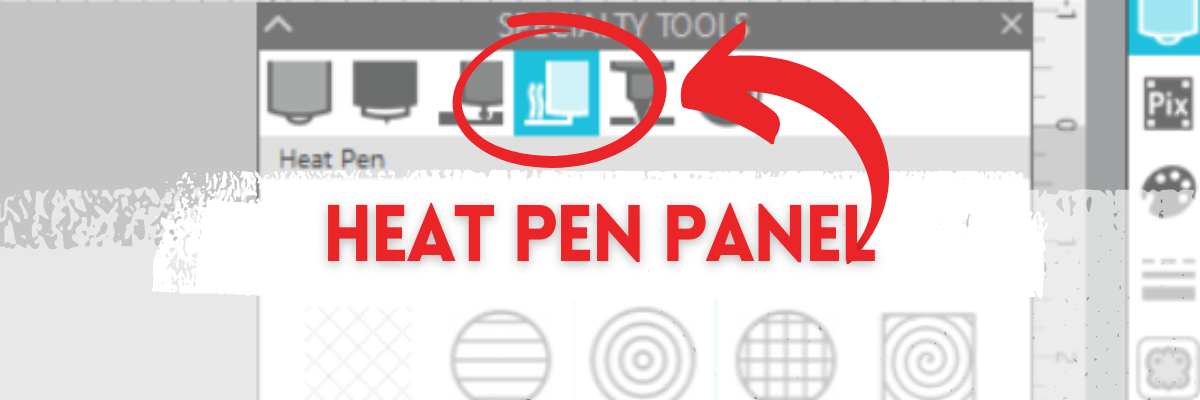

Under the new Specialty Tools Panel on Tab 4 in Silhouette Studio, is the Heat Pen Panel.
This tutorial was written in Silhouette Studio version 4.5.770.
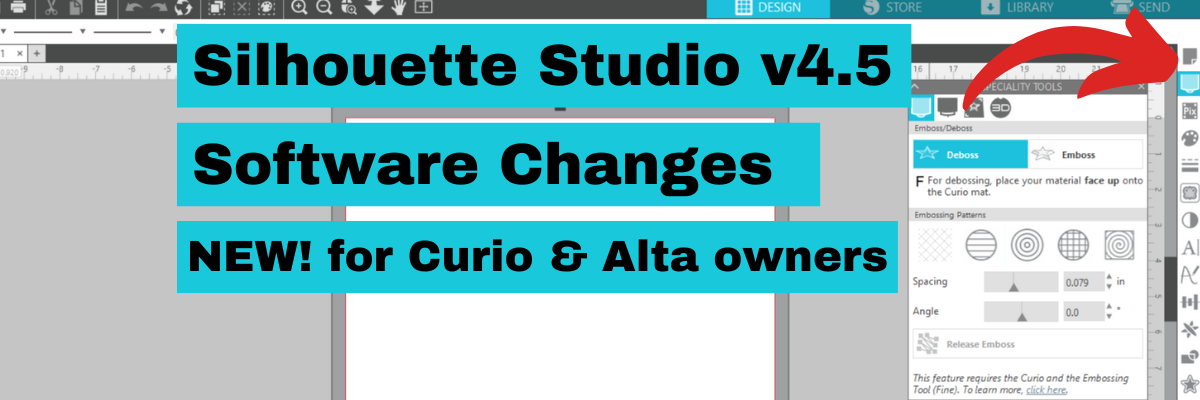
The Specialty Tools Panel was released in v4.5+ software versions. If you don’t see it on the right side of the Silhouette Studio, your software version may be older than v4.5.
Affiliate links may be present in the following blog post and as an Amazon Associate, I earn from qualifying purchases.
The Silhouette Heat Pen is one of the new powered tools that was announced and released in September 2023. It is compatible with the Silhouette Cameo 5, Portrait 4, and Curio 2.

The Silhouette Heat Pen can be found at CrafterCuts, Silhouette America, or Amazon.
CrafterCuts has free shipping on orders over $35 and use code SECRETS to save 10% on supplies & accessories (not valid on machines).
Silhouette America has free shipping on orders over $50 if you are a Silhouette Club member.
Specialty Tools Panel – Heat Pen – Tab 4
Here is a look at the details of the Heat Pen Panel in Silhouette Studio.

1 – Heat Pen Fill Patterns – choose from None, Lined, Concentric, Cross-hatched, and Spiral

All designs will vary in how the pattern fills in the area. I used Hi by Diva Watts Design – Design #399489 and at the size shown, there isn’t much inside the Concentric Pattern fill at a 0.079 spacing. Testing is the only way to know what fill pattern and spacing will look good on the finished project.
2 – Spacing – Increase or decrease the grid spacing between the lines of the pattern. A spacing of 0.004″ will fill in the design more, but depending on the pattern chosen, there can still be some bare spots.

In this example, the Concentric fill pattern at a 0.004″ spacing fills in most areas, but there are still some white spaces in certain areas. Zoom in on your designs so you can see the tight fills and how each pattern fills in the designs.

These spaces may or may not affect the outcome of the final project. Testing is the the only way to know what will work and all designs will vary.
This is another area where you are changing a lot of data at one time, so be patient with your computer if it is thinking.
3 – Angle – Change the angle of the fill pattern.
4 – Release Heat Pen Fill – selecting this option will take the fill from an editable fill pattern and makes it a vector design.
When using this feature, be aware that once the fill has been released and file saved and closed, it is a permanent change to that file. If the design needs to be adjusted, you would need to start over.
Silhouette Heat Pen
Here are a few examples created with the Silhouette Heat Pen.

Check out the full tutorial and written instructions on using the Silhouette Heat Pen HERE.
I tested several brands of hot foil with the Silhouette Heat Pen and here are the supplies I used when testing and creating the projects shown above.
Supplies Used
- Silhouette Curio 2 (also compatible with Silhouette Cameo 5 and Portrait 4)
- Curio Debris Tray – *only required for the Curio 2 for use with the heat pen & power engraver
- Silhouette Heat Pen set
- Silhouette Autoblade (or other blade style)
- Silhouette cutting mat
- Recollections Cardstock
- Silhouette Spatula
- Hi by Diva Watts Design – Design #399489
Optional supplies:
- Spellbinders Hot Foil
- We R Makers Hot Foil
- Silhouette Gold Foil
- Silhouette Silver Foil
- Washi Tape
- Scraper in craft tool kit – miracle tool *see the end of the tutorial for why
Additional Resources:
- Silhouette Curio 2 additional resources found HERE
Silhouette Studio Specialty Tools Panel Tabs (coming soon)
- Specialty Tools Panel – Tab 1 – Emboss Panel details HERE
- Specialty Tools Panel – Tab 2 – Score & Emboss – details HERE
- Specialty Tools Panel – Tab 3 – Power Engraver – details HERE
- Specialty Tools Panel – Tab 4 – Heat Pen – details above
Save this for future reference by pinning the image below.

Enjoy !
THANK YOU for your support! How can you help? Click HERE & buy a coffee.
Every little bit helps with the cost of running the site.
Silhouette Classes
Never stop learning! Let me help you take the anxiety out of learning with Silhouette and get to creating faster! My Silhouette classes are heavily focused on software, so you can take the skills & techniques taught and apply them to many future projects!