
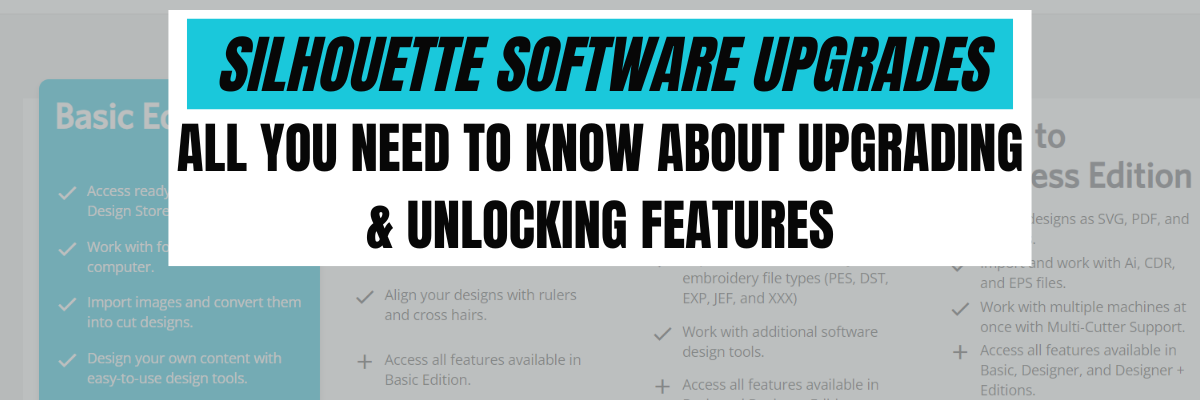

Silhouette Studio Software Upgrades
Affiliate links may be present in the following blog post and as an Amazon Associate, I earn from qualifying purchases.
One of the most asked questions we see is about software upgrades and unlocking features in the Silhouette Studio software.
Silhouette Software Upgrades
Software upgrades can be purchased through an authorized Silhouette retailer.
Please be careful buying through sites like Etsy, etc. as they can sometime not be the real deal or exactly as advertised. Look for reviews first.
Where to find the Silhouette software upgrades?
Swing Design
Silhouette America
Sales happen often – check each one to see where you might score the best deal!
What is an upgrade?
A software upgrade is a code you purchase that unlocks additional features in the software.
It is a one-time fee that can be active on up to 3 computers per code.

I highly recommend at least the Designer Edition upgrade for all of my students.
It makes life easier and saves you time and headache.
Just being able to open a SVG file and cut is well worth it.
But I LOVE the Business Edition upgrade because it unlocks it ALL and I never have to question if some tool/feature is available to me.
Both are well worth the investment!
Don’t let the name “Business” edition fool you though – you do not have to have a business to use it or have it be useful. There are just some features that are helpful to those that run a business such as using multiple machines.
If you have the basic (free) software, you will want to purchase 1 of 3 options depending on what upgrade you want to go to:
Option 1 – Silhouette Studio to Designer Edition (highly recommend at least this)
Option 2 – Silhouette Studio to Designer Plus (unlocks a few more features – see below)
In all honesty, if you are upgrading to Designer Edition Plus, you might as well go all the way and unlock it all
Option 3 – Silhouette Studio to Business Edition (unlocks it all)
Now here is the important part, if you already have an upgrade, you only need to purchase the step up to the next level you want.
For instance, if you already have the Designer Edition upgrade but you want to go to Business Edition, you want to buy the Designer Edition to Business Edition upgrade. You do not need to buy the full upgrade. You would purchase the level that you need to go from to the level you want to be at.
On the Silhouette website, you simply select the Business Edition upgrade, and it will recognize which upgrade(s) you already have when you are logged in and only show the price for the upgrade you need.
Now, keep in mind, if you purchase the upgrades in steps it is no different than purchasing the upgrade all together.
What does each level of upgrade do?
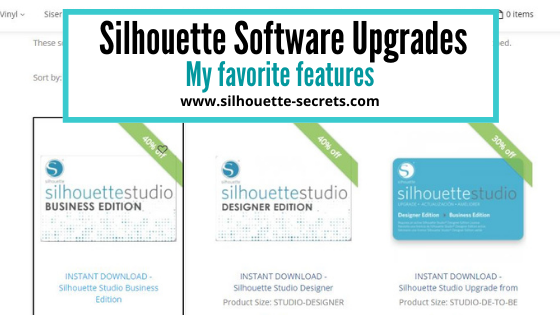
Here are a few of my favorite features and the ones I find most might use in the software:
Designer Edition unlocks:
- Ability to open SVG and pdf file directly in the software
- Rulers and guides can now be activated
- Additional Knife tools
- Additional Line Effects
- Trace by Color
- Magnet Trace
- Glyphs Panel
- Ability to create Rhinestone designs
- Warp Templates
And more…
Designer Edition Plus unlocks all of the above and
- Flexishapes
- Ability to open some embroidery file types (PES, DST, EXP, JEF, and XXX)
- Puzzle Generator
- Conical Warp
And more…
Business Edition unlocks all of the above and
- Import Ai/CDR/EPS Files
- Weed Line Feature
- Multi-cutter Support (I use this one all the time)
- Multiple Undo/Redo (one of my favorites)
- Export SVG, PDF, JPG
- Edition Toggle (this is great for those of us who teach, so we can see exactly what the students see in their version)
And more…
Now, the list above is not the extensive list of all the features unlocked with each upgrade.
However, it is a list of the features I find the most useful in each upgrade.
For the complete comparison chart click HERE to go look at Silhouette America.
I want you to be successful and use your Silhouette software to the fullest!
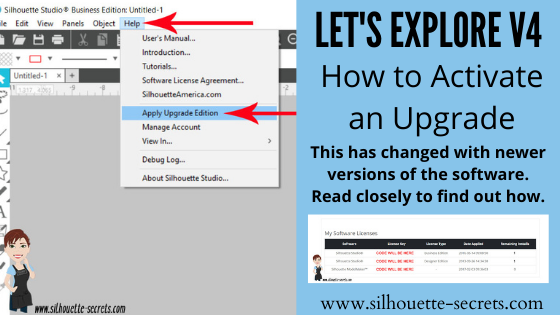
How to activate the upgrade
It is now easier than ever to activate an upgrade!
I have all the details outlined in this post depending on what software version you are currently using.

Additional Resources on Silhouette Upgrades & Troubleshooting:
- Silhouette Business to Basic: Why Your Upgrade Disappeared & How to Fix It
- SVG Warning – Silhouette Design Store SVG Message Explained
If you have question about an upgrade just let me know in the comments below.
Save this for future reference by pinning the image below.

Sign up for the Silhouette Secrets+ Newsletter for more information delivered to your inbox each week!

Silhouette Secrets+ Newsletter
Never miss out on the news, tips, “secrets”, deals, classes, and more that I share on Silhouette Secrets+. Sign up for the newsletter and get information delivered to your inbox every Friday.
Unsubscribe at any time.
Enjoy !
THANK YOU for your support! How can you help? Click HERE & buy a coffee.
Every little bit helps with the cost of running the site.
Silhouette Classes
Never stop learning! Let me help you take the anxiety out of learning with Silhouette and get to creating faster! My Silhouette classes are heavily focused on software, so you can take the skills & techniques taught and apply them to many future projects!


 Choose from the most popular stone sizes or adjust it to a custom size.

 Here is a the Freehand rhinestone in action:
 Zoomed in to see the selection boxes.
 Here I have moved some and added more to fill in the blank spaces.

 When 1 object is selected, it totals the rhinestone count for that 1 object.


