Halloween is of course several months in the past, but when you can pick something up on clearance…. why wait until next year to finish it.
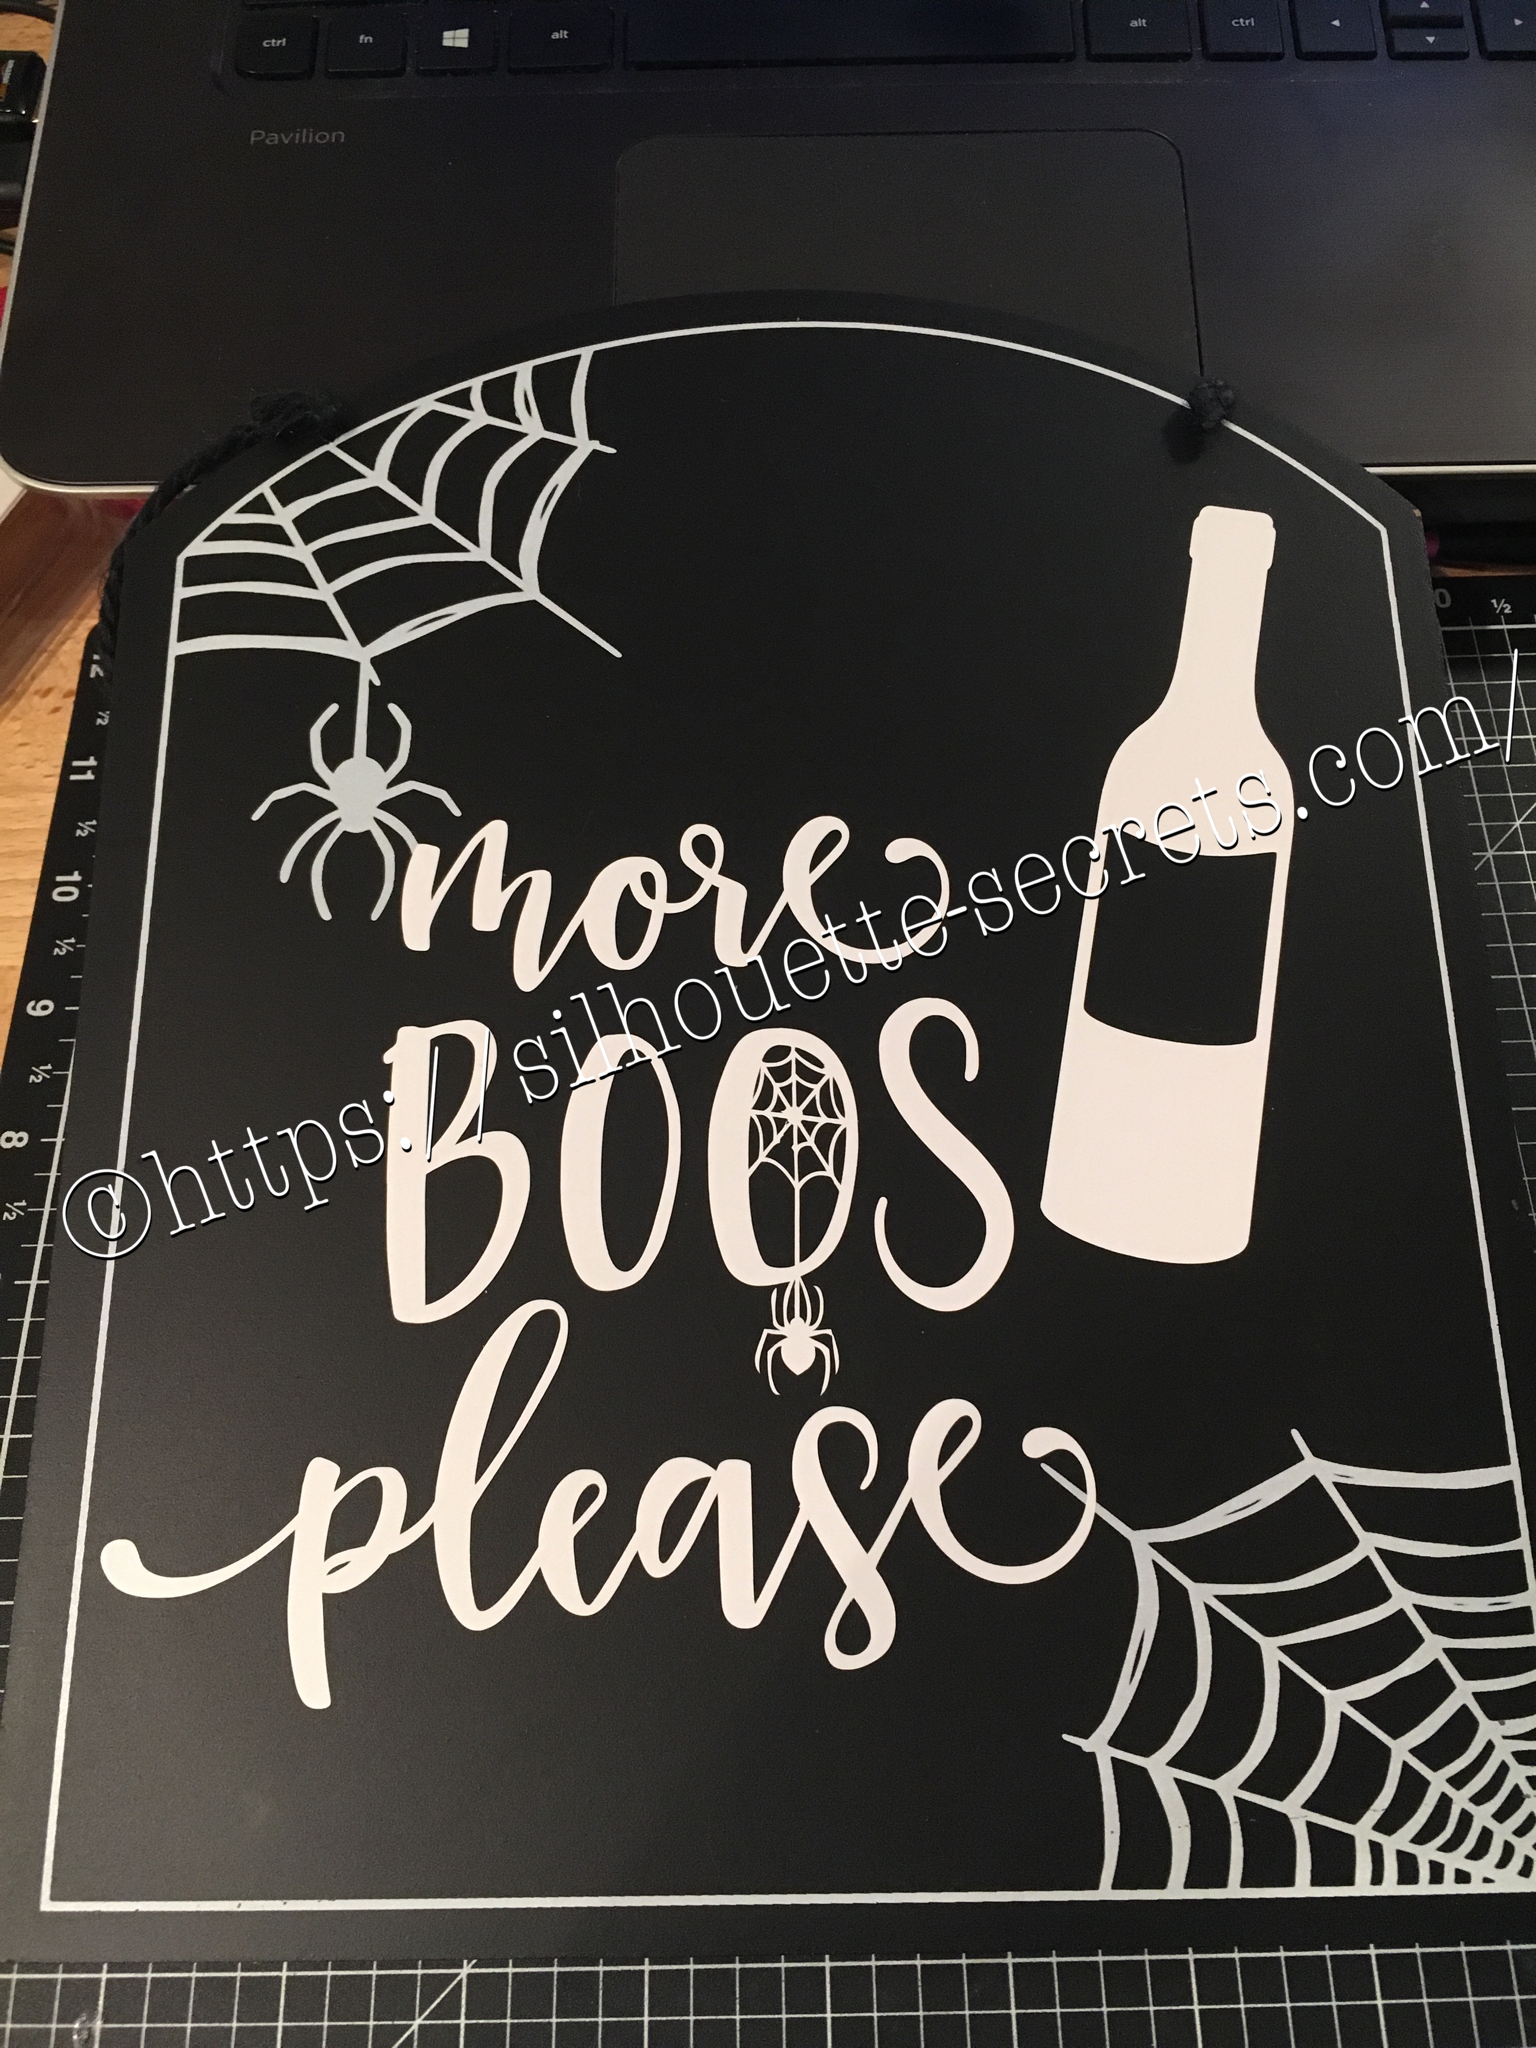
I found a couple signs at Target that were perfect to add vinyl to.
I had a couple files from the Silhouette store & they were perfect for these…..

With my first design, I weeded the large area first & then I applied my transfer tape & uses a technique commonly called “reverse weeding” in the Vinyl crafting lingo.
How do you reverse weed?
Burnish your design well, so it all sticks to your transfer tape.
Then peel the backing off of your vinyl design & very carefully weed out the bits of vinyl from the delicate parts of your image.
This works especially well if you have small eye pieces or small dots for letters, etc. It does take some practice to get the hang of it.
The first time I did it, I hated it because my transfer tape kept sticking to me.
But, the more you practice & get the hang of it, the more you fall in love with the technique & use it for those delicate designs that you don’t want your pieces moving on.
In my design, I used this for the spider web that was in the center of my “O”.
After weeding my design, I then carefully placed my design on my sign & burnished it down really well. Then I carefully peeled the transfer tape off, watching for any vinyl that did not come off the transfer tape and I would put it back down & burnish it some more to get it to stick.

And my second design, also from the Silhouette Design Store.

Now these are ready to pull out for next year and will go perfectly in my dining room that has a wine theme.
Whenever you get the chance to grab some decor items at a discount, grab them, but don’t let them sit around too long without adding all the finishing touches.
Enjoy !

THANK YOU for your support! How can you help? Click HERE & buy a coffee. Every little bit helps with the cost of running the site.
Looking for more in-depth, step-by-step classes, check out all of my online Silhouette classes on my Teachable site HERE.


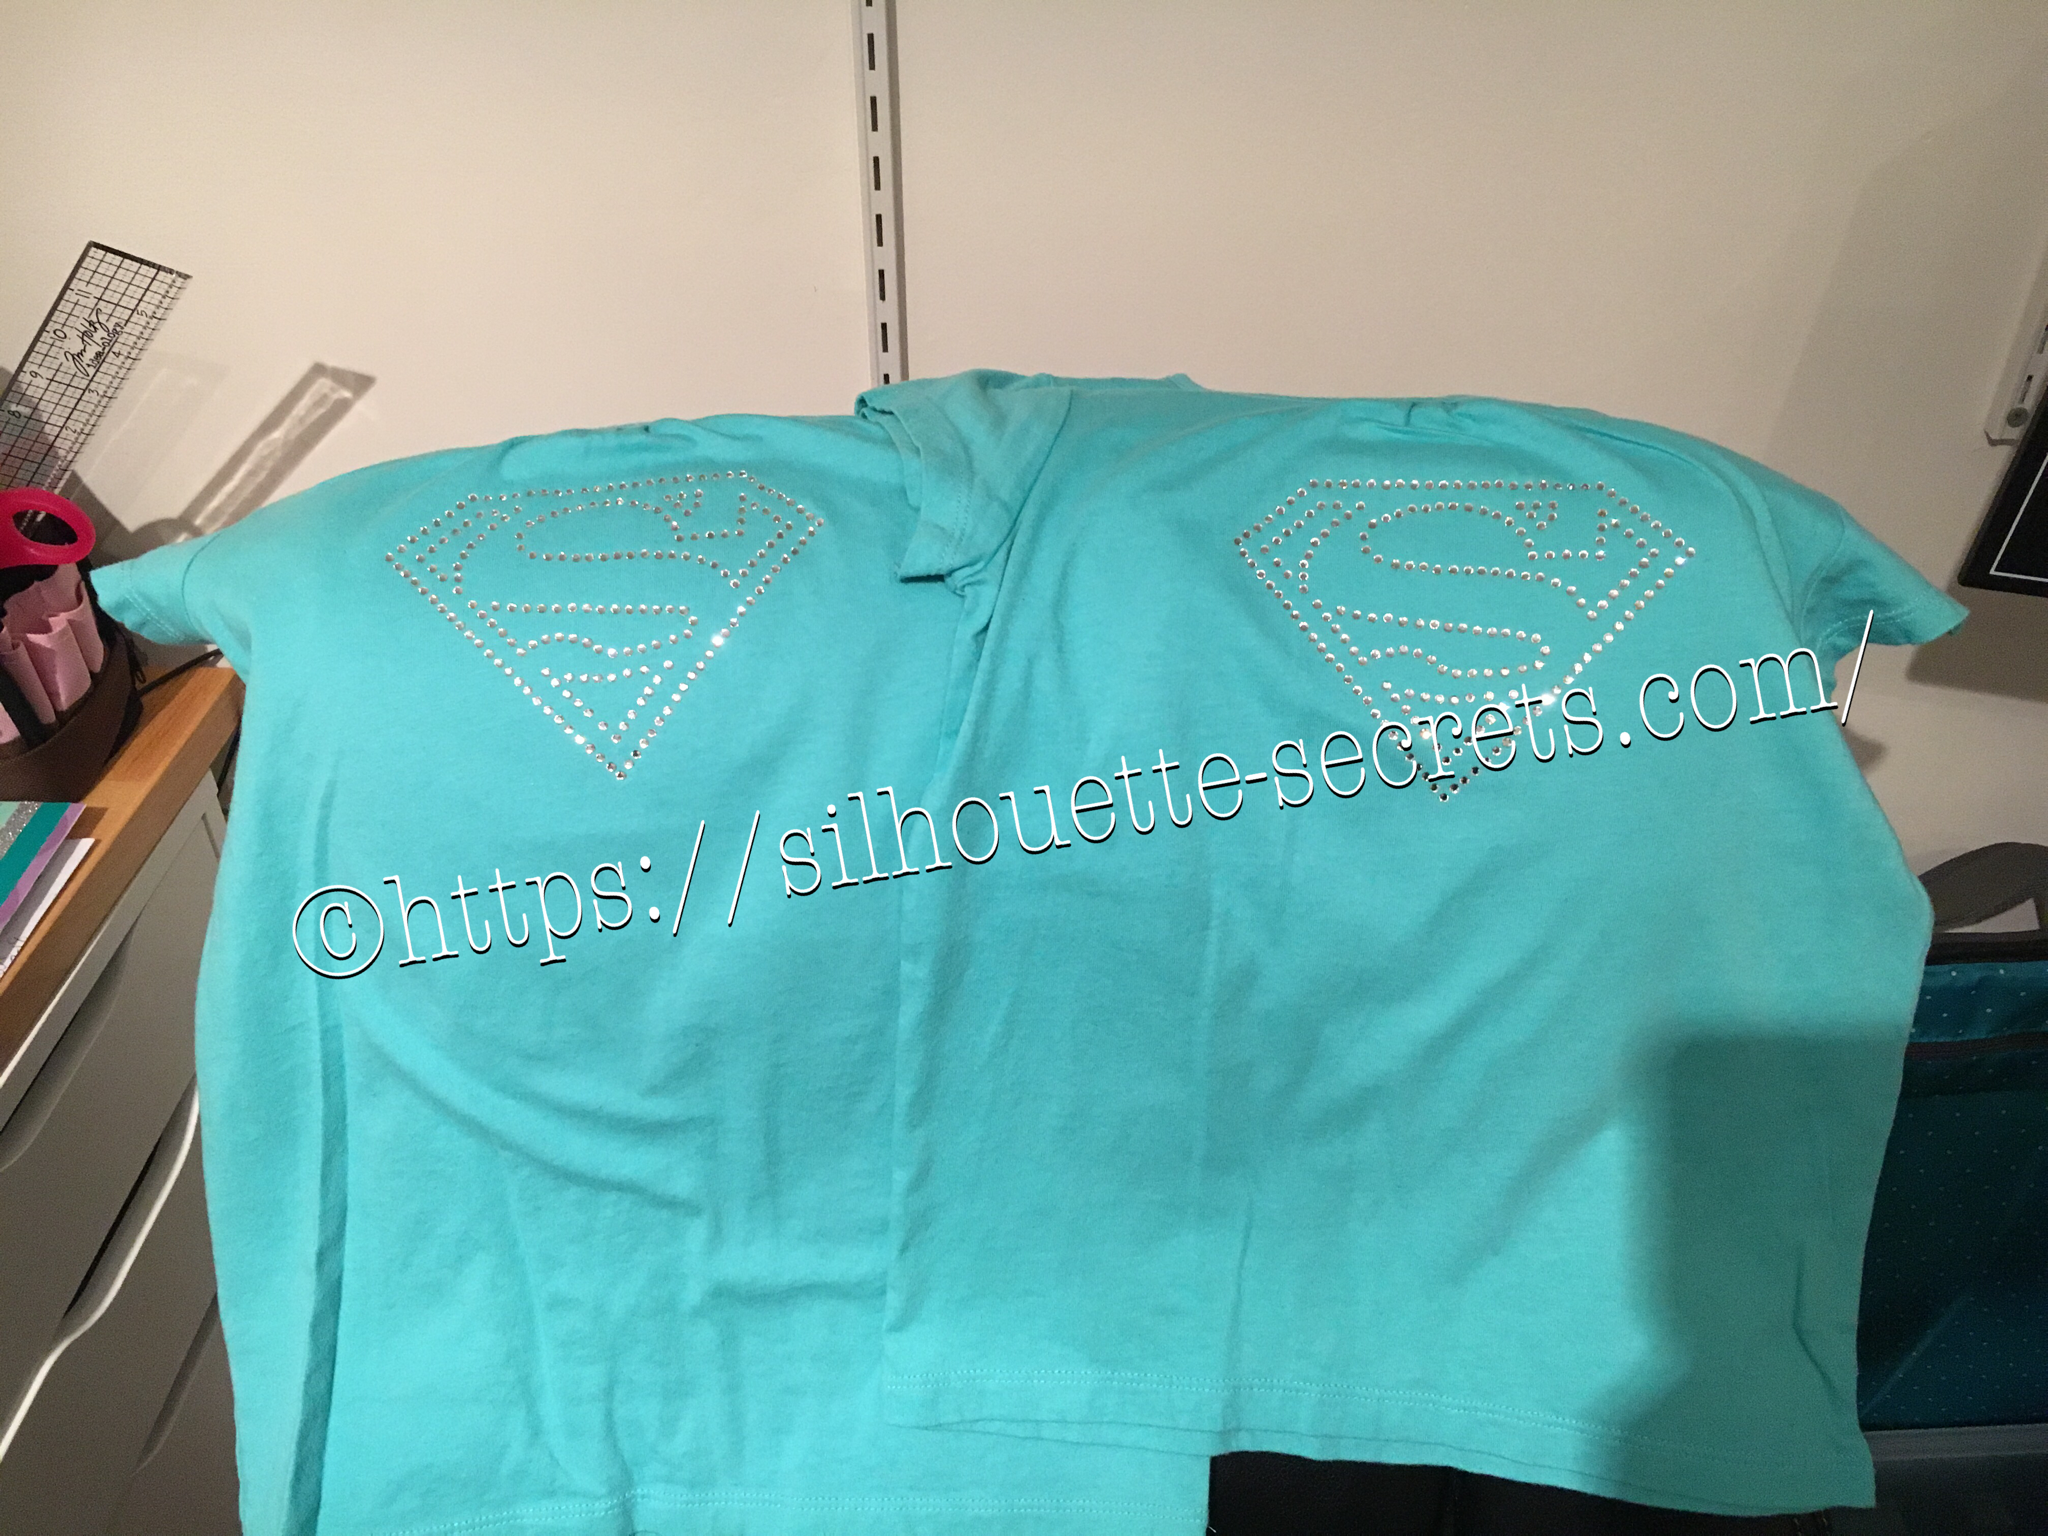


 Place your heat transfer on the shirt where you want it and I used an iron with a board under it and lots of pressure on high heat with a teflon sheet to set the stones on the shirt.
 I love the ability to make a gift up really quickly and hope you enjoy making rhinestone designs as much as I do.


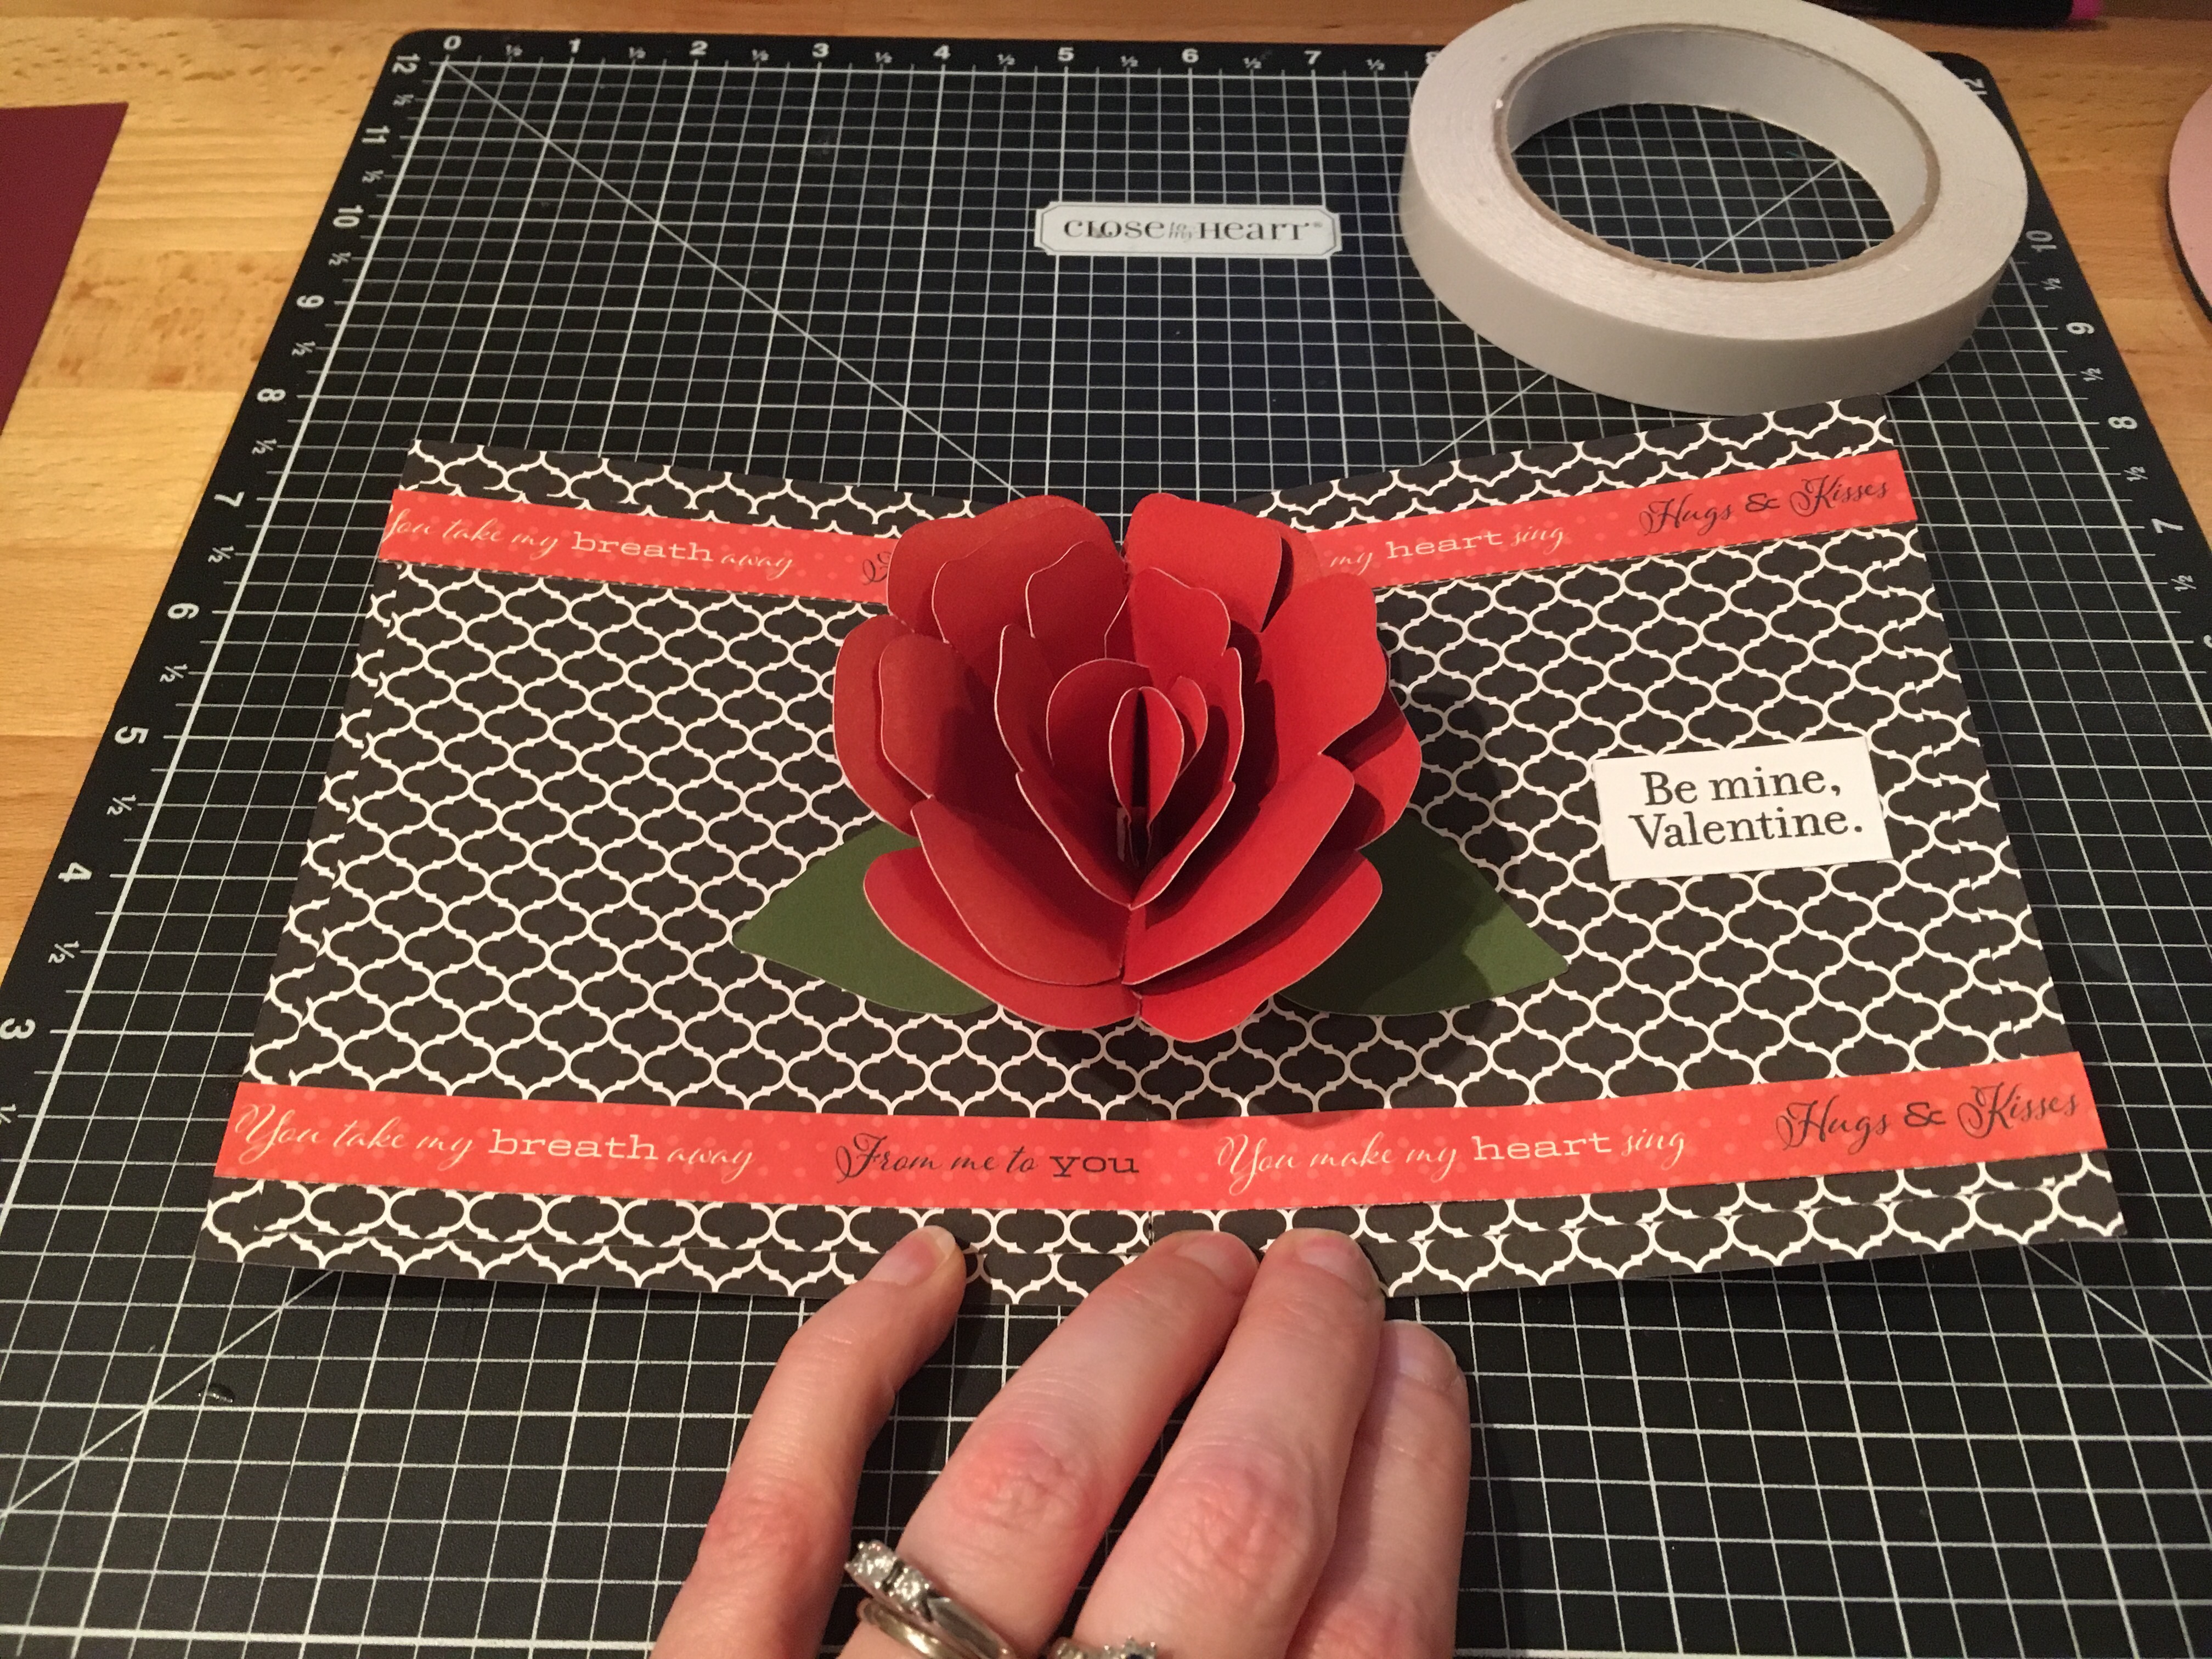

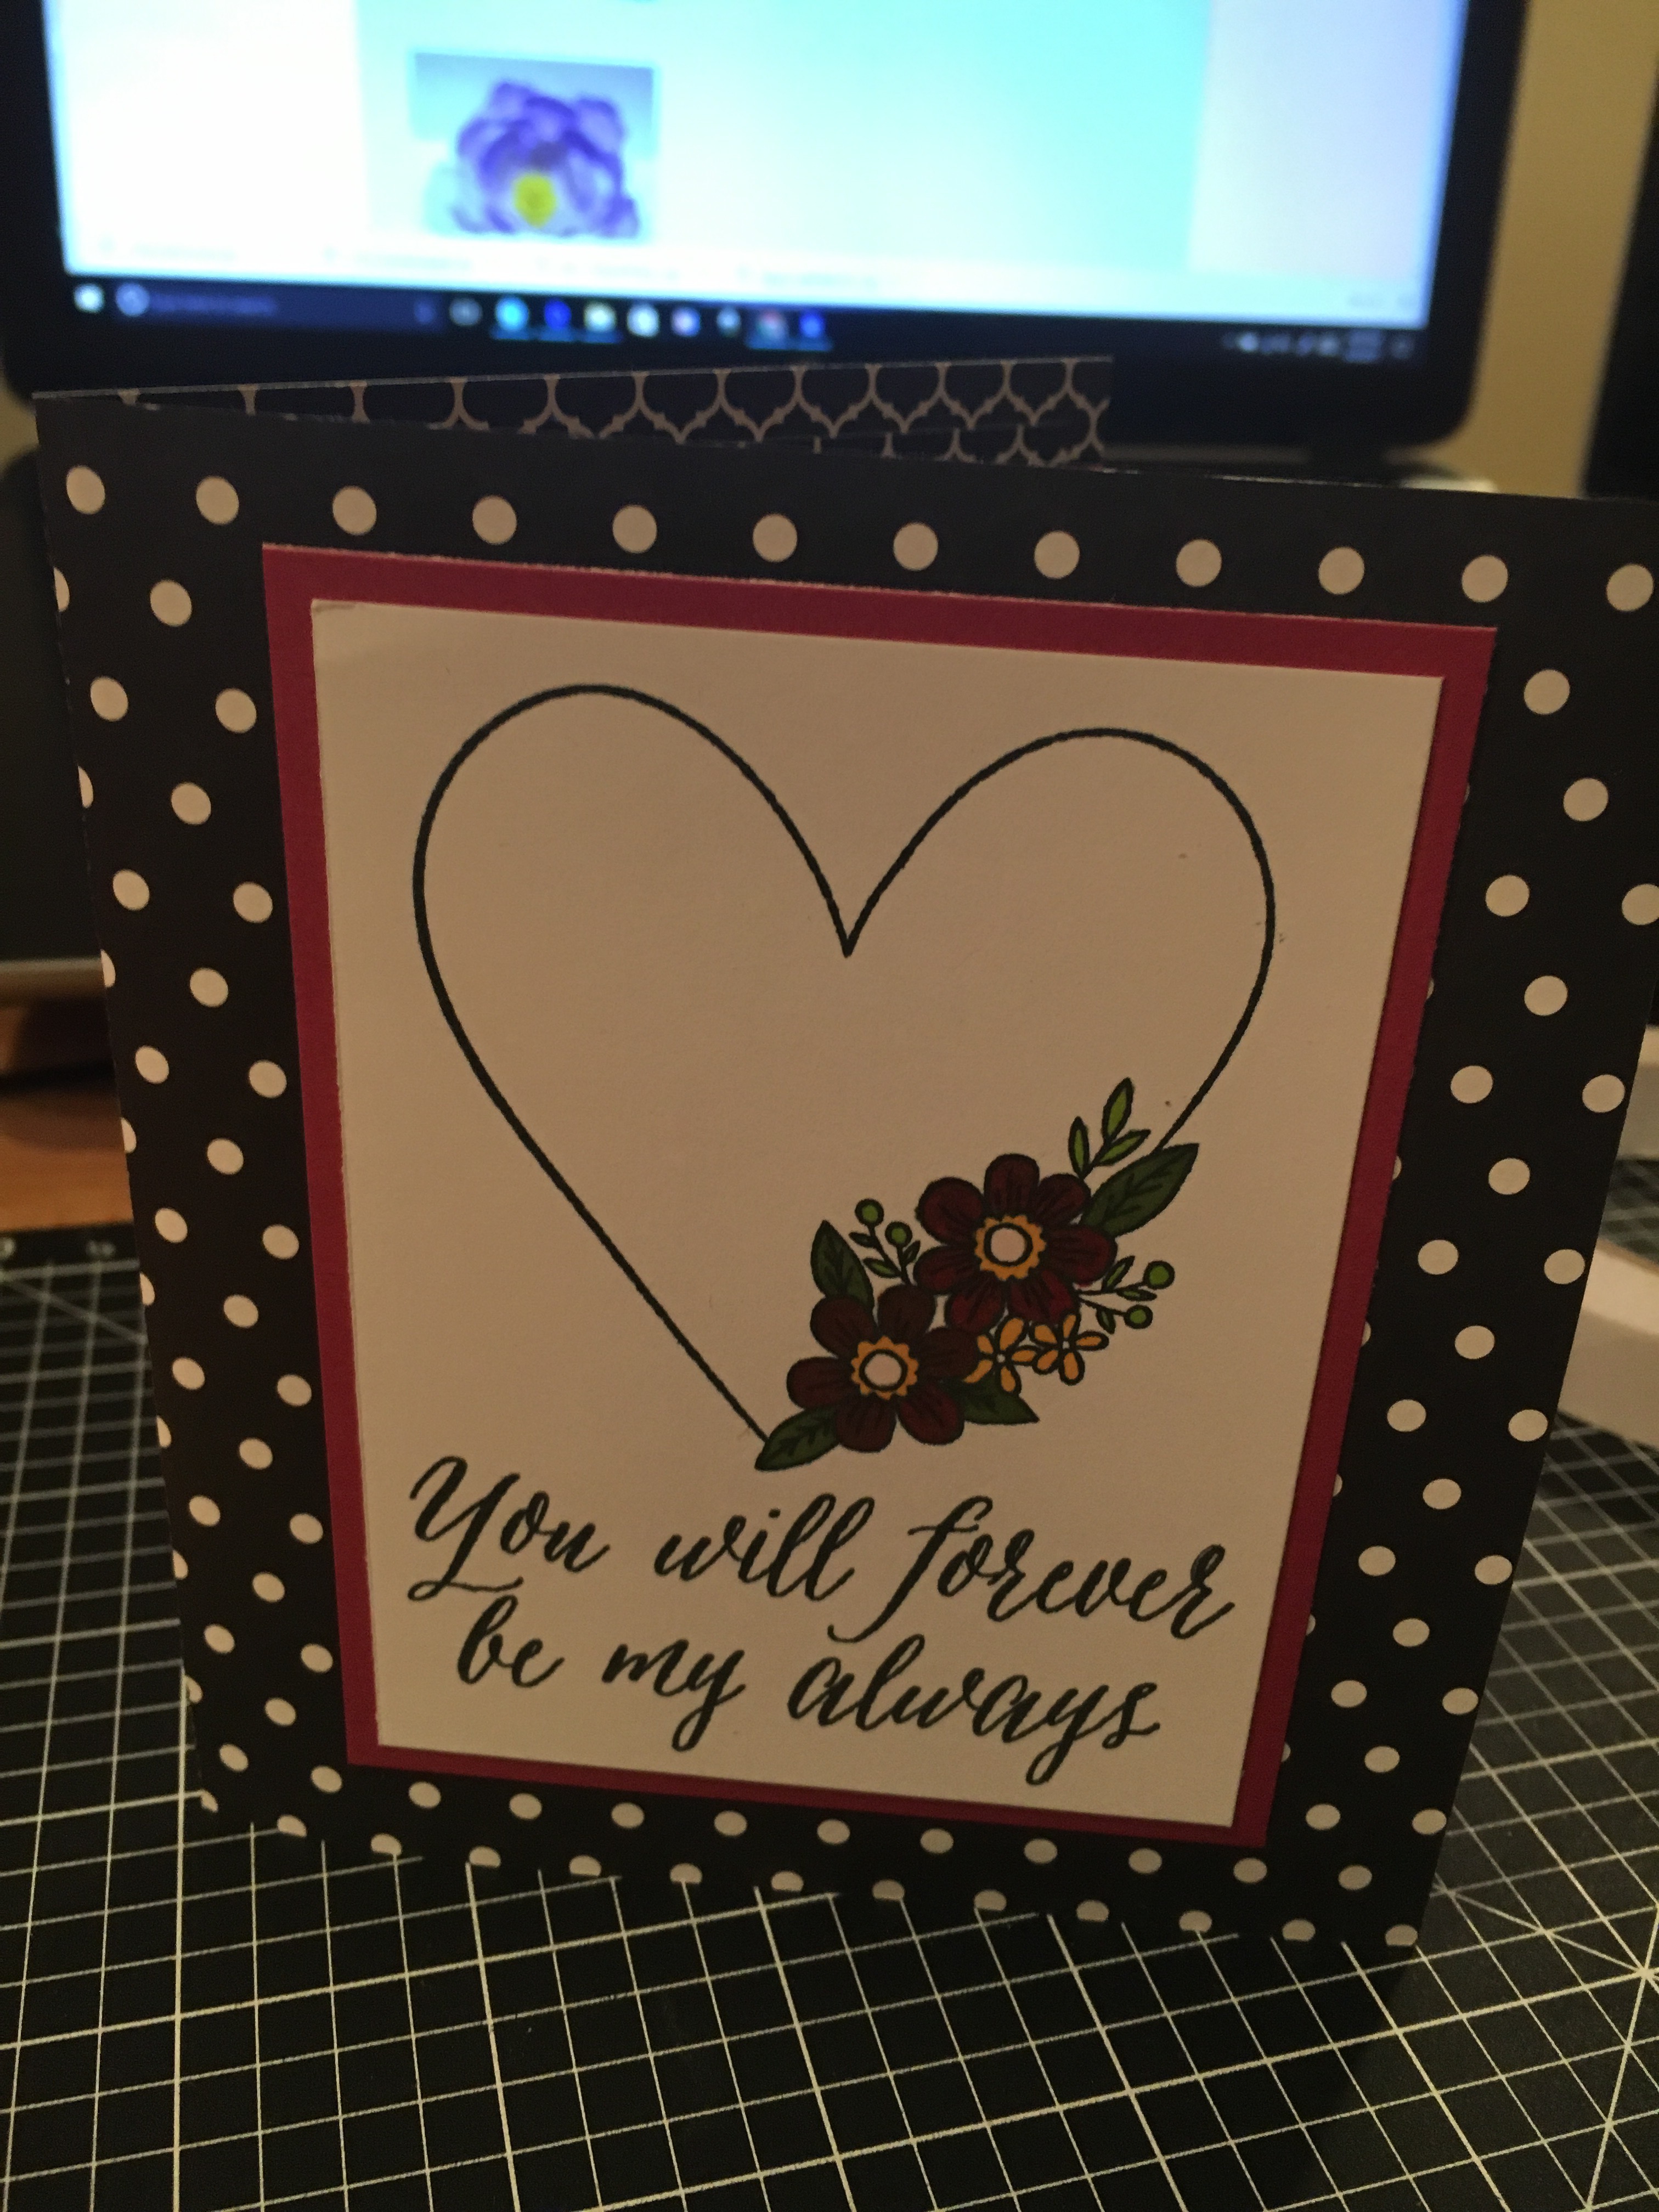
 I used the CTMH Stamp of the Month from January and colored it in with the Shin Han markers.
 I cut the card base and inside from a retired CTMH paper pack called La Vie En Rose.
 And then I used my Envelope Punch and created an envelope for my pop up card.




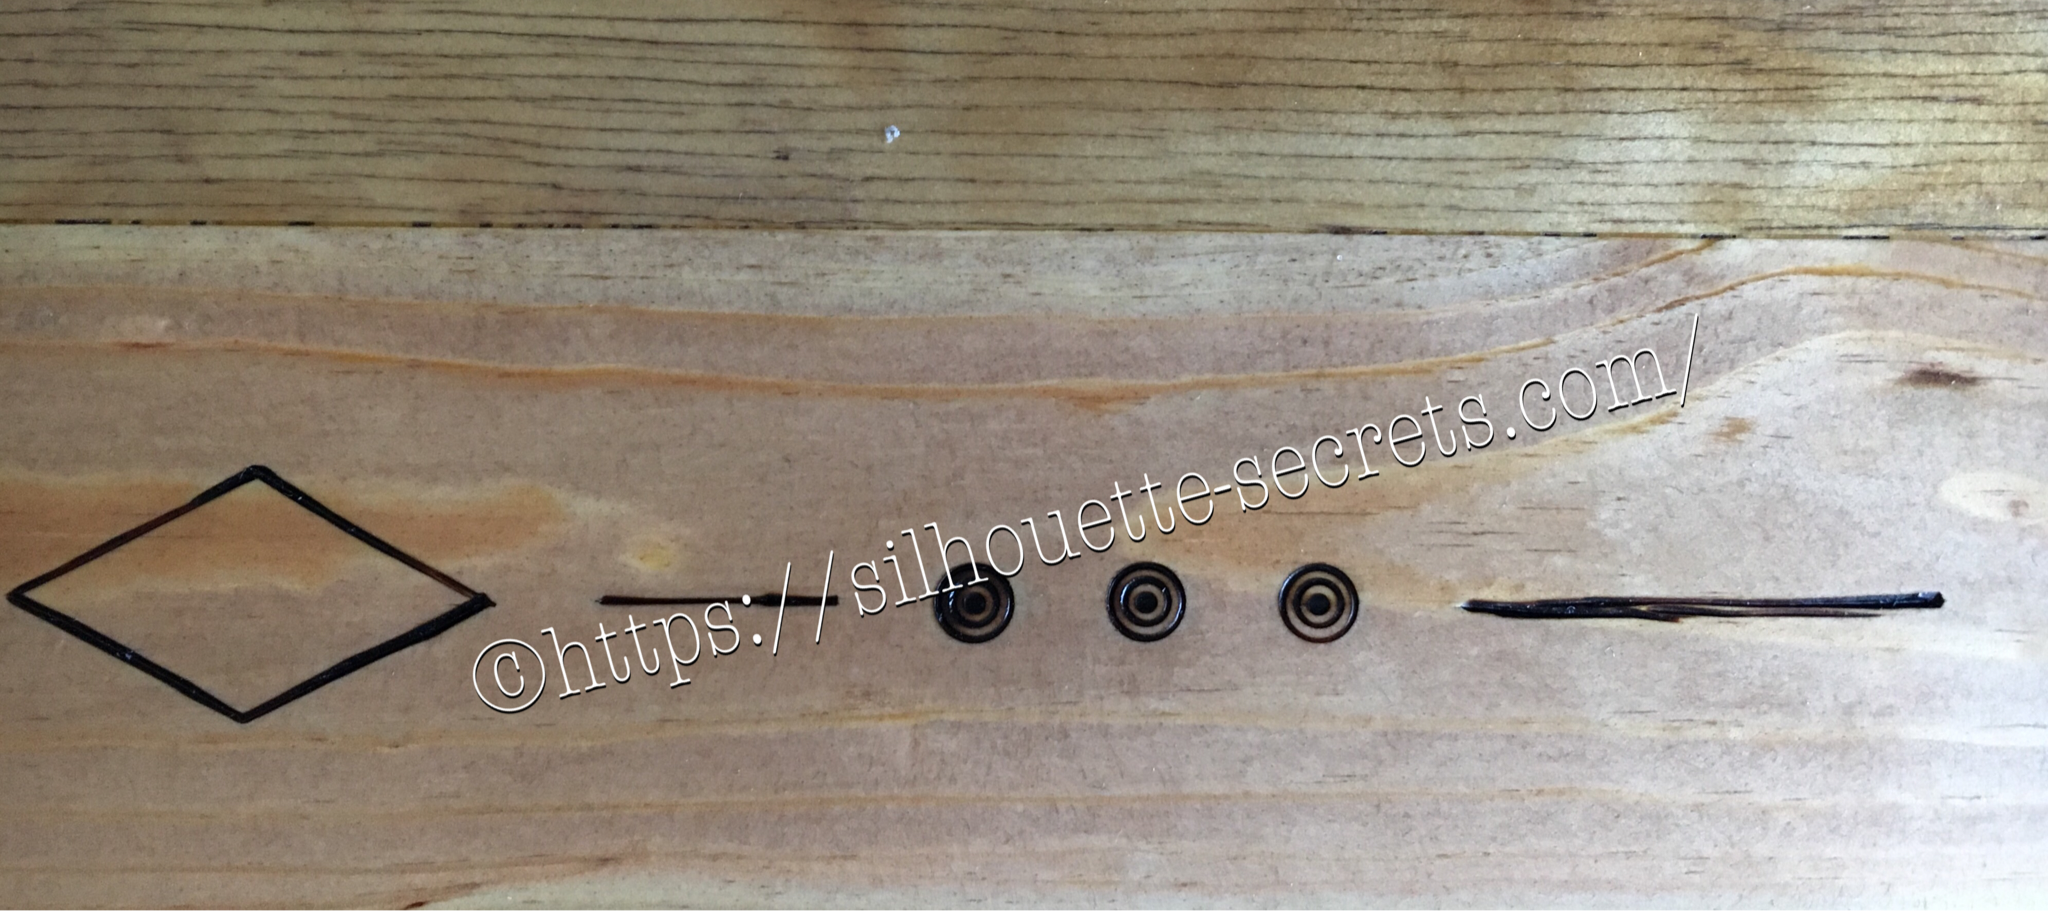
 Here is the stencil I cut out of Silhouette Chipboard for him to use.


 The first one I applied the vinyl to was the one on the left in the photo above…. it was a bit trickier due to the curve and the varied size of the jar. I grumbling a bit when I went to apply the vinyl to the jar on the right and then it went on like a dream.
The biggest factor when applying your vinyl stencil to a glass item to etch is you want the edges of your design to have a great seal on them, so the etching creme doesn’t sneak up under the vinyl.
The flatter you can get the decal on your object the better, any creases are areas that the etching creme might sneak in to.
The first one I applied the vinyl to was the one on the left in the photo above…. it was a bit trickier due to the curve and the varied size of the jar. I grumbling a bit when I went to apply the vinyl to the jar on the right and then it went on like a dream.
The biggest factor when applying your vinyl stencil to a glass item to etch is you want the edges of your design to have a great seal on them, so the etching creme doesn’t sneak up under the vinyl.
The flatter you can get the decal on your object the better, any creases are areas that the etching creme might sneak in to.
 I love how they turned out but I do have to confess that after over a month of it sitting on my counter, it’s still empty…..
I don’t bake that often because then I end up eating them…..
One of these days, I’ll put something in it.
I love how they turned out but I do have to confess that after over a month of it sitting on my counter, it’s still empty…..
I don’t bake that often because then I end up eating them…..
One of these days, I’ll put something in it.