Posted on Leave a comment

Quick gift – I love Rhinestones 

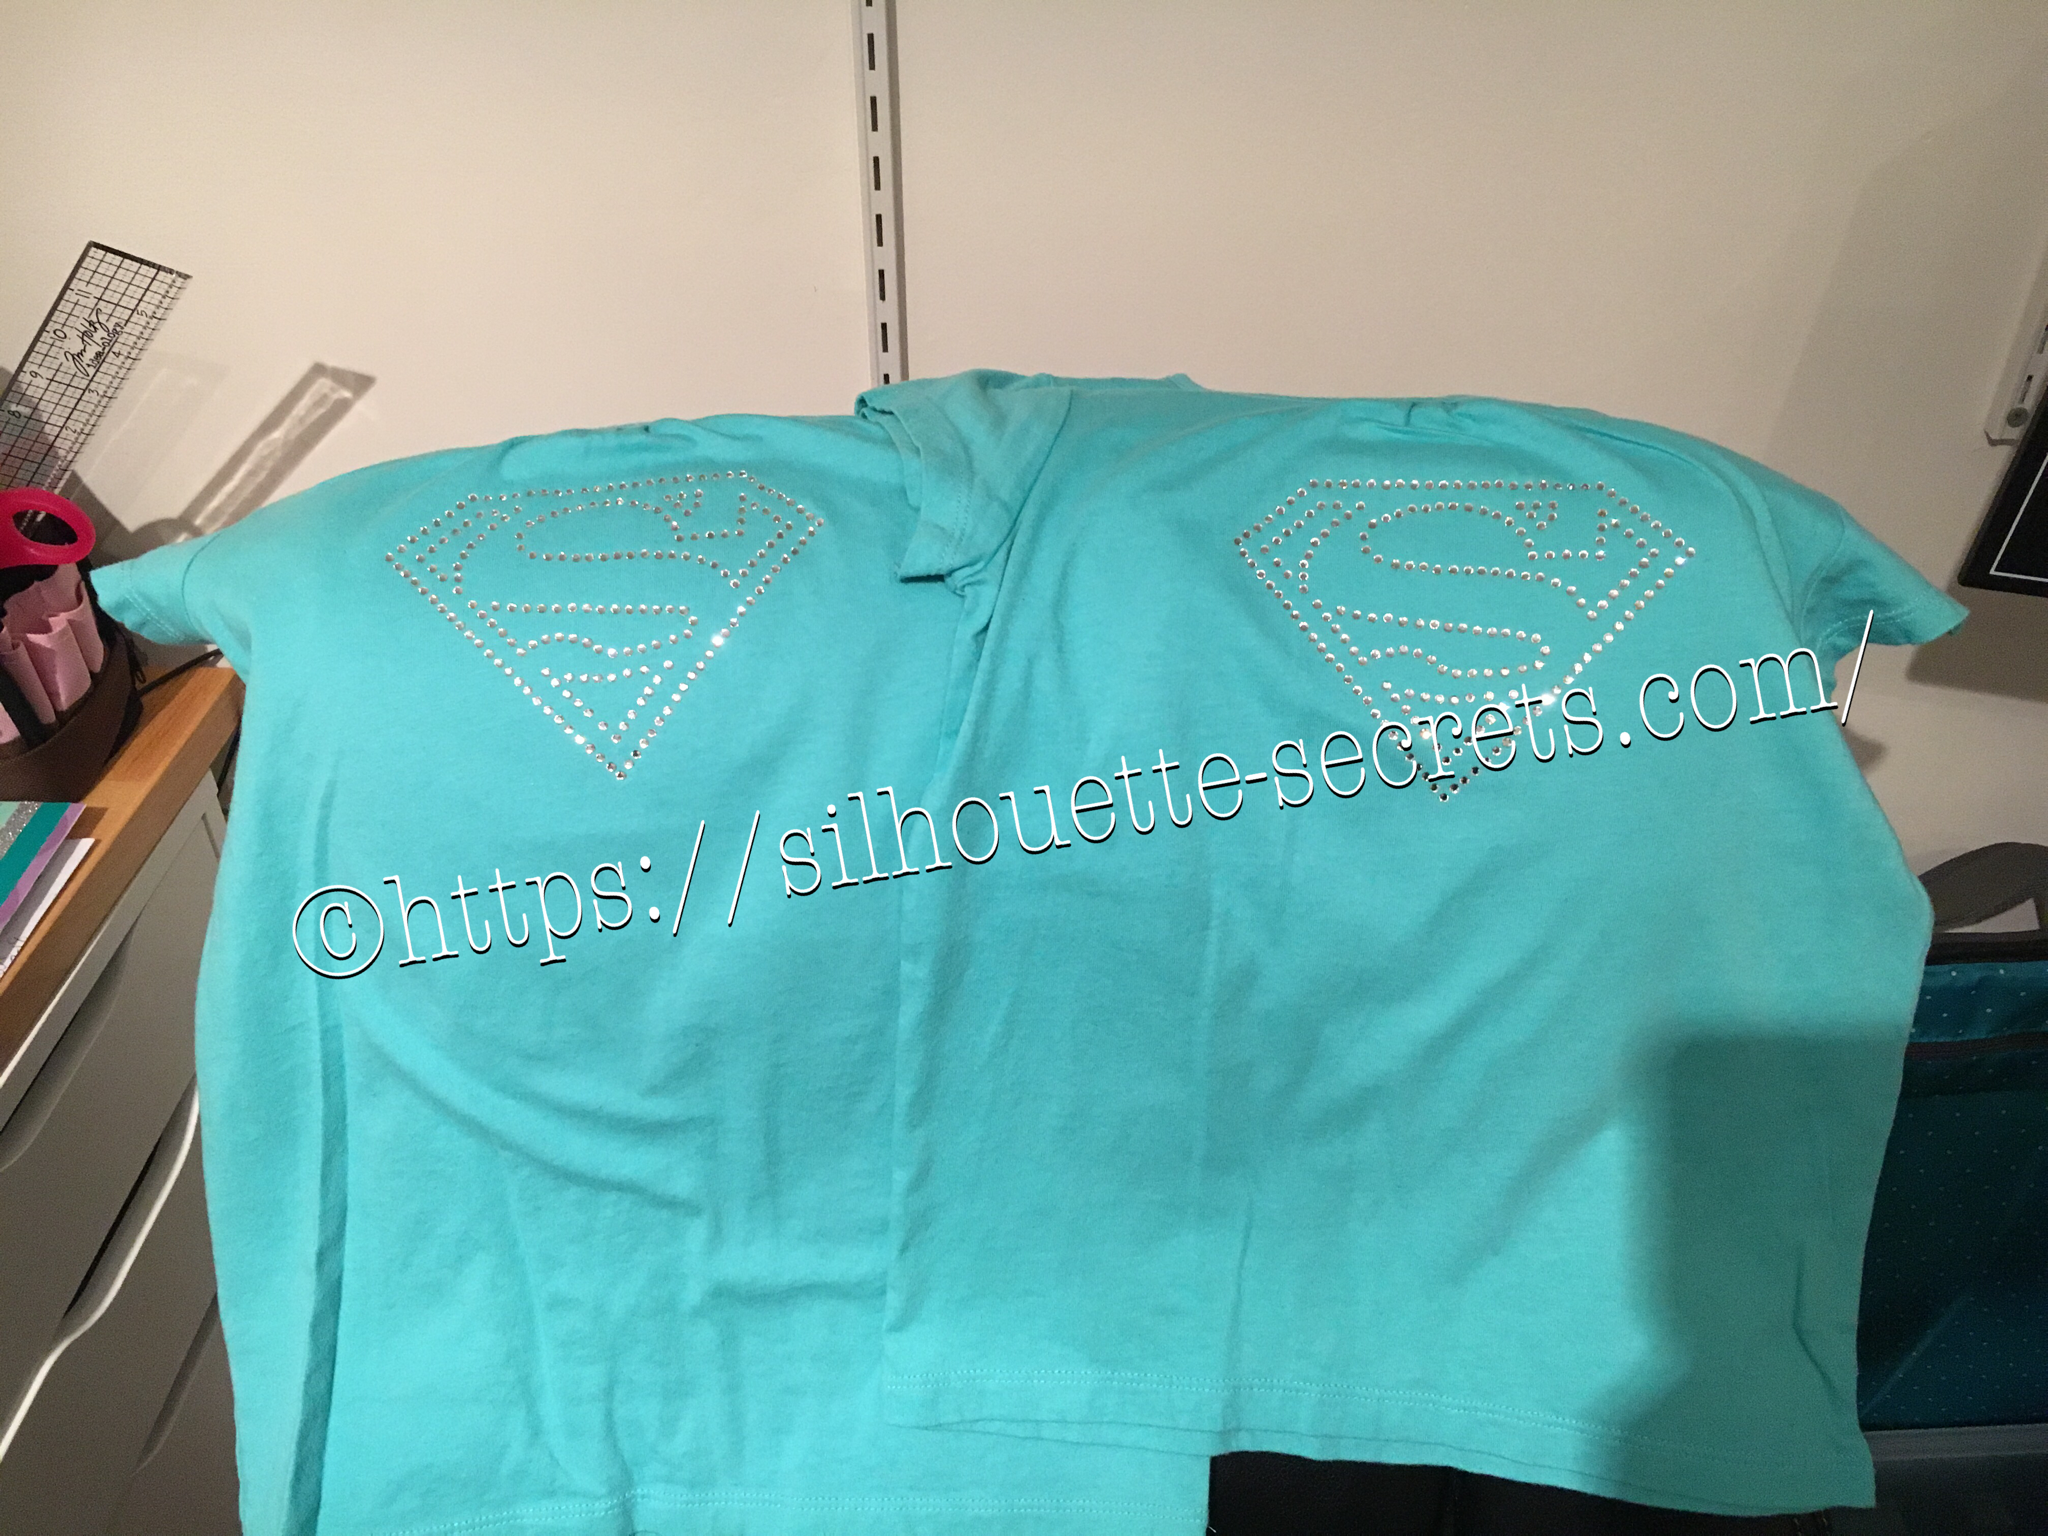
Rhinestones – once you start, it’s addictive and you just want to make more. I held off as long as I could, until I took Terri Johnson Creates hands on retreat last July. In her class, we designed our own rhinestone design and cut it out. After that one design, I was hooked and started shopping in the Silhouette store for more. This one jumped out at me and I knew I’d be making some for my nieces in the future.

I had just ordered some supplies from The Rhinestone World and had the opportunity to make these as quick gifts to send with my husband on a trip.

img_6136

So with this magic flock you cut the design with your machine and then peel it off the backing – rip it like a band aid gets the best results. If it has cut well, the little holes will stay on the backing and you can just scrape them off…..

img_6137

You can then lay the sticky design down on a safe surface, press it and peel it back again to get more of the circles to stick out.

img_6138

I then look for any that didn’t come out, remove those and put it back on the backing paper.

img_6139

Now, sprinkle your rhinestones on top of your template and rub them around until all the holes are full. Once all the stones are in place, using heat transfer tape, lay it over top of your design and burnish. Carefully life it up and make sure the rhinestones are stuck to the heat transfer tape.

img_6144

img_6145 Place your heat transfer on the shirt where you want it and I used an iron with a board under it and lots of pressure on high heat with a teflon sheet to set the stones on the shirt.

img_6147 I love the ability to make a gift up really quickly and hope you enjoy making rhinestone designs as much as I do.

I would highly recommend attending a retreat by Terri Johnson Creates, you will learn so much and be able to try all kinds of new projects. The possibilities are endless with the Silhouette Cameo!!!

Enjoy !

THANK YOU for your support! How can you help? Click HERE & buy a coffee. Every little bit helps with the cost of running the site.

Looking for more in-depth, step-by-step classes, check out all of my online Silhouette classes on my Teachable site HERE.

SS Logo snip it
**This post may contain affiliate links. What that means is that I may receive compensation if you purchase through the links I have provided. The price you pay for the product or service is not higher but I may get compensated for sharing.
Posted on 2 Comments

Customized cards with my Silhouette Cameo

I love being able to create these customized cards for friends, especially for special occasions… A friend of mine just received the results of her dental hygiene exam and I thought I would create a unique card for her. I found all the designs in the Silhouette Store and loved that I could just click buy and then get to cutting. You can find the Congratulations Pop & Twist card file HERE. Find the Tooth file HERE. Find the Dentist tools HERE.

img_6006 img_6180

You can see a short video of how this card works HERE.

img_6005

I took the tooth cut file and resized it down to make a bunch of teeth confetti to include inside the pop & twist card. And then I stuffed it into the envelope. Just a tip… I even measured this card and it was under the weight limit but U.S.P.S still returned it for more postage. You just never know. Sometimes with these fancy fold cards they can get to be a bit thick and you need to allow for extra postage. I thought I was good this time, but guess not!

Now while you can find instructions on how to create these fancy cards such as Twist & Pop or Cards in a Box, I still prefer to use my Cameo machine and let it do the work for me.

What kind of fancy cards will you try with your Cameo?

Enjoy !

THANK YOU for your support! How can you help? Click HERE & buy a coffee. Every little bit helps with the cost of running the site.

Looking for more in-depth, step-by-step classes, check out all of my online Silhouette classes on my Teachable site HERE.

SS Logo snip it
**This post may contain affiliate links. What that means is that I may receive compensation if you purchase through the links I have provided. The price you pay for the product or service is not higher but I may get compensated for sharing.
Posted on Leave a comment

Happy Valentine’s Day!

Where ever you are, I hope that you have a wonderful Valentine’s Day!

After hubby asked me if I could make a pop up flower card, I just had to try out several that I found…. In my last blog post, I showed you a card in a box bouquet that I found in the Silhouette store – you can see that HERE. But I found several others….. how do you ask? Well, Pinterest of course!!! That is my go to source for ideas… I’ll either browse the front page or if I’m looking for something specific, I will use the search function and see what cool things it will bring in to my life that I must make. You can find my Silhouette Pinterest page HERE for all thins I’ve pinned Silhouette related, but I also try to keep things organized in folders so I can find things easily when I get the time to make them.

img_5848

I used the cut file I found at Paper Pulse for the Rose pop up card and cut the pieces out of card stock. And then I referenced her instructions on how to piece it together and assemble the card.

img_5849 
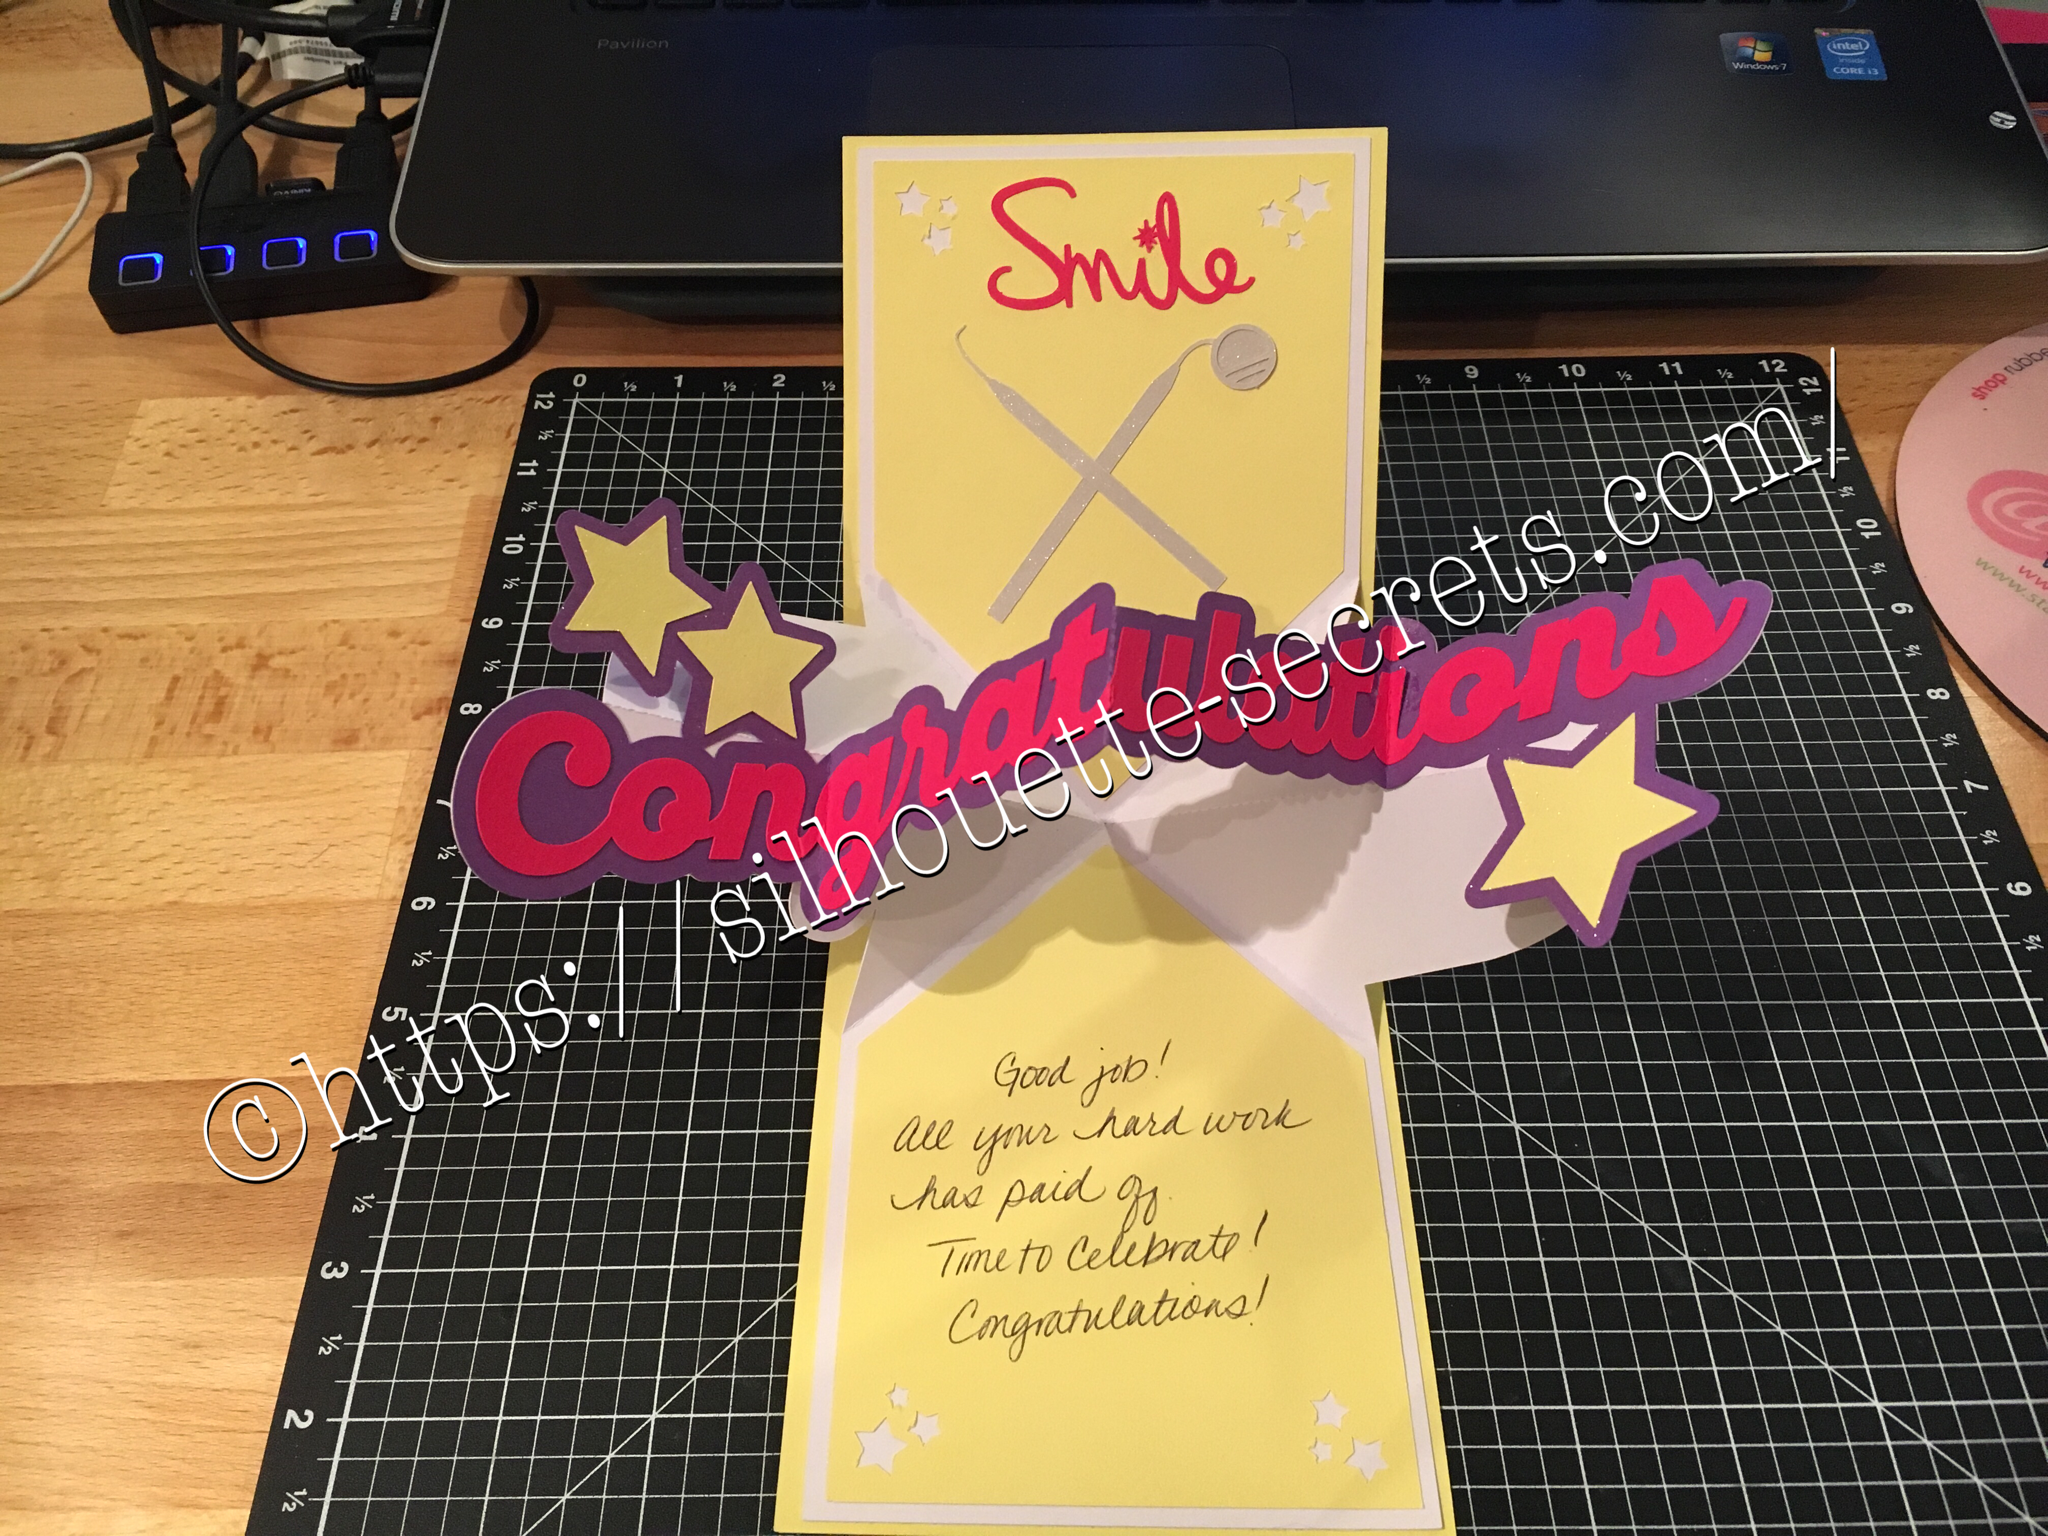
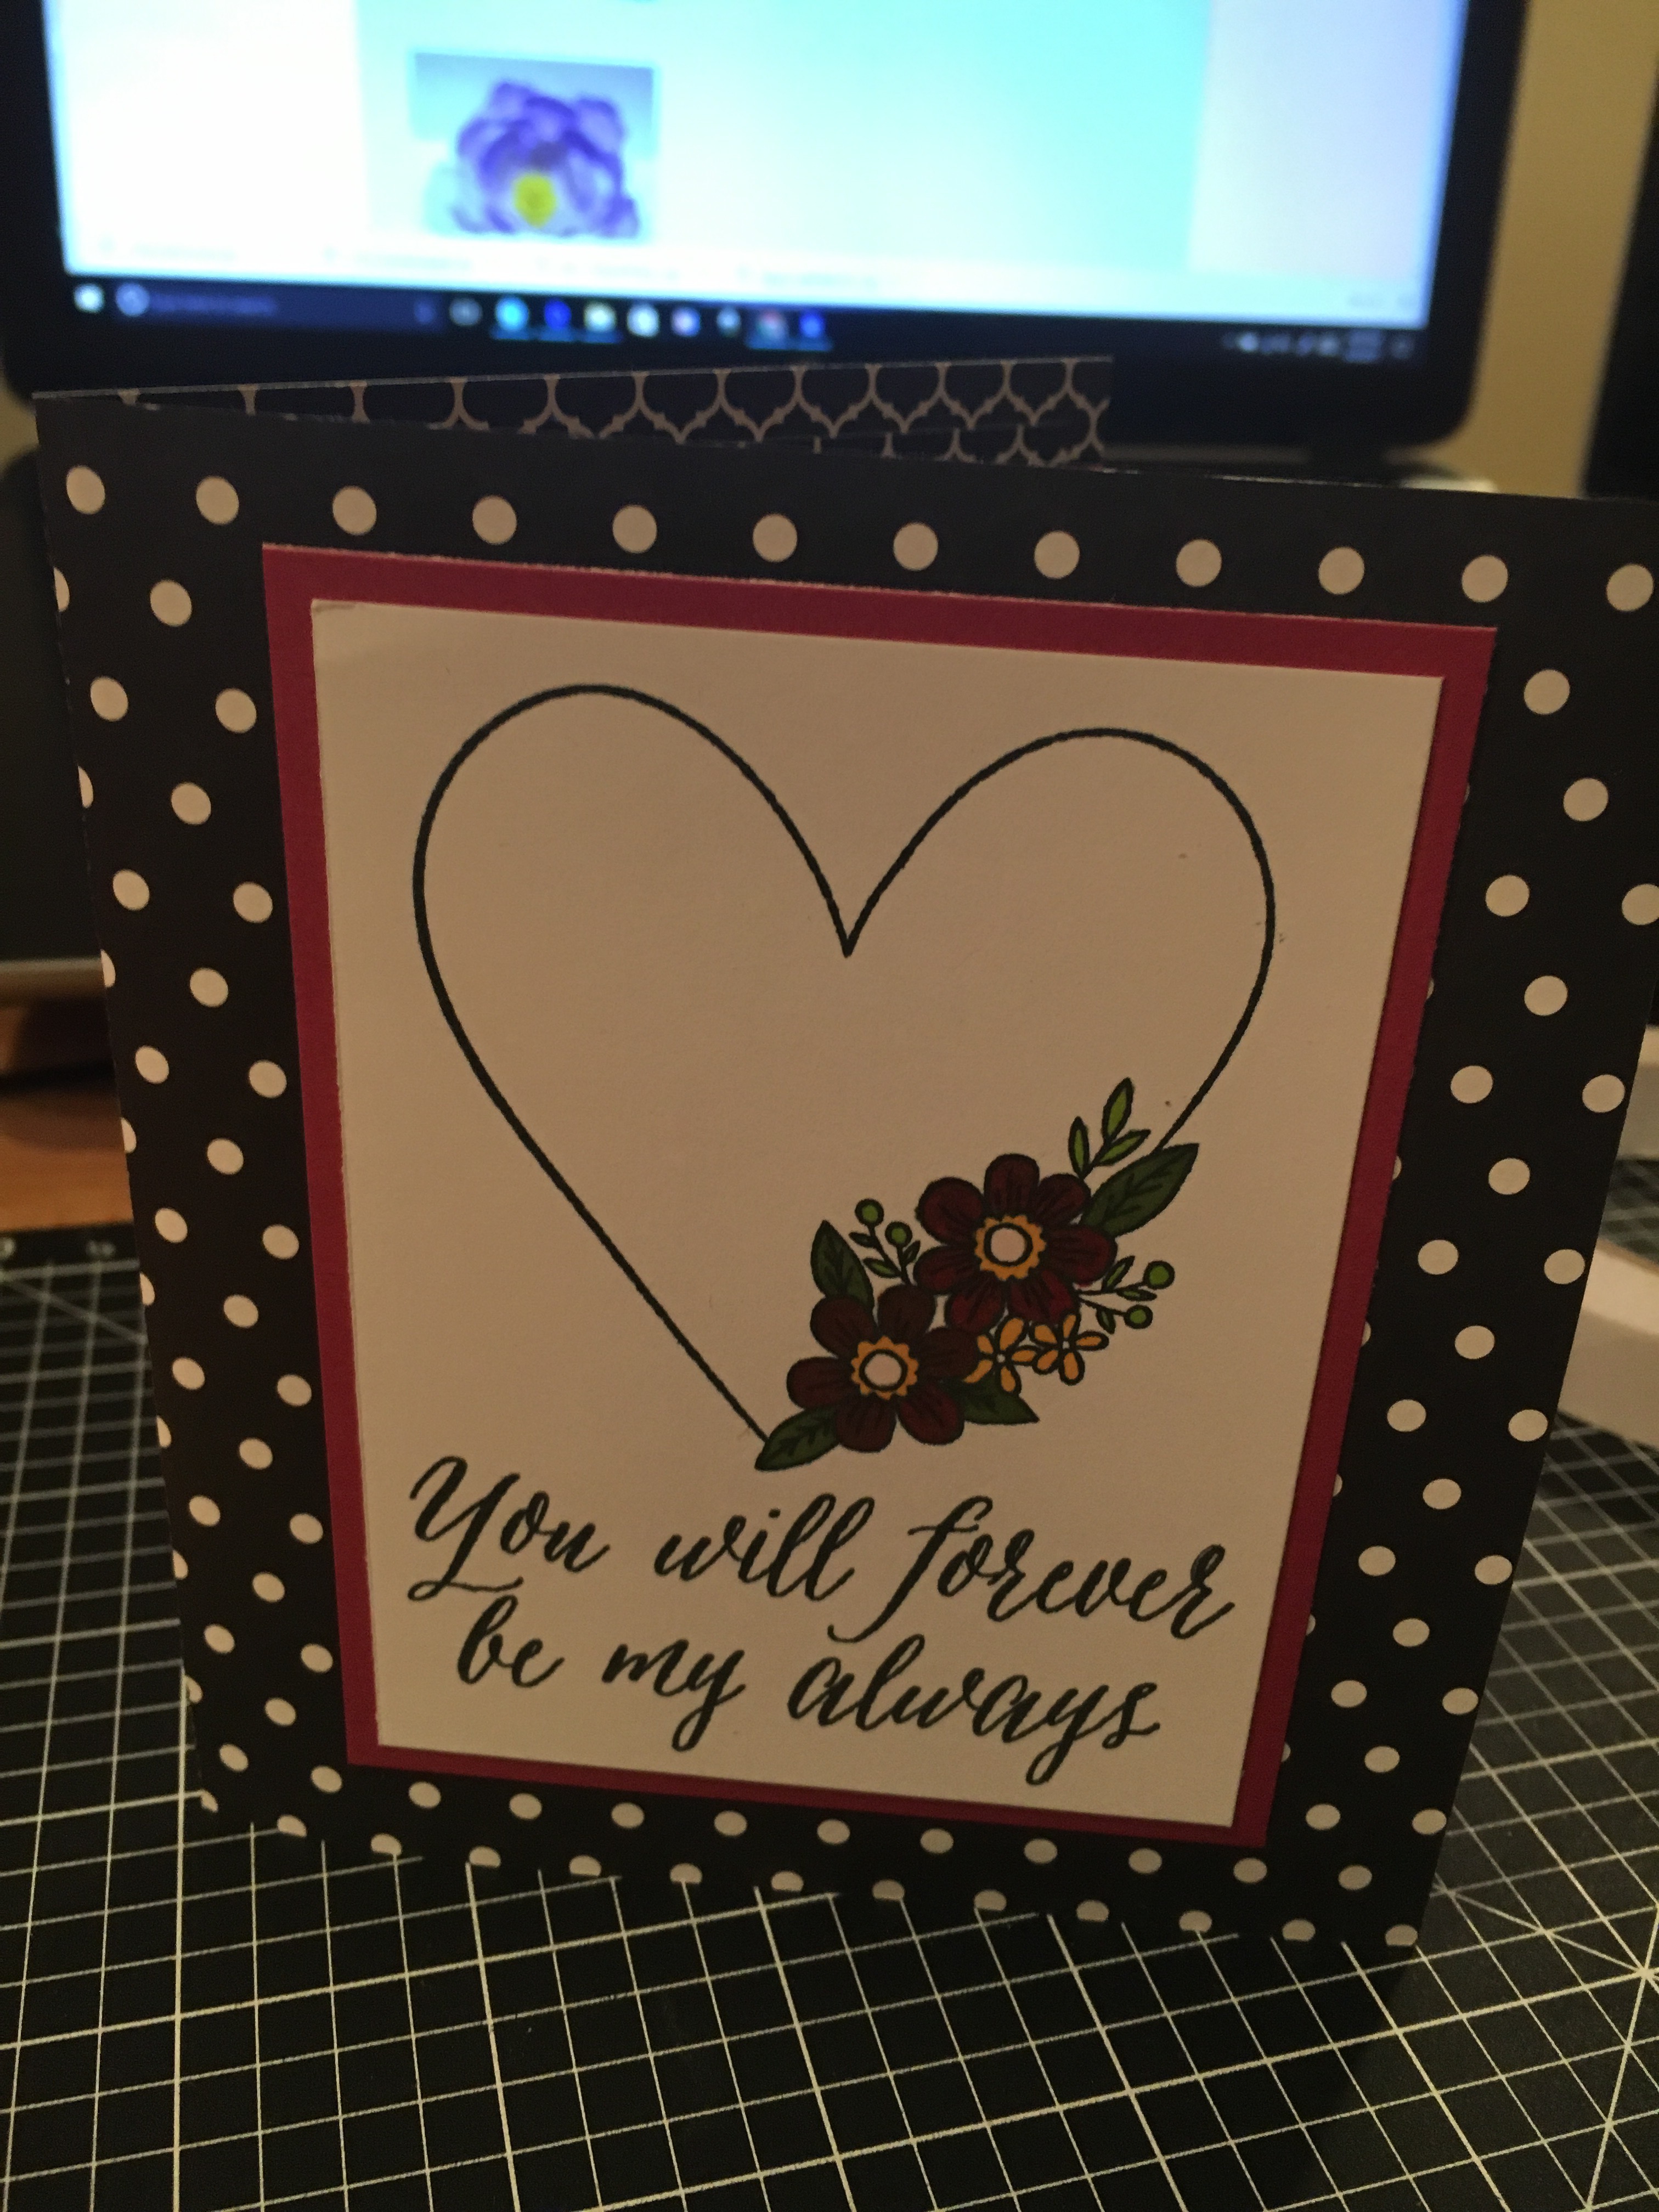
I used the CTMH Stamp of the Month from January and colored it in with the Shin Han markers. img_5850 I cut the card base and inside from a retired CTMH paper pack called La Vie En Rose.

img_5851 And then I used my Envelope Punch and created an envelope for my pop up card.

I hope you have a wonderful day!

Enjoy !

THANK YOU for your support! How can you help? Click HERE & buy a coffee. Every little bit helps with the cost of running the site.

Looking for more in-depth, step-by-step classes, check out all of my online Silhouette classes on my Teachable site HERE.

SS Logo snip it

**This post may contain affiliate links. What that means is that I may receive compensation if you purchase through the links I have provided. The price you pay for the product or service is not higher but I may get compensated for sharing.
Posted on 1 Comment

Bouquet of roses

The other night my husband shows me a photo on his phone and asks me, “Can you make this?” It was a pop up card with flowers in the middle…. so of course….. challenge accepted!!!

I start looking for cut files that I can make something similar and found several. This one I found in the Silhouette Design store and it was so easy to click buy and cut.

You can find the design HERE.

On this particular design there was also information in the product description that leads you to the designer’s blog for instructions on how to assemble and I referenced this several times to know the order that each was glued into the card. You can find the instructions for this card HERE as well.

This card in a box was easy to assemble since everything was included in the one cut file and all you had to do was un-group and arrange the cuts according to the color you wanted to cut. However, do keep in mind that if you want to mail this card, it does need to be resized smaller to fit in a regular size envelope.

img_5854

I cut all my pieces and set them aside to assemble everything at once. I used several adhesive types: Liquid Glass when gluing the card box, roses & stems together, foam tape to attach the greenery inside the card and then a Xyron sticker maker for the word valentine.

img_5855

Liquid glass is my go to adhesive for a quick secure hold on these card in a boxes or on rolled flowers…. I use a small amount and hold the paper in place for 10 seconds, sometimes maybe a bit longer, and then give it a few to dry and it holds so well.

img_5856

Above is my card once all the roses are attached inside the box.

img_5900

And above is my finished card. I did resize the card, so I would be able to put this in a 5 x 7 envelope and mail it.

img_5930

After making this smaller version, I decided that I wanted to make some for the teacher’s. Because really, who doesn’t want to receive a dozen roses? And ones you don’t have to water or take care of in any way – bonus!

img_5929

I hope you take some time to “Do something Creative today.”

Enjoy !

THANK YOU for your support! How can you help? Click HERE & buy a coffee. Every little bit helps with the cost of running the site.

Looking for more in-depth, step-by-step classes, check out all of my online Silhouette classes on my Teachable site HERE.

SS Logo snip it

**This post may contain affiliate links. What that means is that I may receive compensation if you purchase through the links I have provided. The price you pay for the product or service is not higher but I may get compensated for sharing.

Posted on Leave a comment

Friendly Flamingos

A friend had a birthday coming up and I thought it was a perfect time to pull these guys out. I love these card in a box cards! I found my box template at Myscrapchick.com HERE and cut it with my Silhouette Cameo. The box cut file cuts out the box to assemble, the pieces of paper that will fit in the spaces of the box and the inner brace parts. I then just added all the embellishments to the card all over.

img_5924 img_5925 img_5926

These flamingos and papers are retired from Close to My Heart, but they are always coming out with new & fresh ideas and supplies. Grab them before they retire too on my CTMH website: EllyMae.ctmh.com

One of my Facebook groups has a challenge for the month of February…. finish projects! And that is what I’m focusing on…. making a list of what I want to do and getting it done. What are you getting done?

Enjoy !

THANK YOU for your support! How can you help? Click HERE & buy a coffee. Every little bit helps with the cost of running the site.

Looking for more in-depth, step-by-step classes, check out all of my online Silhouette classes on my Teachable site HERE.

SS Logo snip it

**This post may contain affiliate links. What that means is that I may receive compensation if you purchase through the links I have provided. The price you pay for the product or service is not higher but I may get compensated for sharing.

Posted on Leave a comment

So many uses…. wood burning stencil

Every once in awhile hubby asks if I can make something…. last time it was roof shingles from chipboard for houses he was building as models….. This time a stencil for wood burning…..

Of course! I just need to know what you want and I can design it. That is what I LOVE about the Silhouette Cameo!!!

img_5440-2 
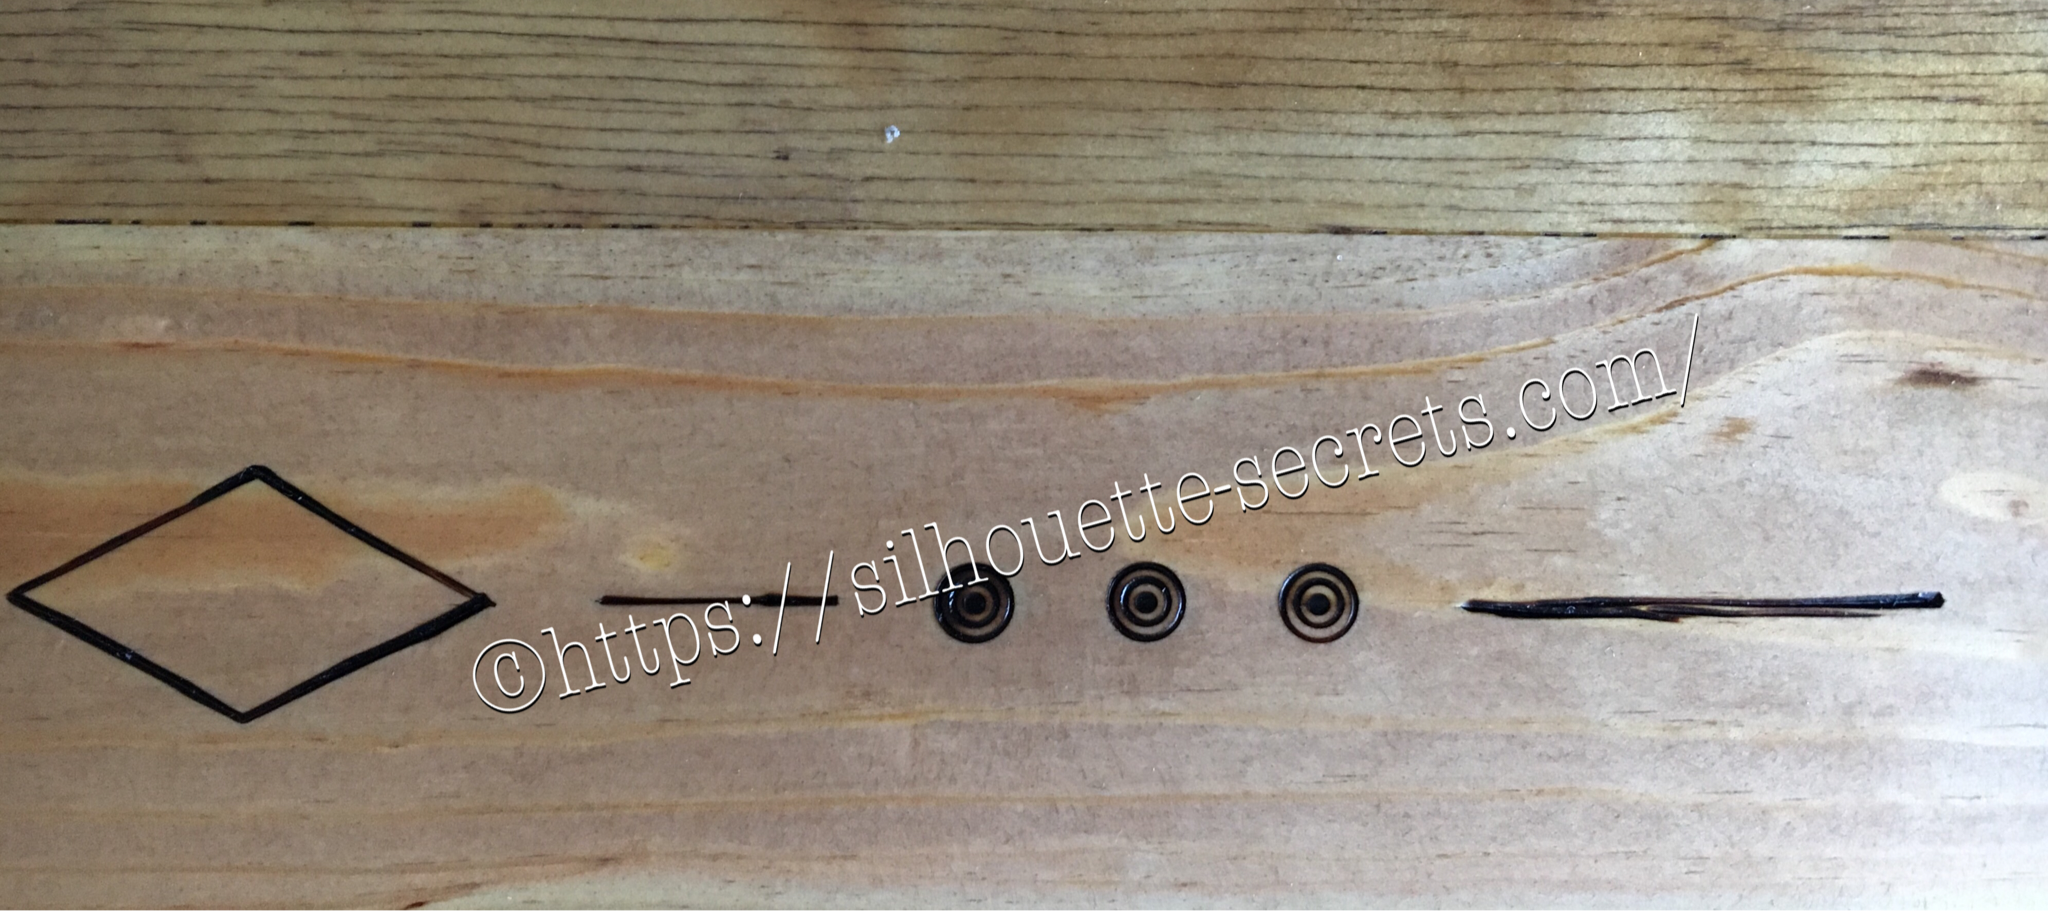
Here is the stencil I cut out of Silhouette Chipboard for him to use.

And it worked perfect for what he wanted to do!

img_5469-2

So many uses so little time!!!

img_5837 img_5836

img_5838-1

The stencil did it’s job and the final project turned out great!

What will you use your Cameo to cut today?

Enjoy !

THANK YOU for your support! How can you help? Click HERE & buy a coffee. Every little bit helps with the cost of running the site.

Looking for more in-depth, step-by-step classes, check out all of my online Silhouette classes on my Teachable site HERE.

SS Logo snip it

**This post may contain affiliate links. What that means is that I may receive compensation if you purchase through the links I have provided. The price you pay for the product or service is not higher but I may get compensated for sharing.

Posted on Leave a comment

Cookie jars

So I scored big time right before Christmas at Michael’s store. I was walking by an end cap and a couple of these cookie jars, there was of course no price on them, but I was next to a price scanner, so just happened to pick them up & price them…. Well, there were on clearance!!! I purchased the one directly below for like $5 and the big ones below that were $1.99 each. Needless to say I grabbed the 2 big ones I saw that were $1.99 and ran to the register to check out. After she had already rang me up, I asked if she could tell me if there were more in the store… I made sure to do this after, so she couldn’t change the price on me, just in case…… I had grabbed the last 2… but still – what a deal! And of course, with my Silhouette Cameo & etching creme, nothing glass is safe!

So home I came to make some vinyl decals. I use Oracal 631 vinyl as my stencil and never have an issue with it. One of these was for a neighbor gift, so it took me a bit to decide on a design I liked, but once I saw this one in the Silhouette store, I knew it would fit. You can find the Made with Love design HERE in the store.

img_5330 img_5332

I use Etchall creme for my projects, as that is what we used in Terri Johnson Creates hands on retreat and I love the fact that you can scrape off the excess and reuse it. So it lasts a long time. I leave my creme on for 20 minutes or a bit longer and it always turns out great! You can find Etchall creme HERE.

img_5333 
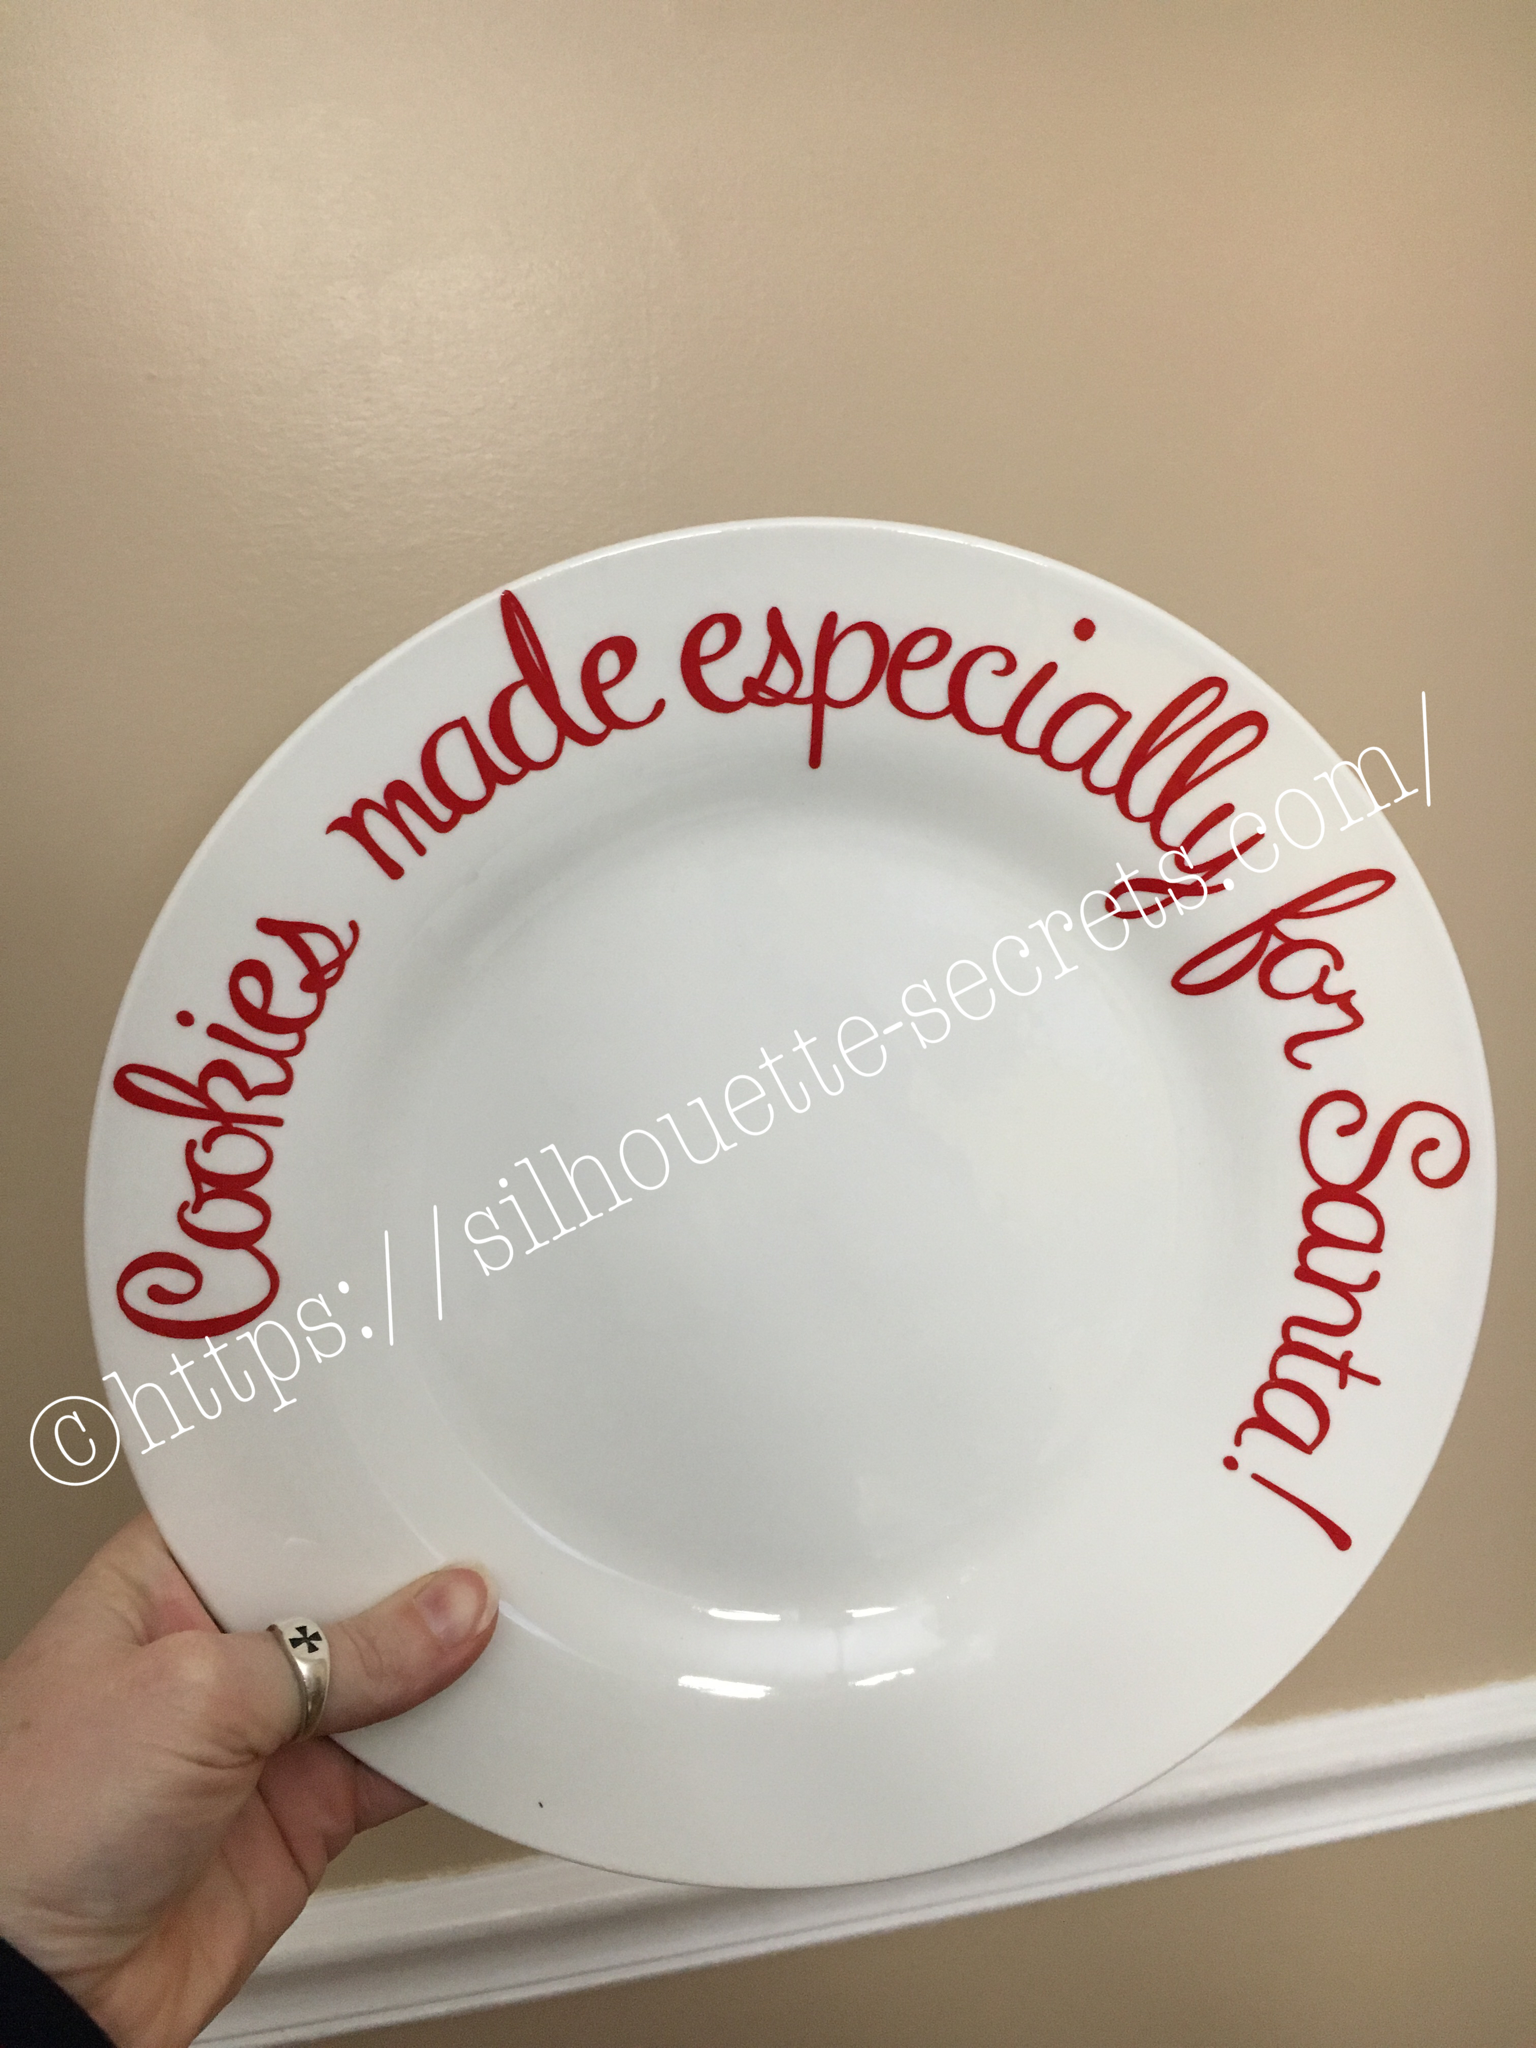
The first one I applied the vinyl to was the one on the left in the photo above…. it was a bit trickier due to the curve and the varied size of the jar. I grumbling a bit when I went to apply the vinyl to the jar on the right and then it went on like a dream. The biggest factor when applying your vinyl stencil to a glass item to etch is you want the edges of your design to have a great seal on them, so the etching creme doesn’t sneak up under the vinyl. The flatter you can get the decal on your object the better, any creases are areas that the etching creme might sneak in to.

img_5340 img_5341 I love how they turned out but I do have to confess that after over a month of it sitting on my counter, it’s still empty….. I don’t bake that often because then I end up eating them….. One of these days, I’ll put something in it.
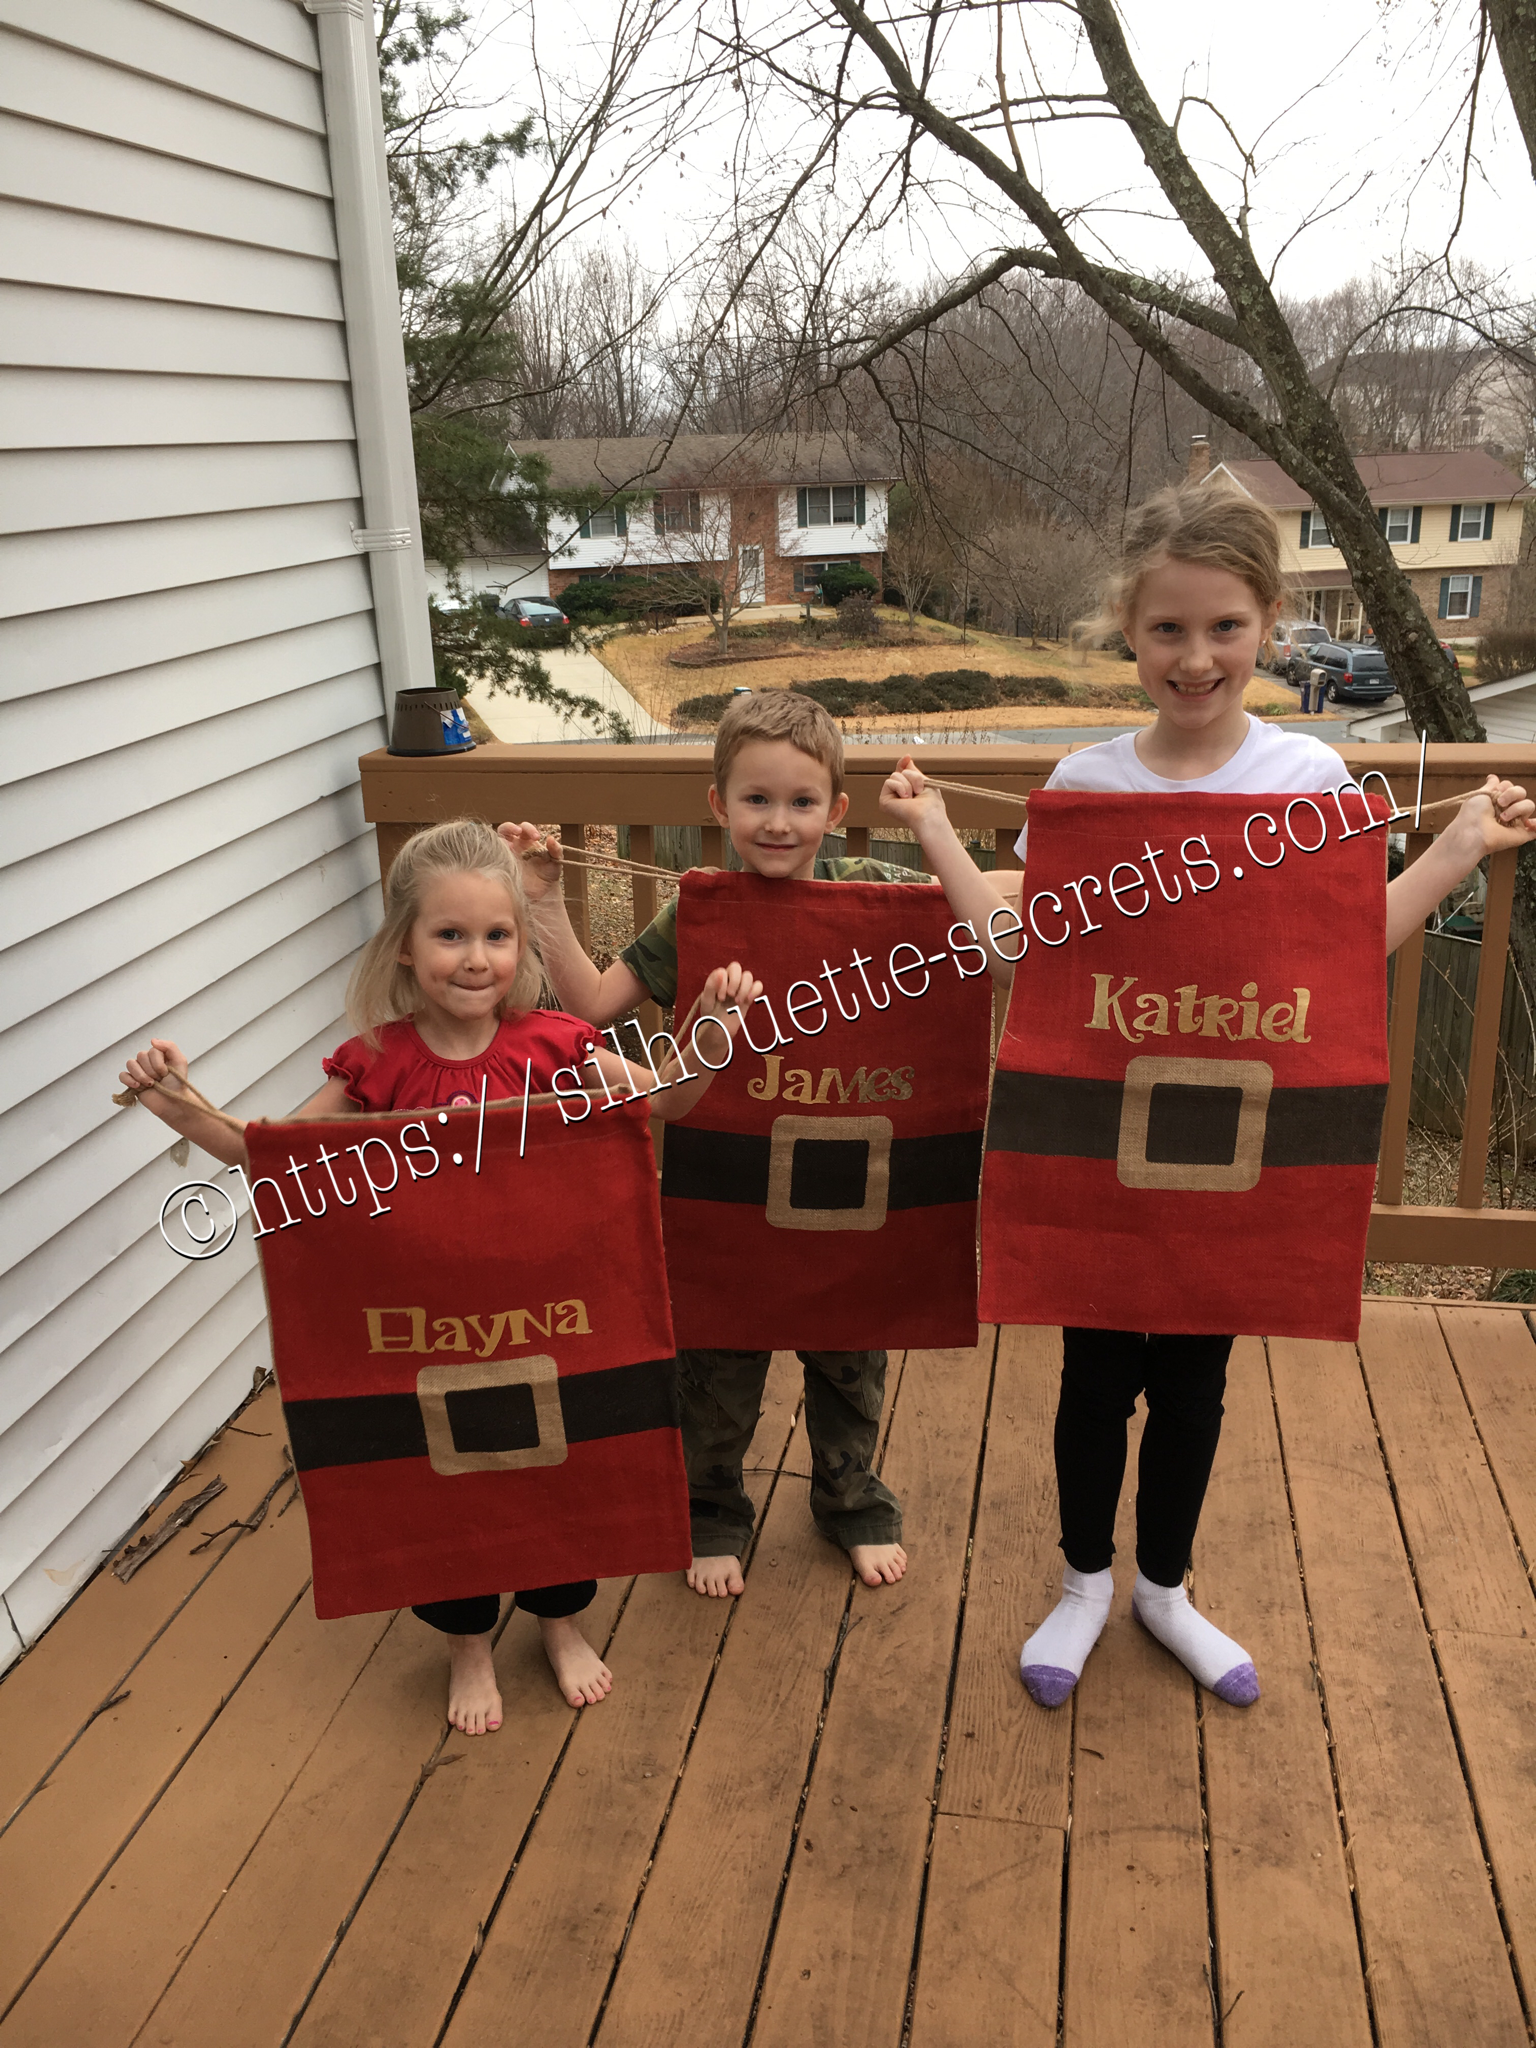
Enjoy !

THANK YOU for your support! How can you help? Click HERE & buy a coffee. Every little bit helps with the cost of running the site.

Looking for more in-depth, step-by-step classes, check out all of my online Silhouette classes on my Teachable site HERE.

SS Logo snip it

**This post may contain affiliate links. What that means is that I may receive compensation if you purchase through the links I have provided. The price you pay for the product or service is not higher but I may get compensated for sharing.

Posted on Leave a comment

After Christmas crafting

On Christmas morning I quickly realized that I needed Santa sacks, so no one could “peek” at what Santa brought before everyone else got out of bed. While shopping in the Target Christmas clearance the day after Christmas, I happened on these burlap sacks.

img_5368-2

I quickly sprang into action….

Grabbed 3 of them and headed home. There was some HTV that would be great on these. I found some gold foil HTV in my sample stash and set to creating the names in the Studio.

img_5380-3

img_5382-1

Just as a reminder…. always mirror your image when using HTV or you will end up wasting a bit of vinyl. Eventually, I will get a heat press, but for now, my iron works with my teflon sheet.

img_5379-1

The kids all enjoyed modeling their new Santa sacks for next year.

Do Something Creative Everyday!

Enjoy !

THANK YOU for your support! How can you help? Click HERE & buy a coffee. Every little bit helps with the cost of running the site.

Looking for more in-depth, step-by-step classes, check out all of my online Silhouette classes on my Teachable site HERE.

SS Logo snip it

**This post may contain affiliate links. What that means is that I may receive compensation if you purchase through the links I have provided. The price you pay for the product or service is not higher but I may get compensated for sharing.

Posted on Leave a comment

New Year – New Mat!!!

I was cutting a few designs out of vinyl and it just seemed to keep tearing….. I powered through and cut a second time & then carefully coaxed it while weeding the design….

You can find that previous blog post with image HERE.

A few days later I sit down to cut a few more and think to myself, “Let’s try a new mat and see if it makes a difference.”

Oh my gosh! I don’t know why I always forget to try this….. It’s probably because I feel that my old mat is still sticky, but it just must not be sticky enough. A new mat, the vinyl doesn’t slip at all and I think that makes all the difference in clear cut lines…. This design below was so easy to weed and on 651, which I seem to have more issues with weeding.

img_5327

New mat = problem solved!

img_5328 I found this design in the Silhouette store and it said “Buy Me”…. well – click… and now I can just place it on my mat, resize it and cut. So simple!

 I wish you all a very Happy New Year & wish you many blessings in 2017!!

Enjoy !

THANK YOU for your support! How can you help? Click HERE & buy a coffee. Every little bit helps with the cost of running the site.

Looking for more in-depth, step-by-step classes, check out all of my online Silhouette classes on my Teachable site HERE.

SS Logo snip it
**This post may contain affiliate links. What that means is that I may receive compensation if you purchase through the links I have provided. The price you pay for the product or service is not higher but I may get compensated for sharing.
Posted on Leave a comment

My little mermaid 

So a few weeks ago I shared this photo on my Silhouette Secrets Group page and it sparked a lot of interest to what I was making…. Well, it is actually several projects and I’m here today to show you the project I used my Silhouette to help me create.

img_4761-1

I found this tutorial for Princess dress up aprons on Pinterest and thought it would be perfect for my kids. We have very tall kids so the store bought Princess dresses do not always fit well or for very long. This is perfect for them to use for a long time to come. I actually made these Little Mermaid ones for my nieces as a Christmas gift.

img_5264

If I actually could sit down and go from start to finish on the project, it would only take a couple hours. But, I have 3 little interruptions, I was making 2 of them at the same time and everyone seems to want dinner… every single night…. So I worked on them a little here and a little there….

img_5265 I used my Silhouette machine to cut the seashells on the bodice. First I sprayed them with Terial Magic, let them dry a bit and heat set that with my iron. terial-magic Then, I added some sew-able interface backing to the fabric and put it on my Silhouette mat. This helps to stabilize the material even more and make it easier for the Silhouette blade to cut it. I then found my seashell I wanted from a design I had purchased in the Silhouette store. I duplicated the shell and aligned them next to each other. I added a rectangle between them and then welded the 3 shapes together. And changed my cut settings to Fabric and hit the cut button in Design Studio.

Tip: I keep separate blades for each type of material I am cutting, such as – Vinyl, cardstock, fabric, etc.

img_5266

And what a joy to see my nieces open up their gifts on Christmas morning!

I asked my youngest if she would like a Little Mermaid apron & she says “I want Tinkerbell!”. So off to the craft store we go again for green & yellow fabric. So I’m sure you will see me back again showing off her Tinkerbell apron, just as soon as I find the time to start that project.

Crafting with your Cameo = So many possibilities….. So little time!

Enjoy !

THANK YOU for your support! How can you help? Click HERE & buy a coffee. Every little bit helps with the cost of running the site.

Looking for more in-depth, step-by-step classes, check out all of my online Silhouette classes on my Teachable site HERE.

SS Logo snip it

**This post may contain affiliate links. What that means is that I may receive compensation if you purchase through the links I have provided. The price you pay for the product or service is not higher but I may get compensated for sharing.