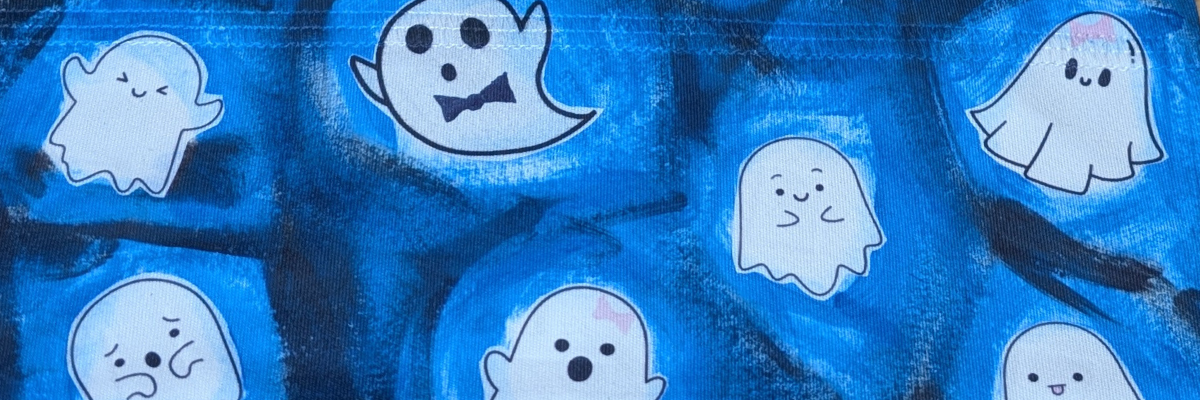

Creating a “craft camp” does not have to be complex or require a high level of skill. What do you need? Paper and craft supplies – DONE! I’m sharing how easy it is to create your own little craft camp and have a little fun. This is fun for all ages and skill levels. If you have a Silhouette cutting machine, you can use it to cut blanks, stencils, and more to use in the craft camp, but it can be done without a cutting machine too!
Affiliate links may be present in the following blog post and as an Amazon Associate, I earn from qualifying purchases.
Watch the video below and then scroll under it for more details and a supply list too.
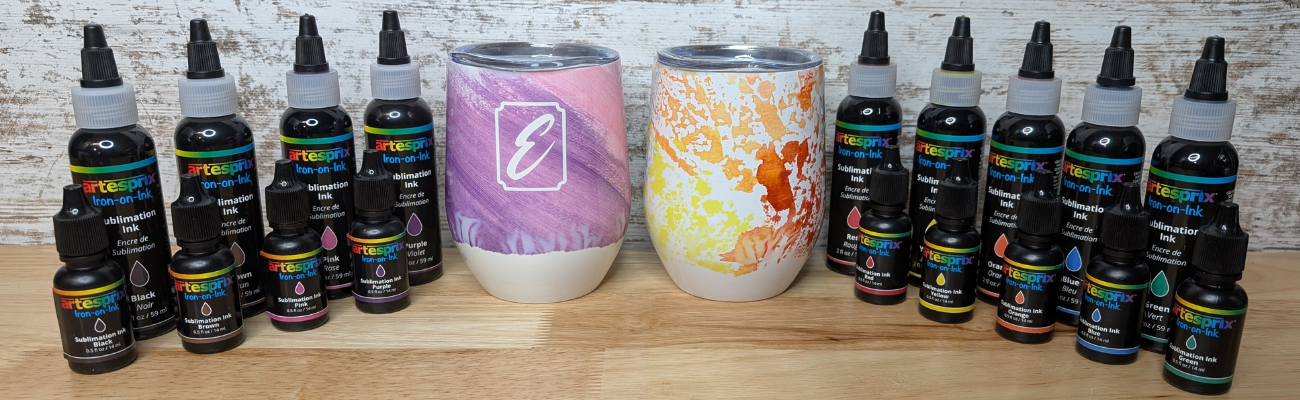
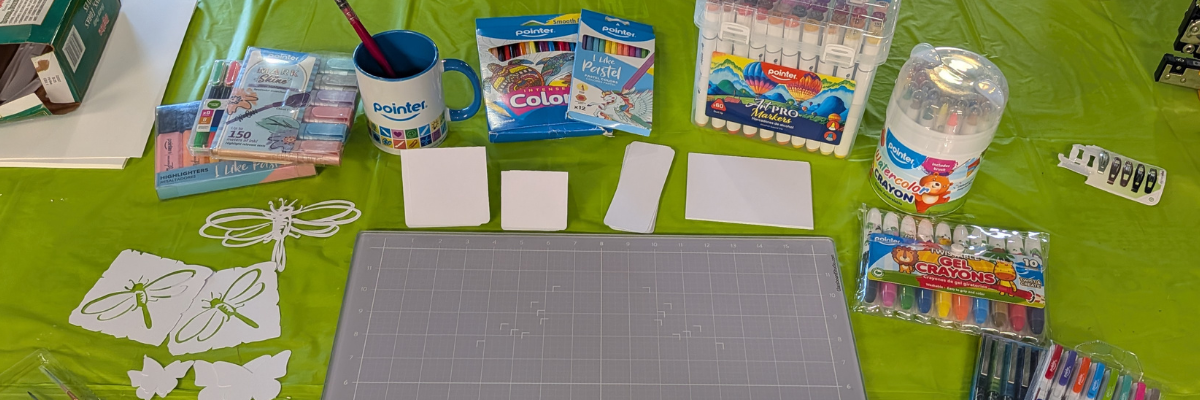
I cut several shapes from mixed media paper and then set up a random selection of craft supplies from Pointer USA. I am a Creative Professional with NAMTA (National Art Materials Trade Association) and was contacted by Pointer USA to test out some of their craft supplies. I have been impressed with the supplies I’ve tested so far and the best part is that they are economical too! Especially if you are getting started with a new medium!
First, I’m going to brag on the Art Pro Mixed Media paper. It cuts fantastic with a cutting machine, which is not always the case with mixed media papers because of the fibrous make up. Often times the fibers will tear and smoosh rather than cut cleanly. But I have now ordered 2 more Art Pro pads because I’ve used it so much.

I also cut out some shaped dragonfly stencils and butterflies with the mixed media paper too.

Here are a couple photos from Round 1 of Craft Camp.

The butterfly and dragonfly stencils were put to use quickly.

And seeing their creations just made me want to create too. After all, I didn’t need to record the entire time. I love to simply add the watercolors to my Glassboard mat and then work with them from there. The smooshing technique is by far my favorite because no two are alike and I have no control over what it might turn out like. Simply scribble, add water, and then place the mixed media paper on top to pick up the color.

Craft Camp Round 2
Here’s a look at the blanks I cut for Round 2. This time I added in some tags as well to the shapes I cut.

And the creativity just continues. I love how they mixed all the colors around. I would turn around and a new creation would be in progress. I’m not sure who was more excited about them creating – them or me. It was so fun to see how they just picked up the craft supplies and turned it into something.

Every creation is different. The hardest part is the letting go and not thinking it has to be perfect. Each one is unique and just have fun. Anyone can do this! Fun for all ages.

My oldest and I had the idea about the same time. It was probably the tree silhouette stencil that prompted the creative thoughts, but I just had to try out some Northern Lights inspired images. I made the first one and recorded the process to create the second one and shared that in the video. If you missed it, check out the video HERE.

Here is a look at the Craftermath after Craft Camp Round 2. I’ll do a bit of clean up and resetting. But I’ll keep this set up for anyone who feels the urge to create.

I know my creativity sometimes is squashed simply by the thought of pulling out the craft supplies I want to use or having to move things around to get started. This might help me too!
Supplies Used for Craft Camp Setup

- Silhouette Cameo, Autoblade, and Cutting Mat
- Mixed Media Paper
- Paint Puck
- Water Sprayer
- Paint Brush(es)
- Watercolor Crayons
- Alternative: Watercolor Paints
- Liquid Color Pens
- Permanent Markers
- Stencils
- Stencil Material
- Glassboard Studio Magnet Craft Mat, Craft Catchers, Magnets
Use code SILHOUETTESECRETS to save 15% on your Glassboard Studio order
I am loving the quality of the Pointer USA craft supplies. They are not only reasonably priced but also good quality for all ages. Check out the Pointer USA Amazon shop HERE for more options or visit them direct HERE.
If you are looking for a mixed media paper that cuts well with a cutting machine like Silhouette, grab the Art Pro Mixed Media paper by Pointer USA and give it a try.
Save this for future reference by pinning the image below.

Enjoy !
THANK YOU for your support! How can you help? Click HERE & buy a coffee.
Every little bit helps with the cost of running the site.
Silhouette Classes
Never stop learning! Let me help you take the anxiety out of learning with Silhouette and get to creating faster! My Silhouette classes are heavily focused on software, so you can take the skills & techniques taught and apply them to many future projects!