Posted on Leave a comment

Personalized Christmas gifts

After one of my retreats with Terri Johnson Creates this summer, I brought home my finished glass etching ornaments and my husband asked if I could make something for a few of his co-workers. It started as a personalized ornament, but then we changed it to beer glasses….. I love that I can personalize an item with my Silhouette and a few basic supplies.

He thought of the individualization he wanted on each and that is what I worked with.
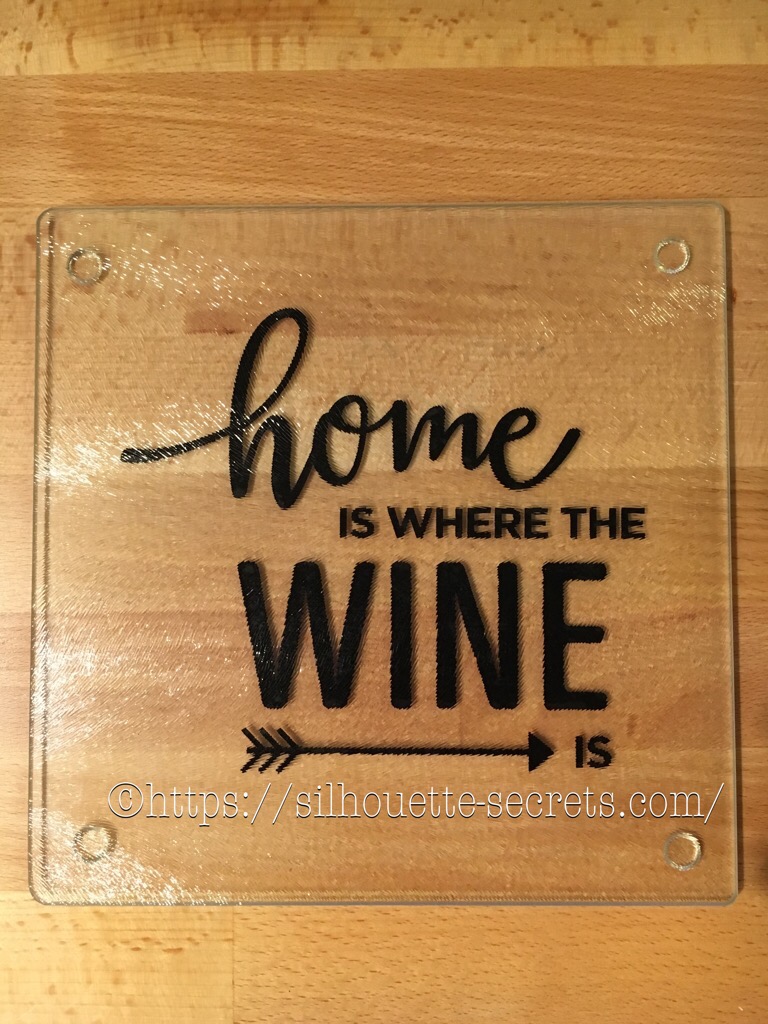
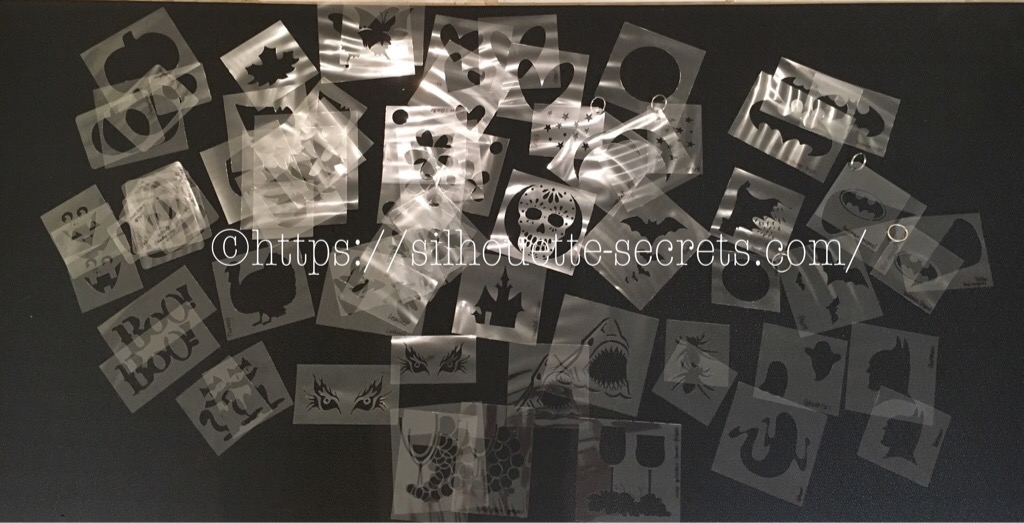
I found images of what he wanted and traced them and then worked with a font that would be bold and readable.

Here are the designs I came up with:
christmas-glasses

I cut these out of vinyl and then we applied them to the glasses. Hubby wanted to help with the project and remembered to grab a couple photos of the process.

img_5165

Hubby is applying the vinyl to the glass above and smoothing it out to make sure it has a tight seal around the edges where we want to apply the etching cream.

img_5166

Then we apply painters tape around the edges of the design, just in case the etching cream goes outside the area of the vinyl.

img_5188

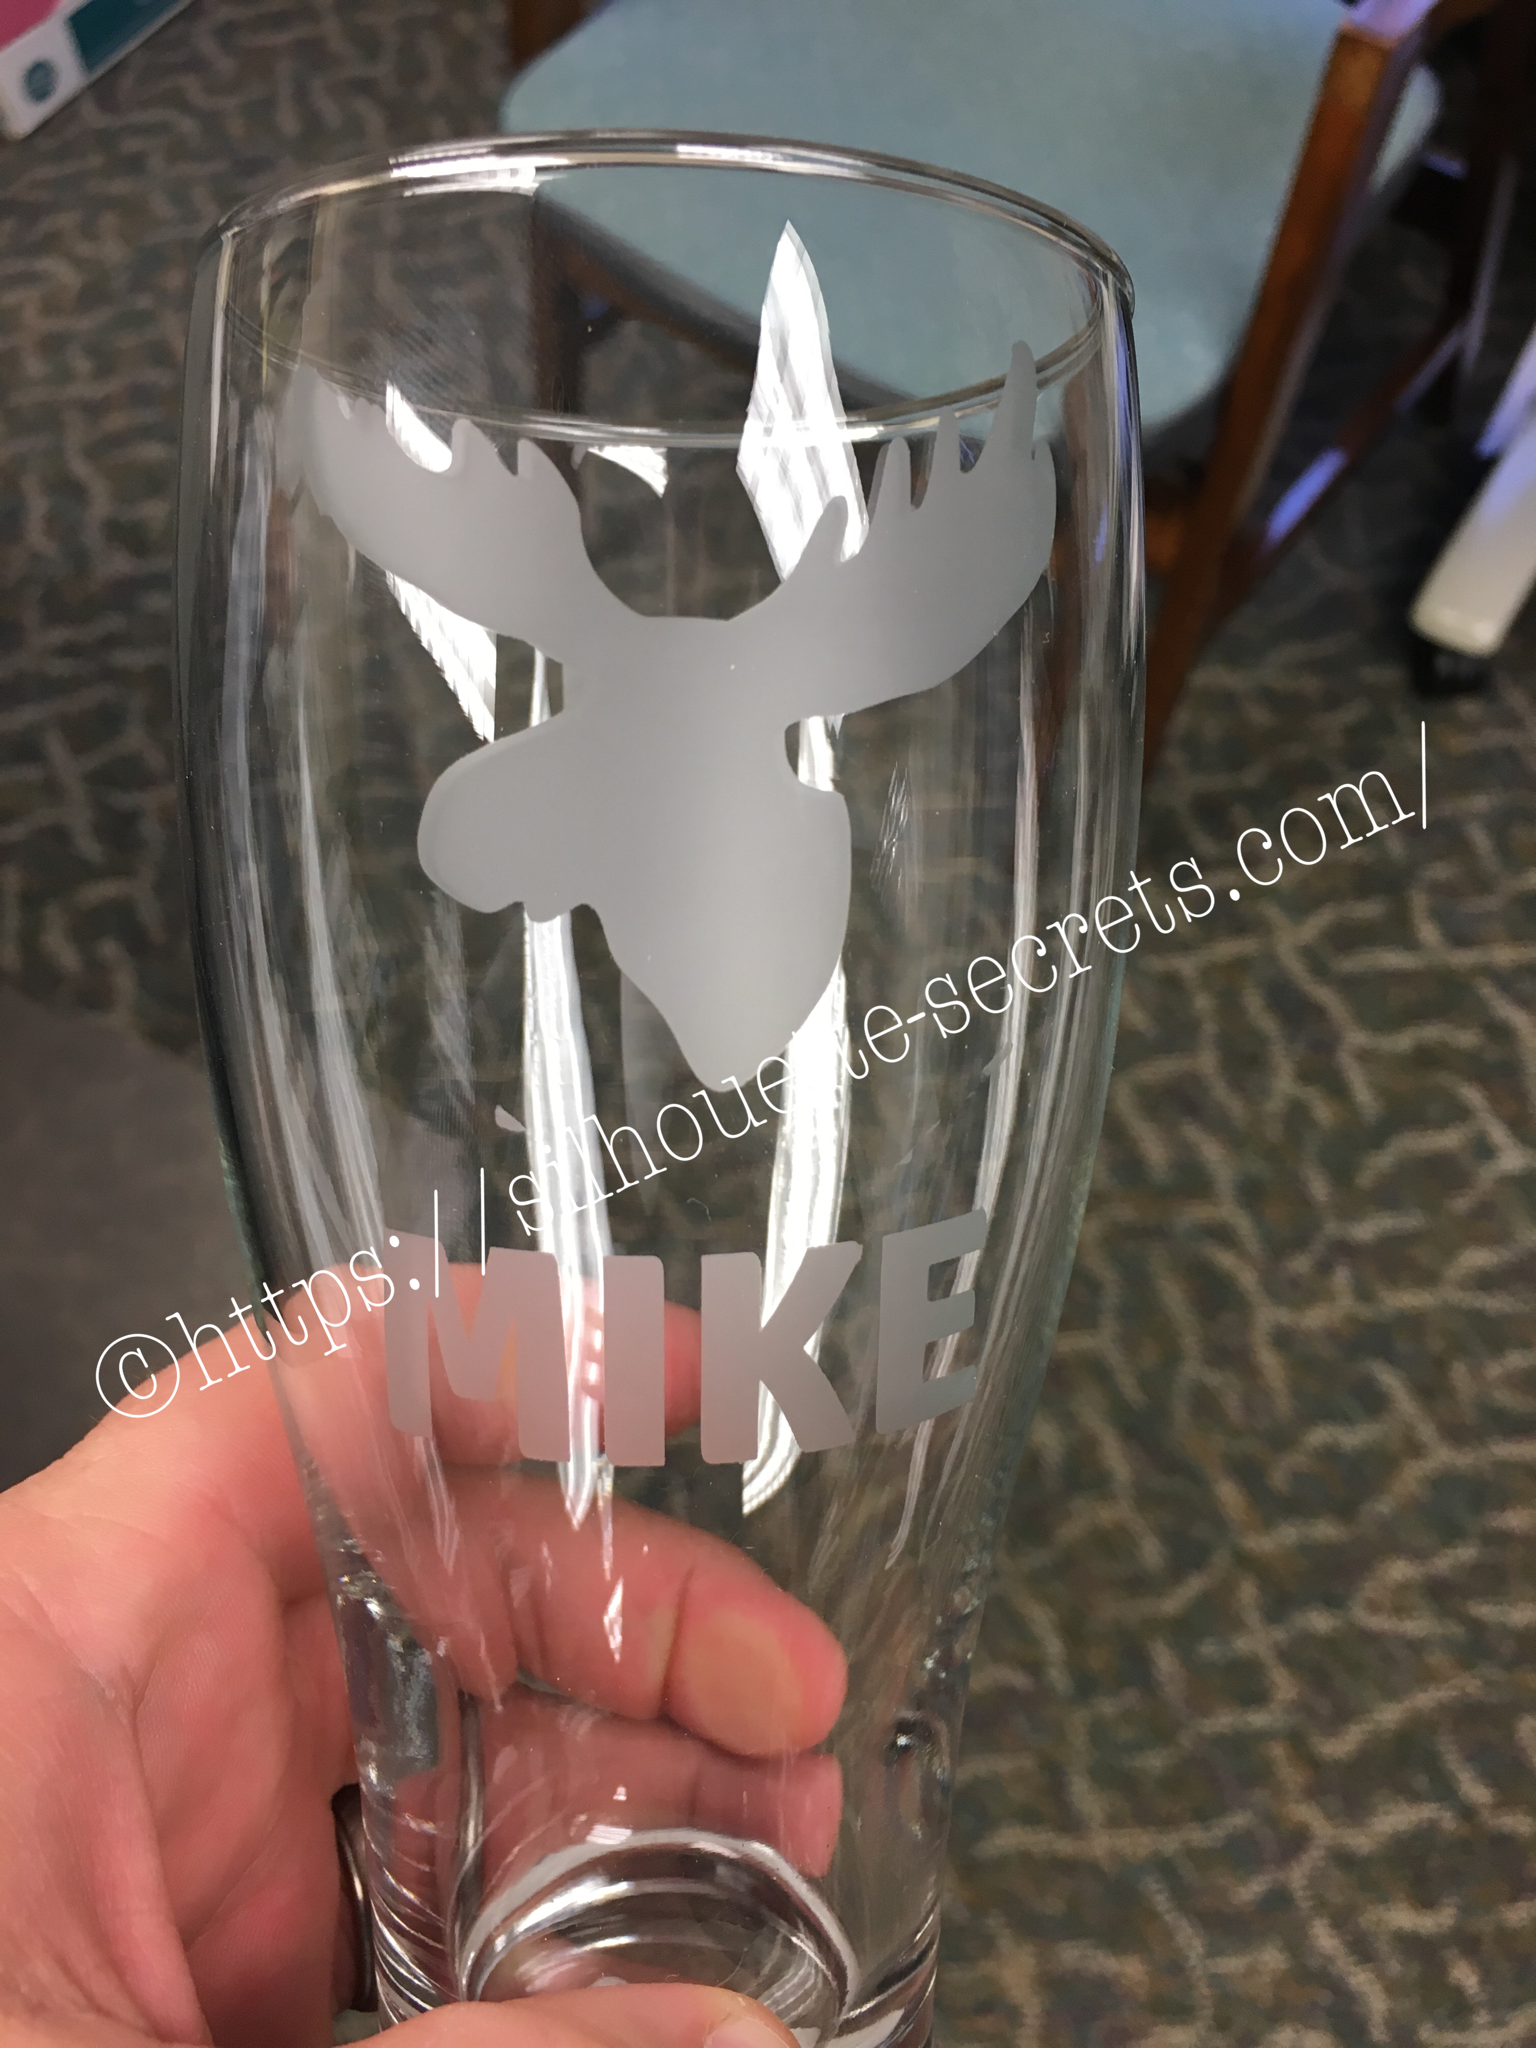
And I am amazed each time I rinse that etching cream off and peel back my stencil. I love this etched glass look and it really adds to these plain ole glasses.
Now, I wish I had remembered to take photos of the rest of them before he took them with him to work.
There’s always something I forget!!!

Another Christmas gift complete!

Enjoy !

THANK YOU for your support! How can you help? Click HERE & buy a coffee.
Every little bit helps with the cost of running the site.

Looking for more in-depth, step-by-step classes, check out all of my online Silhouette classes on my Teachable site HERE.

SS Logo snip it
**This post may contain affiliate links. What that means is that I may receive compensation if you purchase through the links I have provided. The price you pay for the product or service is not higher but I may get compensated for sharing.
Posted on 1 Comment

Vinyl on glass cutting boards

I have seen so many of these glass cutting boards pop up on my newsfeed. Such a nice little touch to make a personalized gift.

I found a design I liked in the Silhouette store & grabbed it before I could convince myself I could design it myself. One thing I’ve realize is, yes – I can design pretty much anything myself. I’ve worked with the software program & I know I can do it, but I can also just buy the design & get to cutting. If I was making these to sell I would either buy the CU (Commercial Use) license or design something myself, but just for my personal use or a gift, the option of purchasing through the Silhouette store saves me time.

img_4068

I reversed the design & cut it from black 651 viny. Then I attached to the backside of this glass cutting board. It turned out great & was the perfect addition to a gift bag I was giving to a friend.

img_4070

 I can see creating many more of these in the future. Next, I’m going to try etching using the vinyl as a stencil. I’m addicted to the glass etching.

You can find this design HERE.

I love that I can personalize an item to make it that much more special!

Enjoy!

Posted on Leave a comment

Simple Santa Ornament

Here is another simple ornament made using basic shapes within the Silhouette Studio program.
I created a long rectangle belt after measuring the circumference of my square ornament, which I then cut out of black 651 vinyl.
Then I made 2 squares and used the Subtract all feature to make the belt, which I cut out of silver 651 vinyl. santa-ornament-copy

I then used transfer tape to place the images onto my ornament.

img_4059-1

And added a few clear rhinestones with some E6000 glue and you have a simple Santa belt ornament.

img_4062-2

Hope you are able to create something today1


Enjoy !

THANK YOU for your support! How can you help? Click HERE & buy a coffee.
Every little bit helps with the cost of running the site.

Looking for more in-depth, step-by-step classes, check out all of my online Silhouette classes on my Teachable site HERE.

SS Logo snip it
**This post may contain affiliate links. What that means is that I may receive compensation if you purchase through the links I have provided. The price you pay for the product or servic
Posted on 3 Comments

Personalizing items

As I approached my first instruction class, I wanted to create a Demo book to show interested Silhouette customers projects that I had completed with my Silhouette Cameo.

img_4033

I took the new Sea Glass photo album from Close to My Heart and decided to add some vinyl to the front cover to personalize it a bit.

img_4043

I took some Oracal 631 Black vinyl, even though it’s temporary, I have great luck with it sticking and if I want to re-design it, I can just peel it off and stick a new one on.
I used the hinge method to apply it to get it positioned where I wanted on the album.
By doing this, you apply a piece of painter’s tape across the center to secure it on the album. Then, lift one half of the vinyl up & peel the backing off and cut the extra backing off.
Then you can lay the vinyl down on the album and burnish to your album.

img_4045

Then you can remove the painter’s tape and are able to work with the other half of the design.

img_4047

Remove the rest of the backing and you can smooth down the vinyl to your album.

img_4048

Burnish it down really well and slowly peel back the transfer tape. This one did take a little bit of finesse to get it off the transfer tape.

img_4049

I ended up applying this design in two pieces as my first cut of my logo was a bit too delicate and didn’t cut correctly. I just changed the font style and cut it again.

img_4050

The finished project turned out great and it shows customers…. the Possibilities really are endless!!!

img_4051

What can you create with a little bit of vinyl?

ss_signature-copy

Posted on 1 Comment

Stencils with the Silhouette

I knew you could do it… but I’d never done it…. then I opened my mouth & volunteered to make stencils for my son’s preschool class fundraiser…..
After my offer was confirmed, I started researching…. usually I would recommend doing it the other way around and volunteering for something that you already know for sure you can do….. But, that’s another story.
My first idea was to use my Cameo machine & cut stencils from chipboard…. we were applying them to flower pots and it was for preschool & younger children.
Then I started looking into it and thought there would be better materials to use….
Amazon Prime to my rescue… I ordered some Silhouette Stencil material and a box of laminating pouches.

After my supplies were delivered, I broke out my laminating machine I picked up many, many years ago…. Had to blow some dust off that box!
Once heated up, I ran the laminating sheets through the machine and it became a hard plastic “stencil” material. This was still flexible enough to apply to a round surface, like the pots we were using.
Then I got to work cutting lots & lots of designs from my Silhouette library and other things I traced or drew myself.

img_3692-2

img_3695-2

I had to make a demo pot to make sure the stencils would work…. There was some bleed through… but less paint is better!!

And I may have gone a bit crazy with the stencils I made… at least I thought I might have.
I was so worried the day of the event that these wouldn’t work & no one would want to use them…. but, I was wrong… everyone LOVED them!
It turned out wonderful and so many  pots were painted with unique designs….

It was great seeing people take the stencils and make their own designs and have a keepsake to take home with them.

img_3729

There are so many possibilities to create using your Silhouette Cameo and this machine amazes me at what materials it can cut… I am forever testing it out!

ss_signature-copy