Posted on 2 Comments

Create Stunning Backgrounds in Silhouette Studio Using Fill Gradients

Create Custom Backgrounds in Silhouette Studio
Silhouette Secrets+ with EllyMae

Have you ever explored the Fill Gradient panel in Silhouette Studio to create your own custom backgrounds? It’s a powerful feature that often flies under the radar—but it can completely transform your designs with just a few clicks. Recently, a fellow Silhouette user reached out asking for more details on how to use gradient fills for creating eye-catching backgrounds. So we explored exactly how the Gradient Fill Panel works —and I’ve got two great resources where I walk you through the process step-by-step. Whether you’re crafting cards, printable art, or layering cut designs, you’ll love what gradient fills can do!

Affiliate links may be present in the following blog post and as an Amazon Associate, I earn from qualifying purchases.

Note: all screenshots and references are using version v4.5.812 of Silhouette Studio. At the time of publication, I am not recommending the current version 5, as it has too many bugs and issues in it. Silhouette Studio version 5 does have a bit different look and some things have been moved around. If you are on version 5 and want to revert to a legacy version, see how HERE.

The Fill Color Panel in Silhouette Studio has 3 tabs that include the main Fill Color, Gradient Fill, and Pattern Fill Panels. It is located on the right side and looks like an artists palette.

Screenshot of the Fill Gradient panel in Silhouette Studio, showcasing color options and gradient settings.

Gradient Fills in Silhouette Studio

Let’s get right down to the resources on Gradient Fills in Silhouette Studio.

First up is the LIVE Silhouette tutorial called Mastering the Fill Gradient Panel in Silhouette

Graphic showcasing various gradient fills in Silhouette Studio with instructional text overlay 'CREATE STUNNING GRADIENTS IN SILHOUETTE'.

We covered the Gradient Fill Panel in depth and you can see the demonstration in real time. There are so many options that you can create and play with!

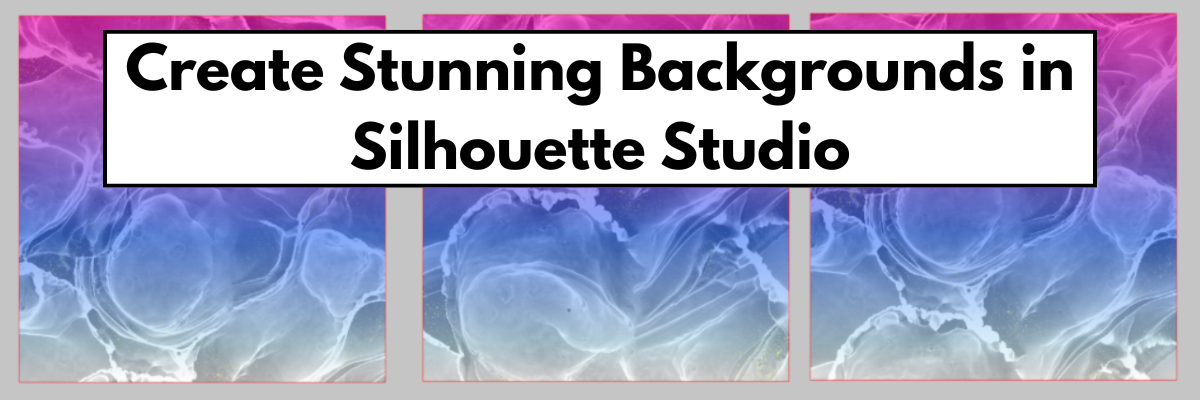
And then I couldn’t stop playing with the patterns and took it one step farther and created custom alcohol ink background patterns. I was so excited I had to share that in this video – How to Create Custom Background Patterns in Silhouette Studio | Easy Step-by-Step Tutorial

An illustrative guide showcasing gradient fills in Silhouette Studio, featuring a solid gradient square and three stunning background designs incorporating vibrant colors and textures.

I took one of the gradient patterns I made in the LIVE tutorial and then added an alcohol ink texture on top of it and created 3 different alcohol ink backgrounds.

A person holding two printed gradient background designs showcasing a blend of colors, with a wall and a calendar visible in the background.

I printed this on 12″ x 12″ cardstock and also on Epson Presentation Paper – Matte. Here is a look at both of those print outs. Notice how the colors are a bit different. The material surface you print on can affect the final colors. The ink soaks into the cardstock more than on the presentation paper, which shows in the final colors. Both can still be used for different projects.

A great way to test and see how colors will look on different materials with your printer is to print out a test. Check out this post – Silhouette Studio: Testing Print Colors for more information and tips.

A greeting card with the text 'Make a Wish' displayed on a cutting machine in a crafting workspace.

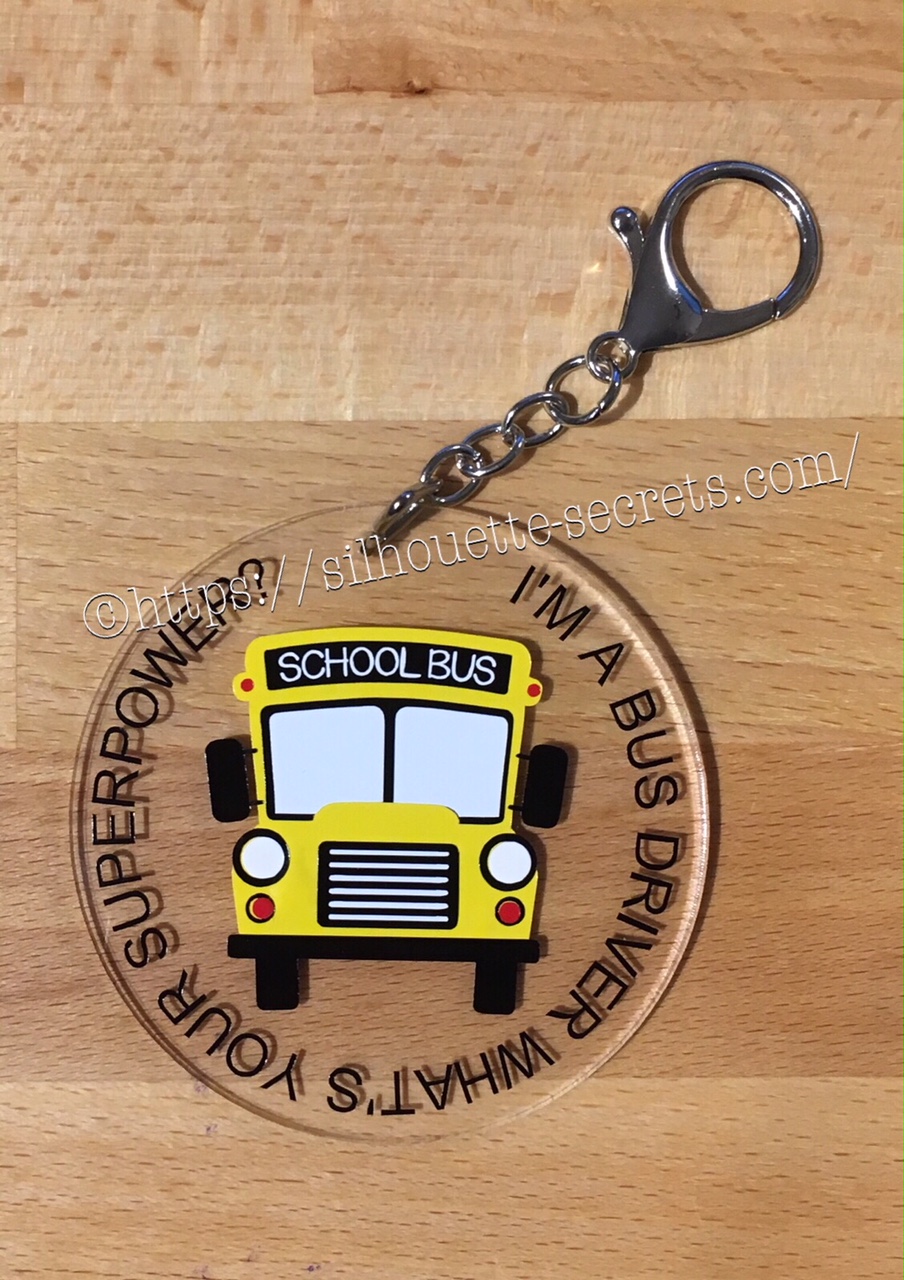
Custom created backgrounds can be used for many projects. I used the sheets I printed and cut the pieces for this scalloped step card design by Lori Whitlock. Then stamped a quick sentiment and now have an easy to assemble card.

There is so much you can do with the Silhouette Studio software. Want to learn more? Check out these additional resources below.

Has this sparked ideas of what you could create? Let me know in the comments below.

Save this for future reference by pinning the image below.

Screenshot showcasing gradient fills in Silhouette Studio, featuring colorful gradients and a 'Create' text overlay.

Enjoy !

THANK YOU for your support! How can you help? Click HERE & buy a coffee.
Every little bit helps with the cost of running the site.

Silhouette Classes

Never stop learning! Let me help you take the anxiety out of learning with Silhouette and get to creating faster! My Silhouette classes are heavily focused on software, so you can take the skills & techniques taught and apply them to many future projects!

Silhouette step-by-step Classes by Silhouette Secrets+

Silhouette Secrets+ with EllyMae
**This post may contain affiliate links. What that means is that I may receive compensation if you purchase through the links I have provided. The price you pay for the product or service is not higher but I may get compensated for sharing.

Posted on Leave a comment

Silhouette “Secret” to Working with an Uncolored Design

Have you ever opened up a design file and it was not filled with color or did not look like the thumbnail image of the design?

Today I’m sharing a quick video tutorial on the Silhouette Secrets+ YouTube channel on how you can easily work with these types of files and why they may open like this.

Check it out HERE

I hope you are getting crafty today!

Share below what projects you are working on currently!

I would love to see what you are creating with your Silhouette software or machines!
Feel free to post on my Facebook group at 
Silhouette Secrets with EllyMae.

Save this for future reference by pinning the image below.

Enjoy !

This image has an empty alt attribute; its file name is logo.jpg

THANK YOU for your support! How can you help? Click HERE & buy a coffee.
Every little bit helps with the cost of running the site.

Or if you are looking for more in-depth, step-by-step classes, check out all of my online Silhouette classes on my Teachable site HERE.

SS Logo snip it
**This post may contain affiliate links. What that means is that I may receive compensation if you purchase through the links I have provided. The price you pay for the product or service is not higher but I may get compensated for sharing.
Posted on 5 Comments

10 Essential Tools in Silhouette Studio for Beginners

Whether you are a beginner or experienced with the Silhouette software, there is always something new to learn in it. I don’t think any one person can remember every single thing this software is capable of. And speaking from my own personal experience, I think all users get in a routine of doing the same things with the same tools and sometimes we don’t even think of a “new” way to do things. For example, using the Quick Access Toolbar (QAT) versus the panels on the right side.

QAT copy

I am more comfortable using the panels on the right because I like the expanded panel and am just not in the habit of using the quick icons at the top. But, I am getting better at it.

Going through this series, I have learned a lot of new features that I just didn’t use on a regular basis. This is a very powerful graphics program!

Now, if the software seems overwhelming, I would suggest grabbing this free PDF and downloading it to your computer. When you open it and click on the titles, it will take you to a corresponding blog post with more details on that feature.

Header PDF file

Today let’s look at the top 10 posts from the “Let’s Explore v4” series that I think will help you learn the software and get you started or more comfortable with designing in the software.

Silhouette Secrets+ Top 10 Let’s Explore v4 Tools

1 – Text Tool & Text Style Panel Text is one of the first things any user will work with in the Silhouette software. The Text Tools are found on the left side of the software and the Text Style Panel, which allows you to change the properties of the text is on the right side.

Working with text copy

Learn more about text at the “Let’s Explore v4 – Text Style Panel” post HERE.

Text Style Panel main copy

2 – Fill Color Panel  I use the fill color panel every single time I open the Silhouette software. Not only does it help you see the design better and give you an idea of how the finished project will look, but it can also make it easier to select the object if it is filled with color.

Fill Color Panel copy

3 – Line Style Panel This panel can be very helpful if you want to change the line color of the design so it doesn’t show as a red line or if you are printing a design. Cut lines do not have any weight to them, so if you want to print the lines you would either need to increase the line thickness or choose to “print lines of selected shapes”.

Line Style Panel copy

4 – Align Tools This is another tool that I use every single time I open the software. I like to have my designs and text perfectly aligned and centered in my object.  The Align tools are found under the Transform Panel on the right side.

Transform Panel copy

5 – Trace Panel The trace panel can come in handy for many projects from creating basic designs to print and cut projects with jpeg or png files.

Trace Panel copy

6 – Drawing Tools These tools can come in handy when you want to create something yourself add your own weeding lines around a design, draw a frame around the design, and many other things. The more comfortable that you get with the software, the more options you will find to create things in it.

Drawing Tools close up copy

7 – Replicate Panel Want to create an exact copy of the design you just drew or make several copies with the click of 1 button? This can happen under the Replicate Panel.

Replicate panel copy

8 – Offset Panel Want to make that font a little thicker? The Offset Panel can help with that and so much more.

Offset Panel copy

9 – QAT – Quick Access Tool bar This is a fluid tool bar that will change depending on what you have selected on the design mat. You will notice that the icons will be the same as the panels on the right side.

With objects selected on the design screen these are the icons you might see in the QAT bar.

QAT bar copy

Look at all the information in the Quick Access Toolbar. All of this information can also be found on the right side in the Panels, but these are quick buttons to access it as well. There are multiple ways to do things in the software, no one way is right or wrong, but the best way is what works for you.

It is a fluid tool bar, which means that it changes depending on what is selected. If you have text selected on the design screen, then you will see text options in the tool bar.

QAT Text copy

10 – Edit Points While this isn’t something that I would label as a beginner tool. I do think knowing what those gray dots are when they pop up is a relief. You don’t need to understand how to work with them right now, but understanding why they appear & how to make them disappear is something I believe is very helpful.

Edit Points copy

There are so many different tools in the Silhouette software. The best thing you can do is just get started. Play, play, play. Start with 1 project and get that down and then move on to new things.

I would love to see what you create! Feel free to post on my Facebook group at Silhouette Secrets with EllyMae.

Save this for future reference by pinning the image below.

10 Let's Explore post to start Pin

Enjoy !

THANK YOU for your support! How can you help? Click HERE & buy a coffee. Every little bit helps with the cost of running the site.

Silhouette Classes

Never stop learning! Let me help you take the anxiety out of learning with Silhouette and get to creating faster! My Silhouette classes are heavily focused on software, so you can take the skills & techniques taught and apply them to many future projects!

Silhouette step-by-step Classes by Silhouette Secrets+

Silhouette Secrets+ with EllyMae

**This post may contain affiliate links. What that means is that I may receive compensation if you purchase through the links I have provided. The price you pay for the product or service is not higher but I may get compensated for sharing.

Posted on 4 Comments

Bus Driver Appreciation gift

Over on the Silhouette School blog today I showed how to use the Cut by Fill Color option to create a layered vinyl decal for perfect placement.

 IMG_2823

Now I’m going to show you how I took that design, shrunk it down and used the same technique to create a bag tag for our Bus Driver.

I started with a 3″ clear acrylic circle blank from Craft Chameleon.

IMG_2824

I love that Craft Chameleon acrylics come with a cut file included. I opened up the template for this shape and copied and pasted it to a new design mat to use as my base. Or you could draw a perfect circle by holding down the Shift key and then resizing the circle to the exact dimensions under the Transform Panel – Scale tab.

Base Template

Now, I can use this to create my design in.

I took the School bus design by Kelly Lollar Designs that I used as an example in my guest post, and shrunk it down with the registration (layering) marks. I wanted to make sure that the bus fit in the center of the acrylic shape with space around the edges for text.

 Bus centered

Now, I duplicated my circle and made it a little bit smaller. This is so the text will fit down inside of the acrylic shape better. Move the original 3″ circle off the mat as it’s not needed any longer or you can delete it.

Then select just the bus and the circle and use the Align Tab in the Transform Panel to Align Center or from the QAT (Quick Access Toolbar). Do not include the registration (layering) marks in this, as it is just the bus and circle we want to center together.

Align center copy

Now, type out the text, select the font style and size. Double click back on the text to get the circle in the bottom left corner. Grab that circle and drag it to your circle shape.

Typing text copy

As you drag it to the circle you will notice it attaches to the circle. Play around with the alignment of the text to your liking and then use the slider bar to increase the distance from the circle either inside or outside of the circle.

Text to shape copy

Now, I decided to increase the Character Spacing under the Text Style Panel, just a bit on my letters to spread it out a bit. And then readjust your words around the circle. Each Font style that you choose will give you different looks, so you will need to adjust for whatever you choose.

Character spacing copy

Now, once the text is modified, it will no longer be editable text. This is a good time to make a copy of the text & circle and pull it off the mat, just in case you want to edit it later. If you select only the text to pull it off, it will release from the shape, so you want to select both the text and the shape and make a copy.

In order to separate the text from the circle, right click on the text and choose Convert to Path.

Convert to Path copy

And now, move the circle off the mat as we do not want it to cut.

Circle released

Now, we are ready to cut out decal just as I detailed in the Silhouette School guest post.

Once we have our decal cut out and layered together, we are ready to apply to the acrylic shape.

I went ahead and placed the shape on my Silhouette cutting mat on the sticky side, so it wouldn’t move while I applied the decal. The acrylic blanks come with a protective covering on them to prevent scratching before use, so make sure to peel that off before you add your decal.

IMG_2814

And then I lined the decal up and placed it down, burnishing it well and took the transfer tape off.

IMG_2815_edited

And with any project there’s always 1 piece that may not work just right. As you can see I’m missing the School bus title on it. This did not weed well when I was layering the decal and after messing with it, I decided I’d just re-cut it and apply.

I duplicated the design and then un-grouped everything and deleted all but the School Bus. Then I duplicated the School bus 3 times just in case…. if I had only cut it once you know it wouldn’t have weeded correctly, but since I cut it 3 times….. all 3 weeded beautifully with reverse weeding.

IMG_2817_edited2

Then I gathered the rest of the tools to attach the pieces of the bag tag.

IMG_2819

I just received these bent nose pliers from Craft Chameleon and using them 1 time, I’m in love with them. They are one of those tools like my Close to My Heart nonstick scissors that will be my go to tools. Now, I could have just gone to the garage and “borrowed” a couple pairs of pliers from there, but these were the perfect size for my hands and worked wonderfully. I am so glad I ordered them after watching Craft Chameleon’s live FB video a few weeks ago.

And now I have a little gift to give to the bus driver.

temp

Can you think of things you might layer with adhesive vinyl? Those first few times you attempt it can seem daunting, but it is another project that takes practice and the layering (registration) marks make it much more manageable to layer a design. What will you design and cut?

Enjoy !

THANK YOU for your support! How can you help? Click HERE & buy a coffee. Every little bit helps with the cost of running the site.

Looking for more in-depth, step-by-step classes, check out all of my online Silhouette classes on my Teachable site HERE.

SS Logo snip it

**This post may contain affiliate links. What that means is that I may receive compensation if you purchase through the links I have provided. The price you pay for the product or service is not higher but I may get compensated for sharing.

Posted on 47 Comments

Let’s Explore v4 – Fill Color Panel

Today we are going to explore the Fill Color Panel located on the right side of Silhouette Studio v4.

Fill Color Panel copy

I use this feature a lot when I design in the Silhouette software for many reasons. Now, understand that by filling a design with color, it does not cut in that color. The color you fill it with will be a visual reference only, unless you are making a Print and Cut project. If you are creating a Print and Cut project, then the colors will be a representation of what colors will print on your printer.

I fill my designs and fonts with color so I can visualize the design better. Typically, I just fill it with black, but if I’m creating a multi-color image, I can then choose the colors that will best match my design. Another reason to fill it with color is to be able to select the design or font easier. When an image is transparent, you have to click on the red outline of the image to select it, which can sometimes be difficult. However, if you fill it with a color, you can click anywhere on that color to select the object.

For today’s example, I am using a font from the new SoFontsy site called Wine Not and will be creating my own design.

Wine not design2

You can see in my photo above that when I use the Text tool and type in my font, that it comes in transparent. Also, notice that the font name has a few extra letters in front of it, this is the Designer’s signature and something to keep in mind when you download fonts. You may need to pay close attention to the full font name to find it in your Text Style list.

Something else to point out here is the extra space around the font, as you can see my text selection box is 2.218″ in height but if you look at the grid spaces, the font is really less than 2″ in height. Check out this guest post I wrote at the Silhouette School blog on Forcing Accurate Text Sizes for more information on that.

So, how do you fill something with color? First, make sure your object is selected. You will see the selection box around it when it is selected. Then, you can click on the Fill Color Panel on the right side of your Silhouette software or it can also be found in the top left corner of the QAT (Quick Access Toolbar).

Fill Color demo copy

Now let’s Explore the Fill Color Panel.

Fill Color Panel1 copy

  1. Color Palette Selection – In this area click on one of the blocks of color and the design selected will change to that color.
  2. Eyedropper color selection – Click on this and then click on another color on your design mat to pick up that color and use it.
  3. Color Selection – This is the color that is currently chosen as the Fill color with the Eyedropper tool.Transparency copy
  4. Transparency – This changes the transparency of the Fill color chosen. In the above photo, the design at the top has my website placed over the top as you would place a watermark and the Transparency is decreased to 71% versus the design on the bottom that is still at 100%.
  5. Advanced Options – Opens up a panel where you can move the color selection around manually or under the color graph you can input the specific numbers for a certain color that you would like.
  6. Fill Gradient – Here you have many options to change the color and the gradient fill and change the properties of how the design looks. You can also decrease the transparency of the gradient, adjust the color even more, and change the angle of the gradient.Gradient fill copy
  7. Fill Pattern – Here there are many patterns for you choose from or you can add new patterns into the library and those will show up here. You also have the ability to change the Transparency of the pattern and under Advanced Options can choose to mirror, change the aspect ratio, rotate, change the angle, scale, and pan the pattern.
In the photos above, on the left, you can see I just clicked on the Fill Pattern option and chose a polka dot pattern, I did not change anything else. On the right, I changed the mirror, angle of the pattern, increased the scale, and panned the pattern so that it was a bit different.

As you can see, you have many options available when you are designing and using the Fill Color Panel. Keep in mind, that while you can change the color, gradient and pattern fills on the screen, the Cameo will still cut the color that you place on your mat. If you want the design to be how you have filled it on the screen, you need to look at creating a Print & Cut project. Check out more information here on last weeks exploration of Registration Marks for Print and Cut projects.

For our project today, I have used a font called Wine Not by Design Shark available on the new SoFontsy site. All the designs on the site come with a 100% Commercial Use license and are cuttable files.

And I’ve included the design used in the post as a freebie!

SS_winenot_freebie2

You can download this free Studio cut file HERE. Personal Use Only.

The graphics I used also came from the font file and I accessed them through the Glyphs Panel in my Silhouette Studio software. The Glyphs Panel is available in the Silhouette software for those who have the Designer Edition upgrade and higher than v4.1.197 of the Silhouette software. You can find great prices on the software upgrades at Swing Design if you need to purchase it. I highly recommend upgrading to at least the Designer Edition upgrade.

I hope you learned a bit about the Fill Color Panel and how useful it can be when you are creating in your Silhouette software.

Check out the entire “Let’s Explore v4” series HERE.

Check out my Silhouette Instructions and Events tab for more information on Personalized Silhouette Instruction.

Enjoy !

THANK YOU for your support! How can you help? Click HERE & buy a coffee. Every little bit helps with the cost of running the site.

Looking for more in-depth, step-by-step classes, check out all of my online Silhouette classes on my Teachable site HERE.

Enjoy !

THANK YOU for your support! How can you help? Click HERE & buy a coffee. Every little bit helps with the cost of running the site.

Looking for more in-depth, step-by-step classes, check out all of my online Silhouette classes on my Teachable site HERE.

SS Logo snip it

**This post may contain affiliate links. What that means is that I may receive compensation if you purchase through the links I have provided. The price you pay for the product