Posted on Leave a comment

3 Ways to Work with Rhinestones

Have you seen all the possibilities with rhinestone designs?

In this post, I’ll share 3 ways you can work with rhinestones.

Rhinestone Design Created in Silhouette Studio

Affiliate links may be present in the following blog post and as an Amazon Associate I earn from qualifying purchases.

Let’s Add Bling!
3 Ways to Work with Rhinestones

1. Create Your Own Rhinestone Designs

If you have the Silhouette Studio software Designer Edition upgrade (or higher), you can easily create your own rhinestone designs that can be cut out of rhinestone flock.

Rhinestone Template Material

I share how the Rhinestone Panel in Silhouette Studio Designer Edition works in this tutorial in the Let’s Explore v4 series
Let’s Explore v4 – Rhinestones

I also have a step-by-step class where I share how to create 4 different rhinestone designs and give tips for working with pre-made rhinestone designs, how to make your own, and how make faux rhinestone designs as well!

Silhouette Design & Rhinestone Class

Designing with Rhinestones – Creating 4 Projects on Teachable HERE

And there are even more options!
If you have the Silhouette Studio Business Edition upgrade, you can also create the rhinestone design and export as a svg file. This means that other cutting machine users could also use the svg file or you could use a different machine to cut the rhinestone flock for the template as needed.
As always, you would need to test with your specific cutting machine to find out the cut settings that work best.

Check out these tutorials for more details on
Saving as a SVG file and Perfect Cut Settings

To create your own rhinestone designs does require some additional supplies. Here is a list of the supplies I used in the Designing with Rhinestones class.

Supply list

– Silhouette Studio Software
– Silhouette Studio Designer Edition upgrade
at Crafter Cuts (use code SECRETS to save 10%)
Check for additional sales at Silhouette America The Vinyl SpectrumSwing Design
Hot Fix Rhinestones
Rhinestone Template Material
Hot Fix Transfer Tape
Siser Glitter HTV
– Blanks: zipper bagshirt, bag, etc.
Trim paint brush
– Tools: Scissorssharp weeding toolSilhouette Pick Me Up ToolSilhouette Spatula
– Optional: Rhinestone scoop, Rhinestone Supplies at The Rhinestone World ,
Bead ScoopLarger Trim Paint brushPaper TrimmerLint RollerTool Kit
– Silhouette cutting machine (or another cutting machine model)
– Heat Source: Siser Heat Press

In the class, I used a few more project specific designs.
Find all the details HERE or directly on Teachable HERE.

2. Order Pre-Made Rhinestone Transfers

Maybe you don’t want to invest in the supplies to cut designs out of rhinestone flock and make your own.

You can still create with bling!

I recently ordered some rhinestone transfers from Heat Transfer Warehouse to test.

Sure I could have made them on my own, but once I saw the prices, I ordered a few.
Well, maybe more than a few!

Here is one I ordered for my daughter to wear.

And of course I couldn’t pass this one up.

These are as easy as ordering and pressing according to the instructions.
Bing, bang, bling!

The most difficult part about rhinestone designs is getting a good photograph.
It is so hard to capture the sparkle and bling on these designs.
I have more to apply in the future too!

Check it out HERE

3. Order Custom Rhinestone Transfers

Do you have a custom design you want to have made with rhinestones?
Maybe you don’t have all the colors of the rhinestones you need or it is just too complex or it is cheaper to purchase than to create?

Heat Transfer Warehouse also offers custom transfers as well.

Custom Rhinestone Design by Heat Transfer Warehouse

Prices will vary depending on the size, color, and complexity of the design.

Check it out at Heat Transfer Warehouse HERE!

And have fun!
So many projects on my list for the future!
Hope you’ll continue on this journey with me!

Save this for future reference by pinning the image below.

3 Ways to Work with Rhinestone Designs with Silhouette

Enjoy !

THANK YOU for your support! How can you help? Click HERE & buy a coffee.
Every little bit helps with the cost of running the site.

Silhouette Classes

Never stop learning! Let me help you take the anxiety out of learning with Silhouette and get to creating faster! My Silhouette classes are heavily focused on software, so you can take the skills & techniques taught and apply them to many future projects!

Silhouette Step-by-Step Classes

SS Logo snip it
**This post may contain affiliate links. What that means is that I may receive compensation if you purchase through the links I have provided. The price you pay for the product or service is not higher but I may get compensated for sharing.
Posted on 2 Comments

Crafting with WALA Adhesive Rhinestone Sheets from Heat Transfer Warehouse

Ok, so maybe I should have called myself the “Crazy Craft Lady” or something like that.
Well, that name is probably taken, but by the end of this project I kind of felt that way…. but I couldn’t stop.
Each time I did, I would get a new idea to try.

Affiliate links may be present in the following blog post and as an Amazon Associate I earn from qualifying purchases.

I received a sheet of the WALAStones Adhesive Rhinestone Sheets and at first I was wondering what the heck I was going to do with it.

Well, as I let it sit on my table and it sparkled at me each time I walked by, I started thinking of what could I bling up that I currently had in my craft area?

Each time I had an idea, I would jot that down in my phone in my notes and pretty soon I had a list of things to test.

And I had almost all of them in my studio!
The only thing I ordered from the photo above was the Acrylic Makeup Brush Holder.

Supplies used:

WALAStones Adhesive Rhinestone Sheets
Acrylic Makeup Brush Holder
– Light switch cover (from my Studio)
– Phone charger *see further below for update on this one
Business Card holder
– Compact Mirror – Craft Chameleon or Amazon
Pen Blank
Tape Dispenser **not pictured above
Scissors
Folding Utility Knife

*Now you will see the phone charger blinged up in the photo above, however, after I shared my blanks photo, a group member cautioned about not doing that due to the heat generated.

It looked awesome while it lasted!

But I did remove it easily and simply added it to the side of my water bottle, where it has continued to live ever since.

So, I felt a loss with one of my projects not working out and I still had rhinestone sheet to use.

I needed a new tape dispenser for my Artesprix heat tape that has a small core for the tape roll and Amazon to the rescue.

But, I think I’m going to have to call this one a PHD (Project Half Done). I think it needs more rhinestones added and I’ll have to order another sheet to do that with.
So I will have to do a project update with that when I get my next order.

The compact mirror grew legs quickly and walked off to my daughter’s room, so it was not available for another photo.

Now, do you want to see the process?
I have 2 new videos on the Silhouette Secrets+ YouTube channel.

The first video I have included how I used the Silhouette Studio Software to create my templates for a few of the items.

Check it out HERE

And the second video is simply sharing the process of applying the WALA Adhesive Rhinestone Sheets to each of the blanks. While I used the Silhouette Studio software to cut perfect lines for my templates, it is not required and you can easily measure and cut away.

Check out that video HERE

Once I started I just couldn’t stop and I was determined to use up the entire WALA Adhesive Rhinestone Sheet.
Here are the leftovers from the sheet and I made 7 projects out of it.

But now I have to order another sheet because I definitely want to make more of the Rhinestone pens for gifts and my daughter has her eye on mine, so I have to watch it closely.

What are you creating? What sparks a creative energy and you just start brainstorming new project ideas. Is it something sparkly like an Adhesive Rhinestone Sheet?
Let us know in the comments below.

Save this for future reference by pinning the image below.

Enjoy !

THANK YOU for your support! How can you help? Click HERE & buy a coffee.
Every little bit helps with the cost of running the site.

Looking for more in-depth, step-by-step classes, check out all of my online Silhouette classes on my Teachable site HERE.

SS Logo snip it
**This post may contain affiliate links. What that means is that I may receive compensation if you purchase through the links I have provided. The price you pay for the product or service is not higher but I may get compensated for sharing.
Posted on Leave a comment

Silhouette Online Classes

NEW!!!
Curio Beginner Setup & First Cuts with Cardstock & Vinyl class released.

Curio Beginner Setup & First Cuts with Cardstock & Vinyl

This 1 hour and 12 minute video class includes:
– Setting up a design page using a Silhouette file to cut
– Setting up the software to cut cardstock
– Setting up the Curio to cut cardstock
– Test cuts
– Setting up a design page using a Silhouette file to cut adhesive vinyl
– How to move a test cut
– Weeding adhesive vinyl
– Applying transfer tape to adhesive vinyl

Find this class information HERE.

Don’t own a Curio, no problem! Other Silhouette classes are available too!
Click HERE for the full list or keep scrolling below to view.
These classes are created in the Silhouette Studio v4 software and include all my tips, tricks, and supply lists to complete each class. All of the classes are created using the same class content that I use when teaching a hands-on, in-person lesson and have as little video editing as possible, in order for you to get the full class effect.

Silhouette Beginner Setup & First Cuts – Get started the with Cameo

Basic Acrylic Etching with the Silhouette Curio

Cutting & Layering HTV in Silhouette Studio

Glass Etching with Silhouette

Heat Transfer Paper Print & Cut lesson with Silhouette

Creating a vinyl decal & layering vinyl using the Silhouette software

Creating a Knockout Design with HTV and Bonus HTV & Subtracting

Creating a Rhinestone Design in Silhouette Studio

However, you learn the Silhouette machine, the best way is to play, play, play.
Each user may be different in how they learn best.
I get a lot of requests for online classes.
Want to see student testimonies?
Click HERE.

What ever tools you use to learn your Silhouette machine, the key is to do it!
Don’t let it sit in the box. Get it out and start playing with it!

Enjoy!

Want to save this information for later – pin the image below!

SS Logo snip it
**This post may contain affiliate links. What that means is that I may receive compensation if you purchase through the links I have provided. The price you pay for the product or service is not higher but I may get compensated for sharing.
Posted on Leave a comment

Let’s Explore v4 – Advanced Rhinestones

There are so many neat features of the Silhouette Studio software as you move up in the software upgrades. The Advanced Rhinestone Panel is an option if you have the Designer Edition Plus or Business Edition upgrade.

Rhinestone Panel copy

At first glance or if you read the standard description, it may not seem like much of a feature, but let’s take a look at it more in depth.

Rhinestone Panel Detail copy

  1. Rhinestone Library – Contains images of rhinestone designs – 2 sectionsPre-set Images and Sizes – Choose which color and size that you would like to add to your design

    Rhinestone options

    User Rhinestones – designs can be added to the Rhinestone library by either drawing a shape or importing a photo

    Rhinestone Library - User section copy

  2. Size – Designates the size of the rhinestone chosen or the size of the rhinestone design you are creatingSize copy
    This will show grayed out if using a pre-set shape & size.

    If a shape is added to the rhinestone library, then a size can be designated and it is no longer grayed out.

    Size User created copy

  3. Add Selected Shape to Rhinestone Library – Add shape designs to the library for creating a new rhinestone option. Shapes can be drawn or imported from a photoAdd Selected Shape copy

    The default measurement can also be changed under the Preferences in the software. It can be set to inches (default), millimeters, centimeters, meters, inches or feet.

    Change measurement preference copy

    And then it will reflect in the panels that use measurements.

    Change measurement copy

    If the shape drawn is bigger than what is allowed, a pop up will appear stating this.

    Error size

  4. Draw Rhinestones – Single vs Multiple – Choose to draw one style of rhinestone designs or a multiple of designs from the library.Single – drawing rhinestone in repeat of 1 shape with a click of the mouse

    Draw Rhinestone Single click

    Multiple – Draw Rhinestone from a chosen list of varied designs pulled from rhinestone library.

    By clicking on the multiple option, a new option window expands and you can add or delete the order of the designs in the selection window.

    Draw Multiple pattern
    This would come in handy if you are trying to create a rhinestone pattern with different sizes.

    Or you can use the pre-set rhinestone designs and create a pattern too.

    Draw Multiple pattern on shape

  5. Angle – Change the angle of how the rhinestone design follows a shape.Standard = Rhinestones upright
    Center = Rhinestones point to center
    Perpendicular = Rhinestone align to contour

    Angle

  6. Spacing – Change the spacing between the rhinestones when applied to a shape.Spacing.JPG
  7. Angle Offset – Choose what angle the rhinestones are placed along a shape.Angle Offset.JPG
  8. Rhinestone placement – Choose how the rhinestones are placed – options are: Outer edge, perpendicular, or from center.Rhinestone Placement
  9. Draw Rhinestone – Single Click vs Replace – Add a rhinestone with a single mouse click or replace a rhinestone with a different rhinestone.Single = place 1 rhinestone with each click of the mouse
    Replace = Once a rhinestone is placed it can then be swapped out with a different rhinestone for another size or color
  10. Totals (All Shapes) – Gives a count of all the rhinestones on the mat or the image selected.Totals copy

 Now that we have explored the entire panel – what would you use this for?

Here I’ve created what is called a mock up and the design is laid on top of the photo of the tote bag.

Mock up photo

Now I may actually have to make the rhinestone decal for real.
Find out more information on creating a rhinestone template in the Let’s Explore v4 – Rhinestones post.

Have you played with the Rhinestone feature yet?
I would love to see your Silhouette projects! Feel free to post on my Facebook group at
Silhouette Secrets+ with EllyMae.

Enjoy!

SS_Signature copySS Logo snip it

**This post may contain affiliate links. What that means is that I may receive compensation if you purchase through the links I have provided. The price you pay for the product or service is not higher but I may get compensated for sharing.

Posted on Leave a comment

Quick gift – I love Rhinestones 

Rhinestones – once you start, it’s addictive and you just want to make more. I held off as long as I could, until I took Terri Johnson Creates hands on retreat last July. In her class, we designed our own rhinestone design and cut it out. After that one design, I was hooked and started shopping in the Silhouette store for more. This one jumped out at me and I knew I’d be making some for my nieces in the future.

I had just ordered some supplies from The Rhinestone World and had the opportunity to make these as quick gifts to send with my husband on a trip.

img_6136

So with this magic flock you cut the design with your machine and then peel it off the backing – rip it like a band aid gets the best results. If it has cut well, the little holes will stay on the backing and you can just scrape them off…..

img_6137

You can then lay the sticky design down on a safe surface, press it and peel it back again to get more of the circles to stick out.

img_6138

I then look for any that didn’t come out, remove those and put it back on the backing paper.

img_6139

Now, sprinkle your rhinestones on top of your template and rub them around until all the holes are full. Once all the stones are in place, using heat transfer tape, lay it over top of your design and burnish. Carefully life it up and make sure the rhinestones are stuck to the heat transfer tape.

img_6144

img_6145 
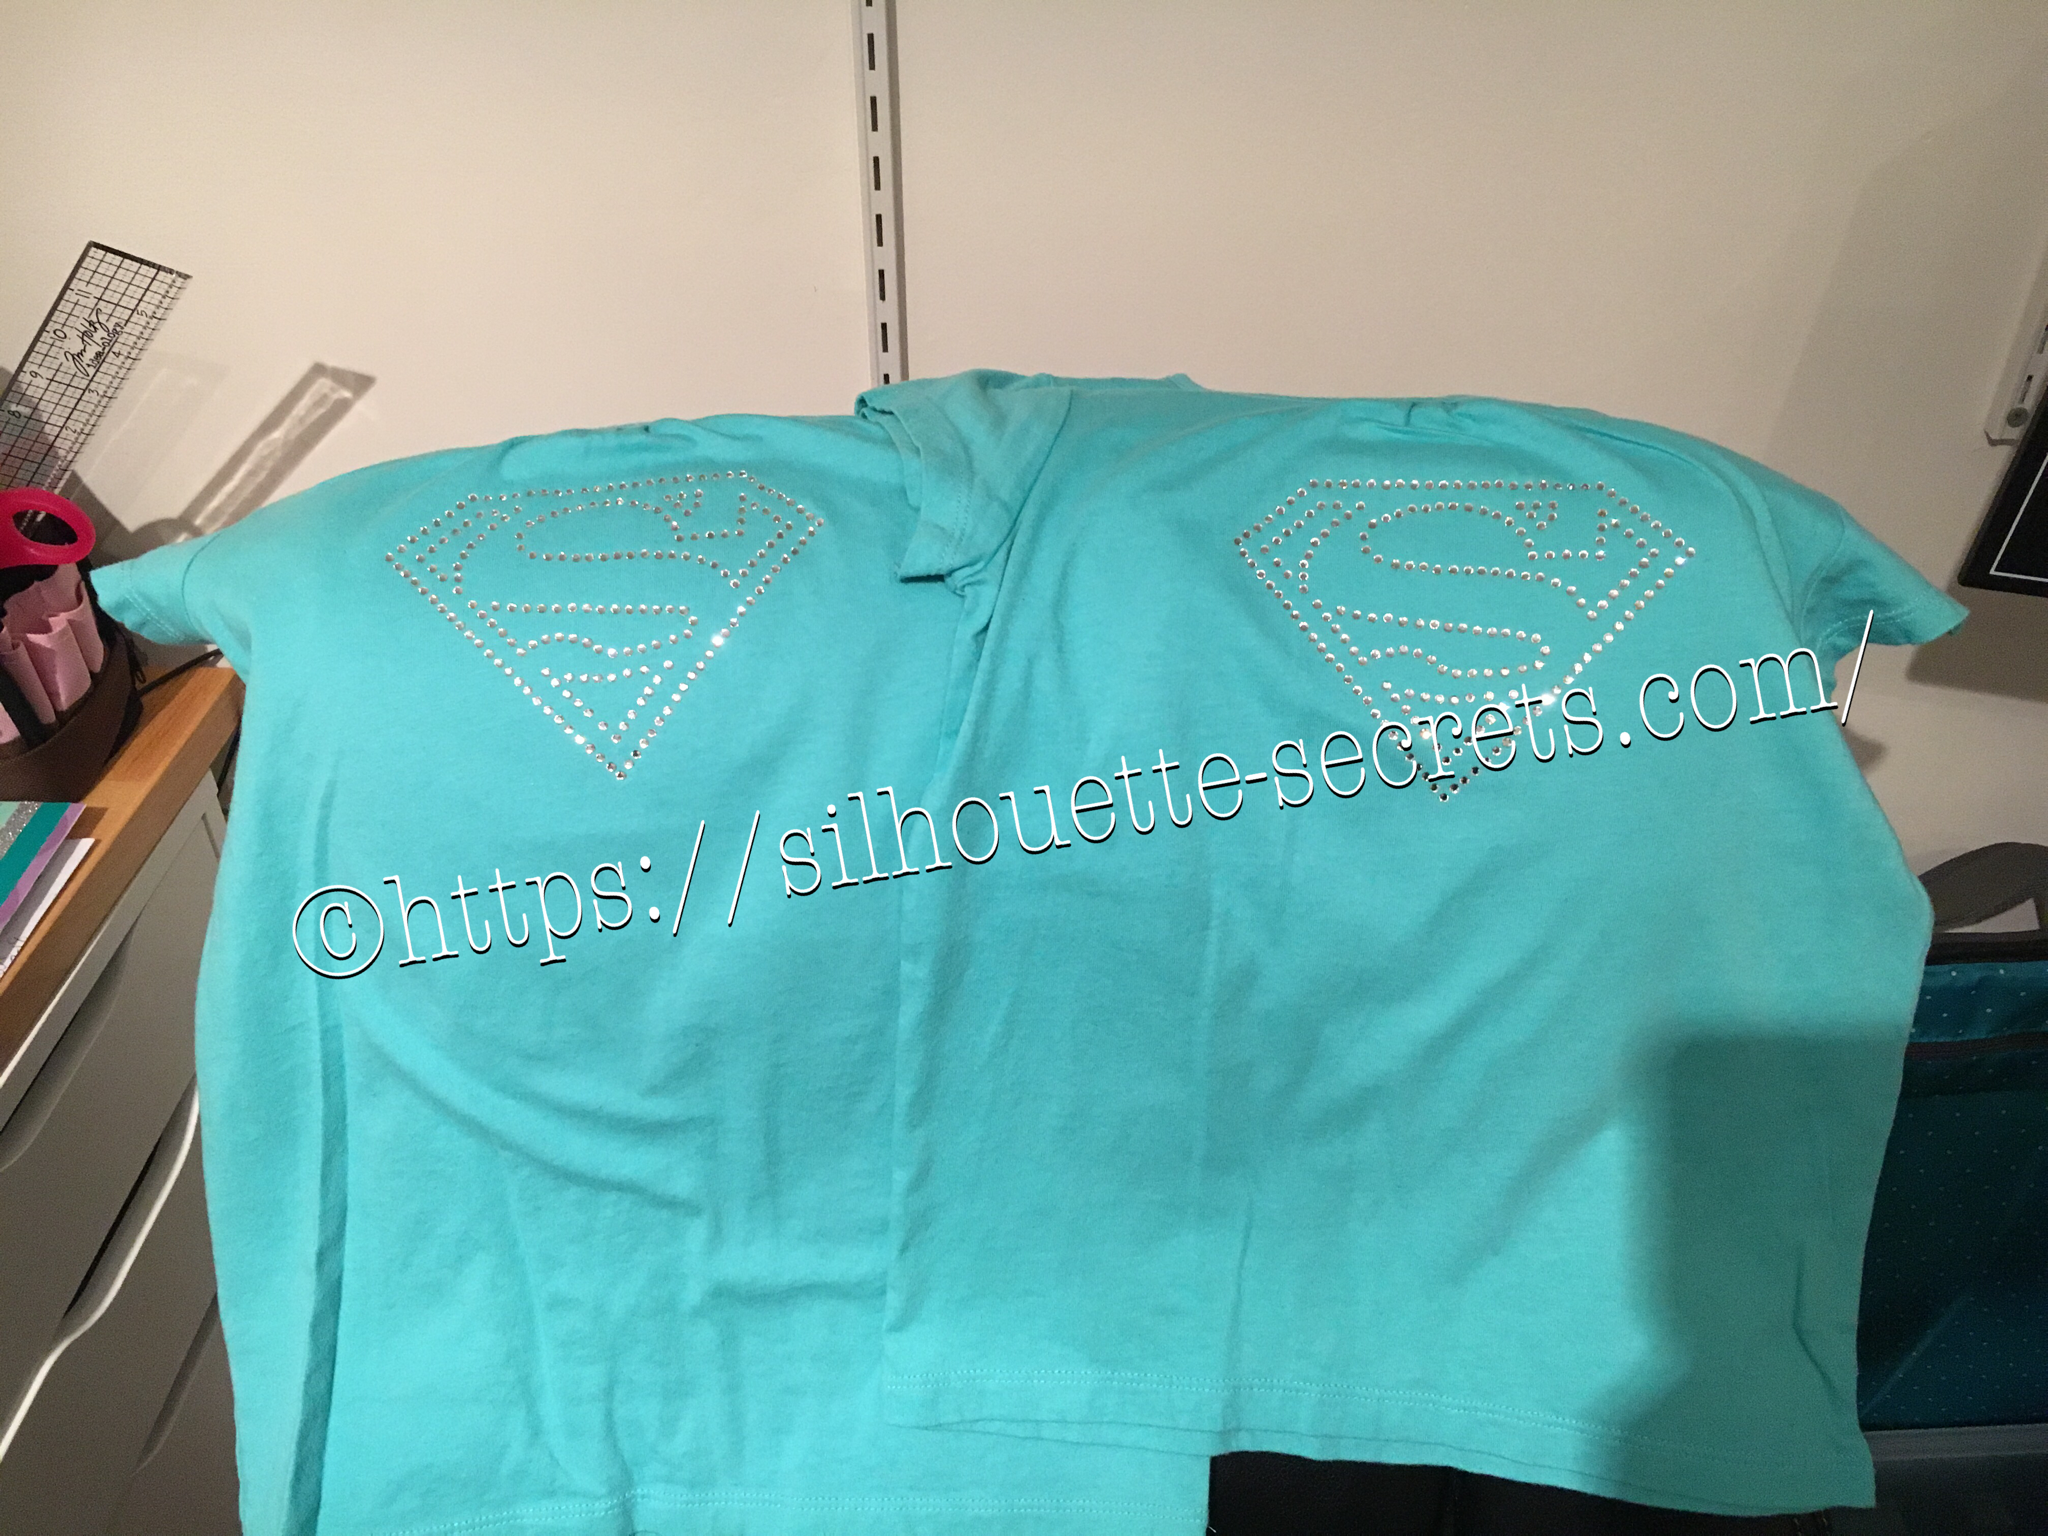
Place your heat transfer on the shirt where you want it and I used an iron with a board under it and lots of pressure on high heat with a teflon sheet to set the stones on the shirt.

img_6147 I love the ability to make a gift up really quickly and hope you enjoy making rhinestone designs as much as I do.

I would highly recommend attending a retreat by Terri Johnson Creates, you will learn so much and be able to try all kinds of new projects. The possibilities are endless with the Silhouette Cameo!!!

Enjoy !

THANK YOU for your support! How can you help? Click HERE & buy a coffee. Every little bit helps with the cost of running the site.

Looking for more in-depth, step-by-step classes, check out all of my online Silhouette classes on my Teachable site HERE.

SS Logo snip it
**This post may contain affiliate links. What that means is that I may receive compensation if you purchase through the links I have provided. The price you pay for the product or service is not higher but I may get compensated for sharing.