I’m playing with paint this month on the Artesprix YouTube channel. Specifically, the new colors of the Artesprix Sublimation Paints. I made a fun potholder for my craft room.
Yes, you read that right! Since I’m often playing with sublimation blanks, they get HOT! This will come in handy in my craft room and brighten up the place a bit. But, you can also create these to brighten up your kitchen. Function and fun all in one!
Affiliate links may be present in the following blog post and as an Amazon Associate I earn from qualifying purchases.
THANK YOU for your support! How can you help? Click HERE & buy a coffee. Every little bit helps with the cost of running the site.
Silhouette Classes
Never stop learning! Let me help you take the anxiety out of learning with Silhouette and get to creating faster! My Silhouette classes are heavily focused on software, so you can take the skills & techniques taught and apply them to many future projects!
**This post may contain affiliate links. What that means is that I may receive compensation if you purchase through the links I have provided. The price you pay for the product or service is not higher but I may get compensated for sharing.
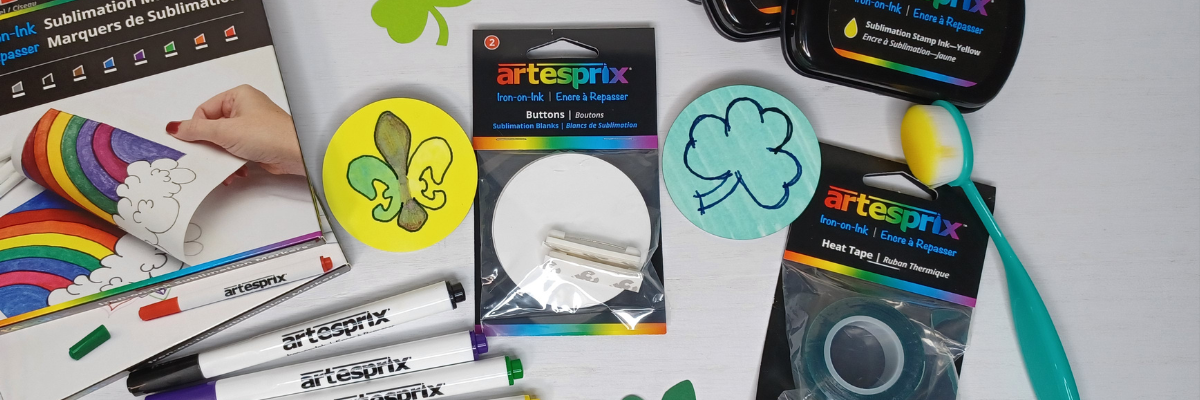
Buttons are back!!! I am seeing buttons and pins as a big souvenir item when I’m traveling and I’ve even invested in a pin board for my collection. This month I am sharing my button creations with the Artesprix Sublimation markers and inks.
Affiliate links may be present in the following blog post and as an Amazon Associate I earn from qualifying purchases.
I cut a few simple shapes with the Silhouette Cameo 5 using the new Electrostatic bed and some cardstock scraps for the button design creation.
You could use all kinds of objects to trace and create with. Start looking for things around the house or when you are out shopping and see what you might add to your craft stash.
THANK YOU for your support! How can you help? Click HERE & buy a coffee. Every little bit helps with the cost of running the site.
Silhouette Classes
Never stop learning! Let me help you take the anxiety out of learning with Silhouette and get to creating faster! My Silhouette classes are heavily focused on software, so you can take the skills & techniques taught and apply them to many future projects!
**This post may contain affiliate links. What that means is that I may receive compensation if you purchase through the links I have provided. The price you pay for the product or service is not higher but I may get compensated for sharing.
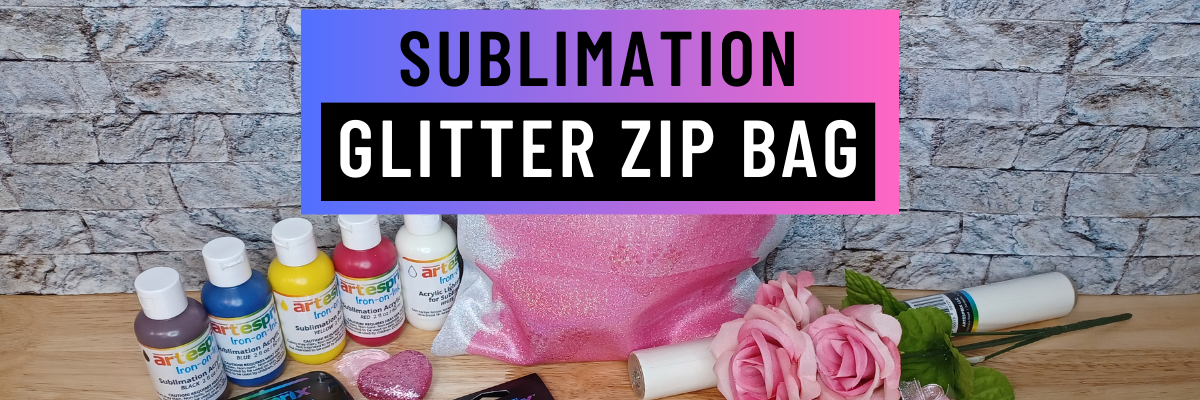
I love being able to take a blank and come up with new ideas for it. This month on the Artesprix YouTube channel I’m sharing how you can take a glitter zipper bag, mix Artesprix Sublimation Paints and create a custom gift bag. Fill it with goodies to give as a gift for a friend or holidays like Valentine’s Day!
Affiliate links may be present in the following blog post and as an Amazon Associate I earn from qualifying purchases.
Or fill it with your favorite Artesprix products to gift to a crafty friend.
For this project, I mixed colors with the Artesprix sublimation paints and the paint mixing color chart. Once the paint was dry on the copy paper, I stamped onto the paper for a subtle touch with a couple stamps I picked up at Michaels. Keep your eyes peeled when you are out shopping for little things you can add on to each project.
THANK YOU for your support! How can you help? Click HERE & buy a coffee. Every little bit helps with the cost of running the site.
Silhouette Classes
Never stop learning! Let me help you take the anxiety out of learning with Silhouette and get to creating faster! My Silhouette classes are heavily focused on software, so you can take the skills & techniques taught and apply them to many future projects!
**This post may contain affiliate links. What that means is that I may receive compensation if you purchase through the links I have provided. The price you pay for the product or service is not higher but I may get compensated for sharing.
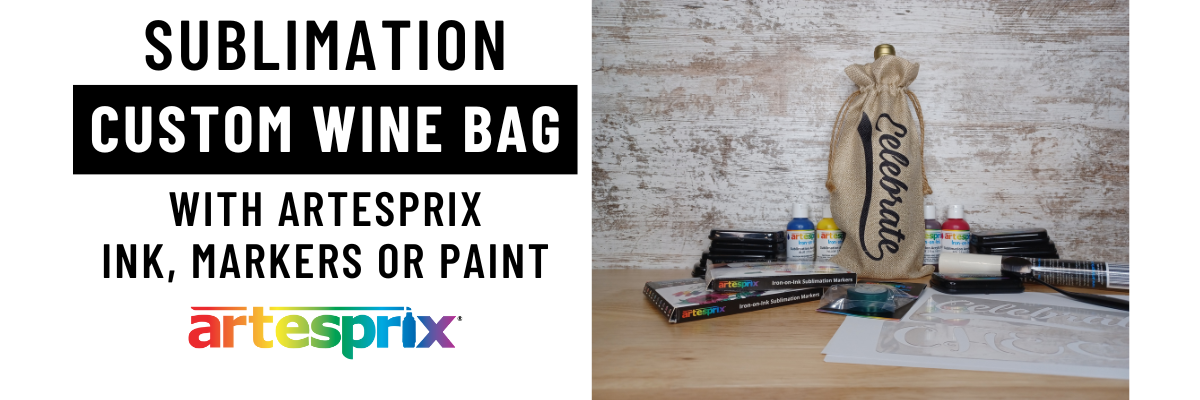
Whether you are celebrating on New Years or for some other event throughout the year, bring a little something with you and add a special touch. This month I’m sharing how to create a custom wine bag with Artesprix Sublimation supplies in a few easy steps on the Artesprix YouTube channel.
Affiliate links may be present in the following blog post and as an Amazon Associate I earn from qualifying purchases.
Stencils are great for text with using the Artesprix sublimation products because text needs to be mirrored, so it will be correct when pressed onto the sublimation blank. A stencil can easily be used on either side, so is very versatile for many projects.
Now, to decide which I like better? The text running top to bottom?
Or bottom to top?
When I asked Google, one reference said, “If the text is to be read above eye level, then it should run from bottom to top. If the text is to be read below eye level, it should run top to bottom.” – Paxton Signs
So I guess it’s all a matter of how high you hold the wine bottle in the bag when looking at it? Or maybe if you drink the wine in the bag, it really won’t matter?
THANK YOU for your support! How can you help? Click HERE & buy a coffee. Every little bit helps with the cost of running the site.
Silhouette Classes
Never stop learning! Let me help you take the anxiety out of learning with Silhouette and get to creating faster! My Silhouette classes are heavily focused on software, so you can take the skills & techniques taught and apply them to many future projects!
**This post may contain affiliate links. What that means is that I may receive compensation if you purchase through the links I have provided. The price you pay for the product or service is not higher but I may get compensated for sharing.
Have you seen these awesome designs for 3D ornaments?
Affiliate links may be present in the following blog post and as an Amazon Associate, I earn from qualifying purchases.
Both Side 3D Christmas Ornament Bundle
This past year 3D designs have become more and more popular. With the options to print on many different materials and use in many different projects.
This past week a group member posted about these files and inspired me to create some projects with them. I want to share 2 ways that you can do this with any 3D files you might find.
You’ll notice that in the photo above, I have a Download button. This is because I recently signed up for Creative Fabrica’s All Access subscription which allows access to millions of graphics, fonts, classes, and more. I held off doing this for a long time, but the sale of $4.99/mo when paid for annually finally got me.
Well, what really got me was I was looking to buy a file for $4.00 and I realized that was almost 1 month of the subscription. So I decided to go for it and have been shopping ever since. I’ve actually used more files in projects since I signed up a few weeks ago, which has more than already paid for what I would have spent without the All Access.
Now, I’m typically not a fan of subscriptions, but there are a few that I’m slowly growing to love and a good deal never hurts either. If you are interested, click HERE. This is a limited time offer, but I know they also offer deals throughout the year too!
Crafting 3D Ornaments: Two Techniques
Once I got started creating with these files, I couldn’t stop. I knew immediately what I wanted to do, but had to gather a few supplies before I could start. I’ll share both the steps and the supplies I used for both below. Make sure to read to the very end as I’m adding additional details at the bottom too!
The 2 ways I used these 3D files are:
Sublimation
Print and Cut – Printable vinyl, sticker paper, Siser DTV, etc.
Not everyone has the equipment to print sublimation designs, so I wanted to share an alternative as well. Whether you use sublimation or print and cut on a material, both are not complex to do.
Craft Pro Heat Press – any heat source with adequate pressure and reaching at least 400 degrees F can work for sublimation
Sublimation is pretty simple, but it does require specialized equipment. With a sublimation printer, you can print on sublimation paper from any software program that can print, and then you press it onto a sublimation blank.
I used Silhouette Studio software to design and print from for these ornaments.
The ornament blanks I was using were 3″ circles. Using the Drawing Tools on the left side, I drew a circle 3.125″. This allowed for a little bit of breathing room in lining up the images and eliminate any white edges if I was off just a bit in placement.
Then I used the Text to Path option in the Silhouette Studio software to add personalization to each ornament with a name and the year. This way the kids wouldn’t fight over which one was theirs.
I filled the text with color so it would print and then changed the line color to transparent on all the text.
Next, make sure to remove any protective paper from the sublimation blanks. This can be difficult to see and sometimes a bit hard to get started to remove. This is to protect the polyester coating that is on the sublimation blanks. Sublimation binds to polyester materials or coating.
Make sure to remove it from both sides before pressing or it can be a mess and melt.
This is where I failed to snap a photo, so I’ll share the steps I took below.
Next, place the sublimation blank down on top of the printed image and line it up as you want. Then secure it with heat tape.
Then, place a piece of parchment paper on the bottom of the heat press platen to protect it. Sublimation ink turns to a gas when it’s heated and you do not want that to be transferred to the top or bottom platen. Make sure to protect both well with parchment paper.
Place the sublimation blank down on the bottom heat press platen with the print on the top. Then place a sheet of parchment paper on top of the ornament to protect your heat press top platen. Very important!
You will have a sublimation sandwich. Parchment paper, sublimation print, sublimation blank, and then parchment paper.
Follow the directions for the specific sublimation blank you are using. I pressed for 60 seconds at 400 degrees F.
Let it cool and peel away the sublimation paper and heat tape to reveal the image.
I pressed each side individually so I could line it up better.
They turned out so good! I didn’t realize when I bought the metal sublimation blanks that they had a bit of glitter or shimmer to them, but they looked awesome when completed!
Print and Cut 3D Ornament Designs
Now even if you do not have a sublimation printer, you can still create ornaments too! These designs could also be printed onto printable vinyl, sticker paper, Siser EasyColor DTV, and more!
Canon TS9521C – any good quality home printer will work
Such fun designs! My husband happened by when I was making them and said, “That is the fittest gingerbread man I’ve ever seen.” We had a good laugh and he is pretty cute!
For this round of ornaments, I set up the design page in the Silhouette Studio software for a print and cut.
This time I used a 3″ circle since I would be applying it directly onto a 3″ acrylic blank and did not want the printable vinyl to hang off the edges.
I sent it to my Canon TS9521C home printer and then placed it on the cutting mat to cut with the Silhouette Cameo 5. I did print using the high quality photo paper matte setting.
The first time it cut, it was just a tiny bit off. Well within the normal 1/16″ allowance of a Silhouette print and cut, but I decided to reprint it and add a print bleed.
Print bleed adds a border of color to the outside edge of the design. You can adjust the size of the print bleed as needed and the colors will depend on the actual colors of the image or design.
Print bleed is great for eliminating any stark white edges that might show around a printed design as the color extends past the cut line.
Of course, the second time I sent it to cut, the print and cut was spot on and perfect. But that’s just how it works sometimes. I am probably the only one who would have noticed the small margin.
I removed the protective cover on the 3″ acrylic circle and then peeled the printable vinyl off the backing and placed it on the acrylic circle.
Once I had both sides added, I used the Diamond Tip Reamer to poke the hole and smooth out the edges of the paper inside the hole for the hanger. I love this little tool! It works great for so many things!
As I mentioned above, the 3D designs have really become popular this past year and there are so many different projects you can do with them from ornaments, coffee mugs, tumblers, etc. Some of the designs are created specifically for a sublimation printer, such as the tumbler or coffee mug designs, but here are others that can work for print and cut projects such as cards and more!
I’ll share a few that I’ve had my eye on below. Maybe it will spark a creative idea for you too!
Remember that any “sublimation” design could also be used as a regular printed design as well. A jpeg or png file does not have cut data, so if you want to cut around it you would need to create that cut line by either drawing a shape as I showed above or tracing to get a cut line around it. There is also the Autotrace feature in Silhouette Studio for transparent png files, but it doesn’t always work the best for all projects.
I hope you’ve picked up a few tips or tricks in this tutorial. Please let me know in the comments below if you have any questions.
Save this for future reference by pinning the image below.
Enjoy !
THANK YOU for your support! How can you help? Click HERE & buy a coffee. Every little bit helps with the cost of running the site.
Silhouette Classes
Never stop learning! Let me help you take the anxiety out of learning with Silhouette and get to creating faster! My Silhouette classes are heavily focused on software, so you can take the skills & techniques taught and apply them to many future projects!
**This post may contain affiliate links. What that means is that I may receive compensation if you purchase through the links I have provided. The price you pay for the product or service is not higher but I may get compensated for sharing.
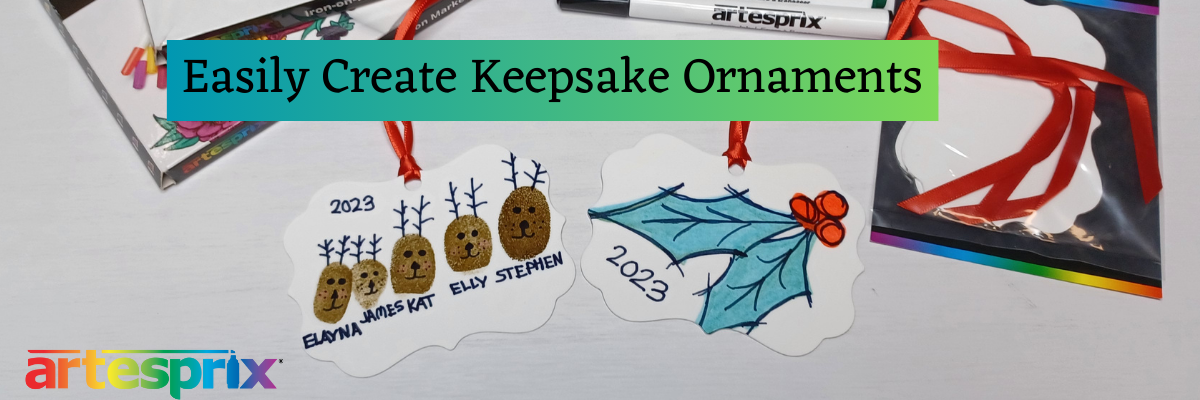
I have so much fun creating with the Artesprix sublimation products! This month I had a few helpers and that can always make things interesting. We had some good laughs as I enlisted their thumbs to make a Keepsake Ornament using the Artesprix sublimation supplies!
Affiliate links may be present in the following blog post and as an Amazon Associate I earn from qualifying purchases.
I love how this turned out! The best part is – anyone can do it! Yes! YOU!
THANK YOU for your support! How can you help? Click HERE & buy a coffee. Every little bit helps with the cost of running the site.
Silhouette Classes
Never stop learning! Let me help you take the anxiety out of learning with Silhouette and get to creating faster! My Silhouette classes are heavily focused on software, so you can take the skills & techniques taught and apply them to many future projects!
**This post may contain affiliate links. What that means is that I may receive compensation if you purchase through the links I have provided. The price you pay for the product or service is not higher but I may get compensated for sharing.
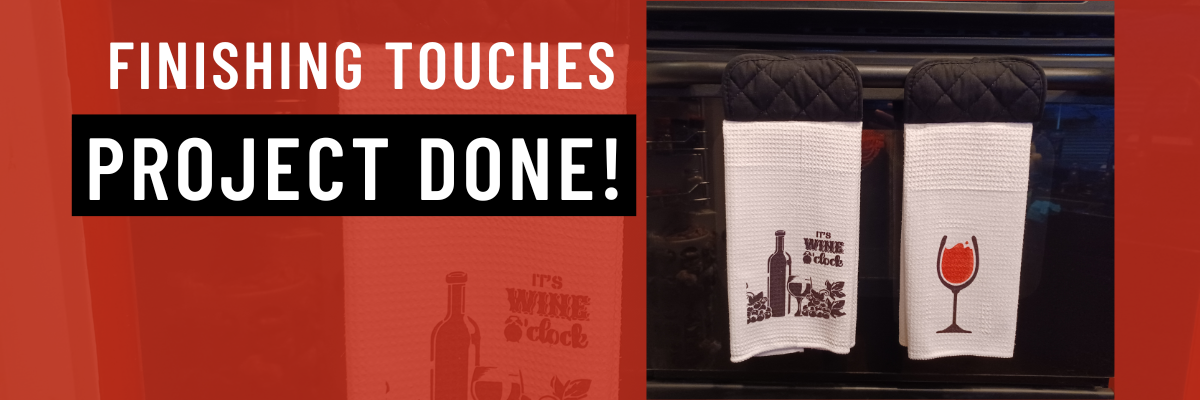
Take your custom wine-themed kitchen towels to the next level with the perfect finishing touches! Whether you’re crafting these towels as gifts or to enhance your own kitchen décor, adding one final touch can transform your DIY project into a efficient tool.
Affiliate links may be present in the following blog post and as an Amazon Associate, I earn from qualifying purchases.
Do you have projects sitting around that just need that finishing touch? Raising my hand over here.
These wine themed kitchen towels have been hanging out in my studio since I created them in June for the Artesprix YouTube video found HERE.
I found an idea on Pinterest and wanted to add to it. It was so simple and I don’t know why I didn’t get it done sooner.
I picked up some black pot holders and then pinned it to the middle of the hand towel.
Then simply sewed a line right down the middle and added a button on the backside for the loop to hook onto.
Ta-da! Done! Hanging in my kitchen and so handy on my oven door.
Project done! Wahoo! Crossing things off the list… not near as fast as I add them to the list, but I’m going to chalk this up as a win! It’s done.
Check out all the details on what I used to create these custom hand towels HERE.
Save this for future reference by pinning the image below.
Enjoy !
THANK YOU for your support! How can you help? Click HERE & buy a coffee. Every little bit helps with the cost of running the site.
Silhouette Classes
Never stop learning! Let me help you take the anxiety out of learning with Silhouette and get to creating faster! My Silhouette classes are heavily focused on software, so you can take the skills & techniques taught and apply them to many future projects!
**This post may contain affiliate links. What that means is that I may receive compensation if you purchase through the links I have provided. The price you pay for the product or service is not higher but I may get compensated for sharing.
Affiliate links may be present in the following blog post and as an Amazon Associate, I earn from qualifying purchases.
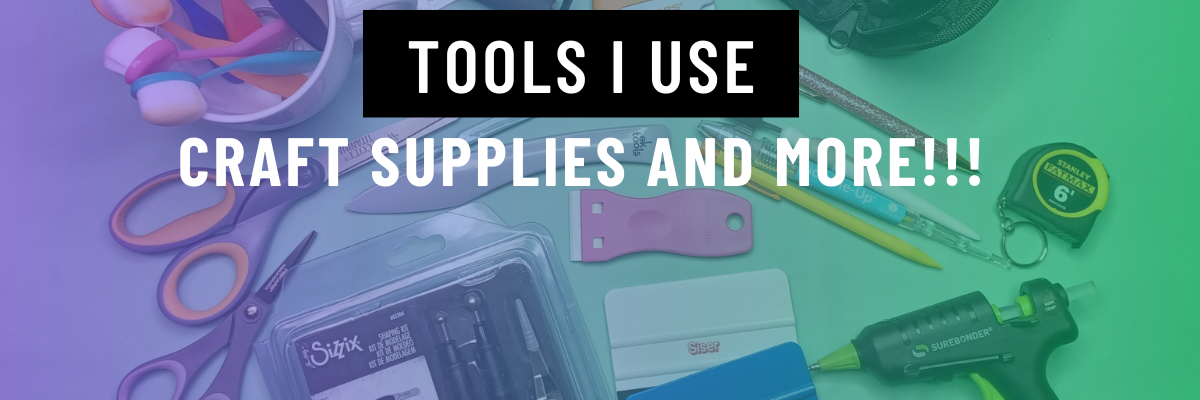
I think every project I start seems small at the beginning, but seems to grow bigger than I originally thought. It is no different with this list of supplies I use in my projects and have in my studio.
I am asked all the time what I recommend and use, so I have added a header on the website with a list of supplies that I have in my studio and use.
I am a big fan of use what you have, so if you have your favorite tools, use them! I have found new favorites over the years of project creation and thought I’d share. Do you have to use the same exact tools as me? NO! Use what you have, what you love, and what works best for you! I am simply sharing what I use and will add to this list as I find new favorites!
I’d love to hear what are some of your favorite tools! Comment below and let me know!
Save this for future reference by pinning the image below.
Enjoy !
THANK YOU for your support! How can you help? Click HERE & buy a coffee. Every little bit helps with the cost of running the site.
Silhouette Classes
Never stop learning! Let me help you take the anxiety out of learning with Silhouette and get to creating faster! My Silhouette classes are heavily focused on software, so you can take the skills & techniques taught and apply them to many future projects!
**This post may contain affiliate links. What that means is that I may receive compensation if you purchase through the links I have provided. The price you pay for the product or service is not higher but I may get compensated for sharing.
THANK YOU for your support! How can you help? Click HERE & buy a coffee. Every little bit helps with the cost of running the site.
Silhouette Classes
Never stop learning! Let me help you take the anxiety out of learning with Silhouette and get to creating faster! My Silhouette classes are heavily focused on software, so you can take the skills & techniques taught and apply them to many future projects!
**This post may contain affiliate links. What that means is that I may receive compensation if you purchase through the links I have provided. The price you pay for the product or service is not higher but I may get compensated for sharing.
And I grabbed one of my little monsters to do a little photo shoot with. This little monster also helped me in the brainstorming behind the project this month as well.
Such a good little monster.
She even tried to bring in the model from last months Artesprix video but he wasn’t feeling like a photo shoot today.
I’ve had so much fun creating and thinking of new ideas to make with the Artesprix sublimation products!
THANK YOU for your support! How can you help? Click HERE & buy a coffee. Every little bit helps with the cost of running the site.
Silhouette Classes
Never stop learning! Let me help you take the anxiety out of learning with Silhouette and get to creating faster! My Silhouette classes are heavily focused on software, so you can take the skills & techniques taught and apply them to many future projects!
**This post may contain affiliate links. What that means is that I may receive compensation if you purchase through the links I have provided. The price you pay for the product or service is not higher but I may get compensated for sharing.
THANK YOU for your support! How can you help? Click the link to buy a coffee. Every little bit helps in the cost of running the site.