I have been teaching Silhouette classes since September 2016. I originally had not planned to teach when I signed up for the instructor course. I just wanted to learn more and boy did I!
I have been teaching ever since through the Silhouette Secrets+ blog, in-person classes, at Silhouette events, Zoom lessons, online classes, and even from Silhouette headquarters in November 2021. Taking the Instructor Licensing was definitely a life changing event for me and now I can share that with many more Silhouette users.
I’ll share a little secret too! The best part about teaching Silhouette is all the people I have connected from all over the world! Whether it is in person at an event or only online! I’ve met some amazing people!
Why take a Silhouette class?
The most common reason to take a Silhouette class is to get started faster. Rather than you spending hours testing and searching for an accurate video on YouTube on how to do it, skip the testing and get set up and cutting.

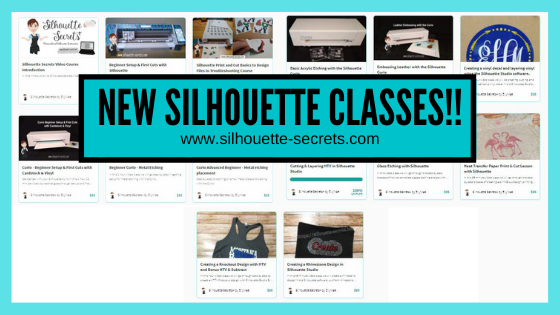
I have 21 Silhouette classes available on my Teachable website.
The classes are all step-by-step classes that are the same as I teach in person.
The best part is that after you register for a class, it is available to you at any time that is convenient to you. And you can watch them over and over if needed.
I find this is even better for Curio users as there is no need for me to watch your machine etch if we were doing a live Zoom call.
Find all the classes HERE
Developing classes takes time and testing. Let me do that for you!
These classes can help take the anxiety out of working with your Silhouette machine and the Silhouette software.
Still on the fence? I understand completely.
Check out the testimonies from past students who have taken classes HERE.
Here are a few of the classes available


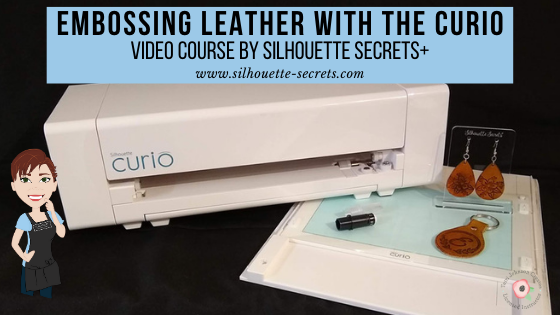
Curio Classes


Other Classes Include:
Creating a Vinyl Decal and Layering Vinyl using the Silhouette Studio Software
Cutting & Layering HTV in Silhouette Studio
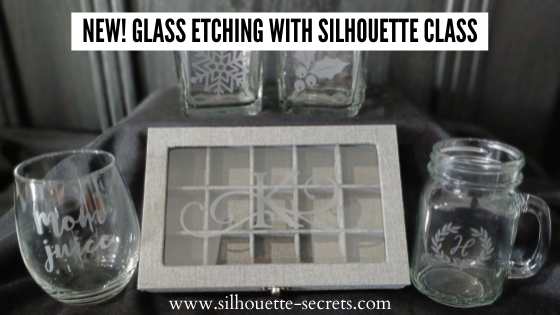
Glass Etching with Silhouette
Heat Transfer Paper Print & Cut Lesson with Silhouette
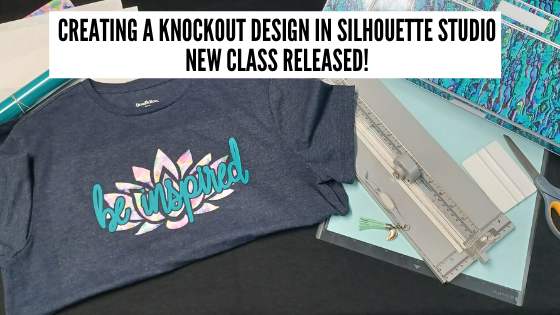
Creating a Knockout Design with HTV & Bonus HTV & Subtract
Creating a Rhinestone Design in Silhouette Studio
As well as:
Cameo Pro DIY Stand/Table instructions & tips
Cutting Like a Pro with the Cameo Pro Tips & Troubleshooting printable
As a Terri Johnson Creates Licensed Silhouette Instructor, it is my goal to help others learn the Silhouette Studio software & how to use their Silhouette machines to get the most out of it.
Find all of my online Silhouette classes on my Teachable site HERE.
I would love to see what you are creating with your Silhouette software or machines!
Or if you have any questions, feel free to post photos or questions on my Facebook group at
Silhouette Secrets with EllyMae.
Save this for future reference by pinning the image below.

Enjoy !
THANK YOU for your support! How can you help? Click HERE & buy a coffee.
Every little bit helps with the cost of running the site & developing more classes.
Or if you are looking for more in-depth, step-by-step classes, check out all of my online Silhouette classes on my Teachable site HERE.