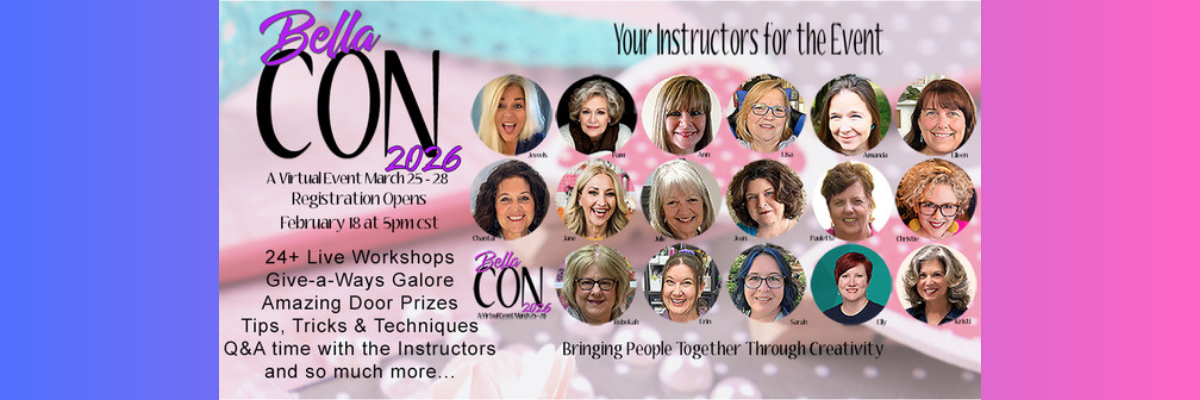

I am so excited to announce that I am an instructor again at this year’s Bella Con event hosted by Bella Crafts Publishing! This is a LIVE virtual crafting event bringing creative instructors together for four full days of inspiration and hands-on learning. And… I get to be on-site with the other instructors this year in Texas to share my classes too! Bella Con is happening March 25-28, 2026.
Affiliate links may be present in the following blog post and as an Amazon Associate, I earn from qualifying purchases.
This is a wonderful event full of inspiring and talented creators. Not only are there awesome classes, but each instructor also shares their tips, tricks, and wisdom throughout the entire event and that adds so much to the value.

BellaCon 2026 features 24+ LIVE workshops, creative tips and techniques, giveaways, and interactive sessions you can enjoy from the comfort of home. Every registered attendee receives access to all of the workshops, not just a single class.
One of the highlights of the event is the LIVE Pajama Party, where many of the instructors will be together in one location, coming to you live with mini workshops, prizes, surprises, and a chance to win giveaways from our generous sponsors.
If you love crafting, learning new ideas, and connecting with creative people, I would love for you to join us.
There are 2 options to join us:
- SWAG option – this features a SWAG bag full of goodies from the sponsors plus access to all of the classes virtually shipped directly to you
Don’t delay if you think you might want SWAG as it is limited to the first 125 and does tend to sell out quickly.
Estimated retail value of SWAG bag is $200 - No SWAG
Class supply lists will be available, and some classes will also have the option to purchase kits too!
I will be teaching 2 classes live from Texas, and they can be done with or without a cutting machine. These classes are designed to be customized and add your own creative flair to them. I’ll share my ideas and you can see where it takes you.

Rewriting the Story…Creative Home Decor with Repurposed Books: Give old books a fresh new purpose in this creative home decor class. You’ll learn the basic steps for transforming repurposed books into a unique decorative piece, then take those ideas and make the project your own. A variety of craft supplies can be used, encouraging creative exploration and personal expression. This class will also share a cut file, background photo, and supply list, along with ideas for variations so every project is one of a kind.
For this class, I did a couple test rounds and love how they turned out! This is one of those projects that you can let your imagination run wild with and customize however you want. You never know what embellishment might speak to you in your craft stash to add this project.

My first project with this is a Northern Lights themed design. Growing up in Montana I am drawn to the Northern Lights.

I made a custom pendant piece using a beading technique I learned from Julianna the creator behind the Jewel Loom. The funny part is, I bought Julianna’s eBook when researching writing my own eBook and then I fell in love with the designs taught and that sent me down the rabbit hole of beading. Find the Jewel Loom Inspirations book HERE at Bella Craft Publishing under eBooks – just be careful, it can spark a whole new world of crafting energy!
Instead of making a full bracelet this time, I made it smaller and customized it with a custom pendant using the same image that is on the book decor. Find more on creating custom pendants HERE.

The second one I made is a Fairy Garden theme. Ever since I made my first fairy garden in 2014 when we lived in California – back before they were even a “thing” – I’ve wanted to create another and when the fairy garden supplies all but jumped off the end cap into my cart at the Dollar Tree – the project design fell into place.
I used drywall spackle to create a “tree” texture as the base and then started embellishing from there.
I love how these both turned out and have them displayed in my home. This is a project you can turn into your own and make it personalized however you would like.
I will be teaching a spring themed design for this class at Bella Con 2026. I’m so excited to see how it turns out.
The second class I’ll be sharing is another one that is completely customizable too! Give your project a personality of it’s own and you might not know what that is until it’s almost finished.

Grow Your Style…A Little Pot of Personality: Create a charming mini clay pot full of character in this playful and creative class. Using multi color green beads, you’ll design a unique style and finish your pot by adding a face and choosing its personality. Cute, quirky, sassy, or sweet, no two projects will look the same. This easy and relaxed project is perfect for all skill levels and can be completed with or without a cutting machine.
I’ll also be co-teaching a class with the amazing, talented artist Julie McGuffee and sharing a quick project for Artesprix too!
This event is filled with so much creative inspiration and talented artists! I am honored to be a part of it.
And those are only the classes I am teaching. There is so much more! Look at all those faces above.
Bella Con 2026 Class Sneak Peek
Here are a couple sneak peeks at the other instructors and their projects too! Find the full list HERE
Eilleen Hull is a maker, teacher, influencer, and creative community builder with a passion for helping others discover the joy of making. She licenses her art with leading craft manufacturers, including an 18-year partnership with Sizzix that resulted in hundreds of innovative die designs.

Julianna (aka Jewels) – the one who got me addicted to beading.
Julianna is an award-winning innovator, product developer, bestselling Amazon author, and creative entrepreneur with over 25 years in the craft industry. She became a household name through thousands of appearances on shows such as Aleene’s Creative Living, The Carol Duvall Show, and HSN, inspiring millions to create.

Amanda is one of the founders of Pear Blossom Press, a company known for innovative products designed especially for paper crafters.

Julie McGuffee has been professionally involved in the arts and crafts industry since 1988. She hosted a scrapbooking television show for 15 years and has appeared as a guest and guest host on numerous craft shows over the past 30+ years, including popular shopping channels. As an all-around crafter and designer, Julie has authored over 150 “how-to” craft books covering a wide variety of techniques, from decorative painting to silk ribbon embroidery.

I wish I could list them all, but that might get a bit long. You can check out the full list of instructors and classes directly at Bella Con HERE. Then come back and click the link below to register.
I hope you’ll join us and soak up all the creative inspiration shared by these amazing instructors and artists. Bella Con is one of my favorite events of the year.
Thanks so much for using my links when you register for the event. This helps to cover the costs of developing the classes and travel expenses too!
I cannot wait to share more from the “Instructor Zone” in March!
Enjoy !
THANK YOU for your support! How can you help? Click HERE & buy a coffee.
Every little bit helps with the cost of running the site.
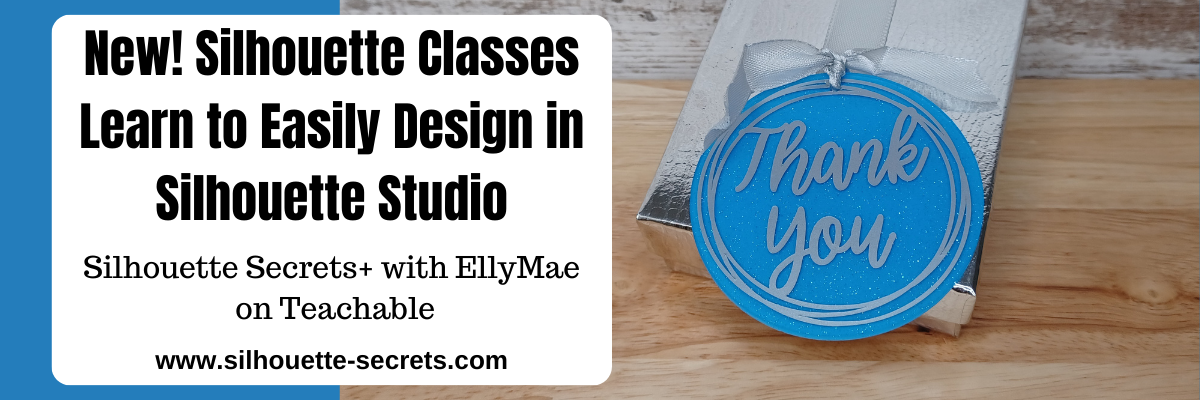
Silhouette Classes
Never stop learning! Let me help you take the anxiety out of learning with Silhouette and get to creating faster! My Silhouette classes are heavily focused on software, so you can take the skills & techniques taught and apply them to many future projects!