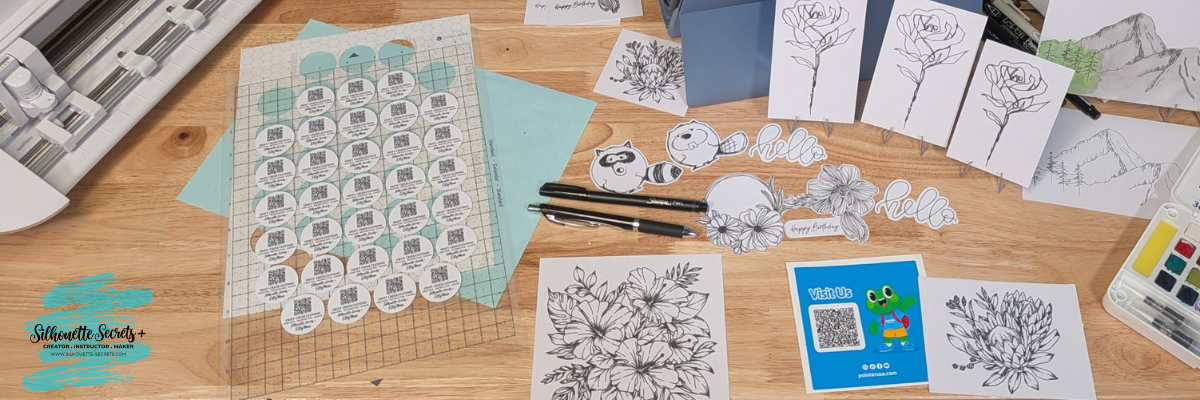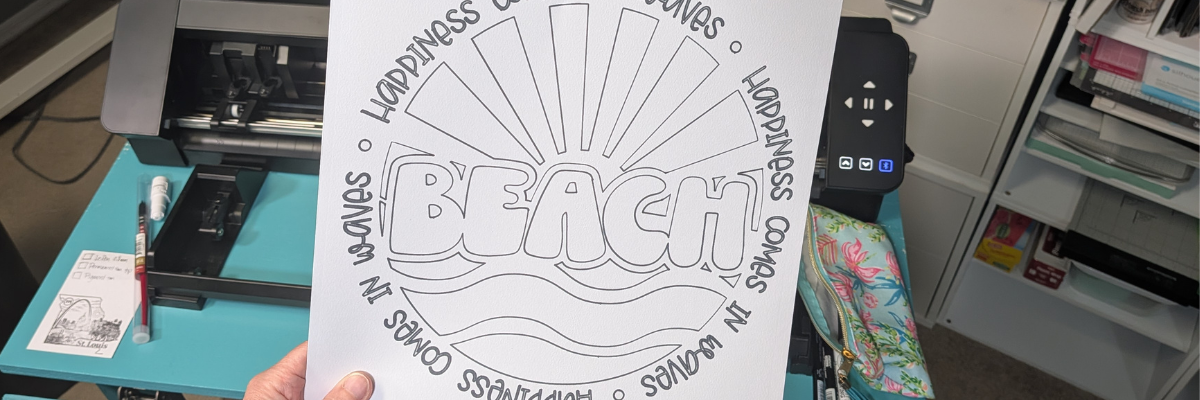

Did you know that sketching without a cutting mat is possible on any Silhouette cutting machine? While most Silhouette users think of their machine primarily as a cutting tool, sketching is one of the most versatile and creative features available. If you’re creating a sketch-only project and don’t plan to cut through the material afterward, you can often skip the cutting mat altogether when your machine and material are set up correctly. In this blog post, I’m sharing how I created a matless sketch project using the May 2026 featured design from the Silhouette Secrets+ newsletter. You’ll find a quick video walkthrough, machine setup tips, sketch pen recommendations, a complete supply list, and additional resources to help you successfully create your own Silhouette sketching projects.
Are you subscribed to the Silhouette Secrets+ weekly newsletter? Each month, a talented collaborating artist is featured, along with an exclusive free design for newsletter subscribers. Throughout the month, I share a variety of project ideas, tutorials, and creative inspiration using that design to showcase the many possibilities that can come from a single file. Be sure to subscribe and download the current month’s featured design so you can craft along and discover new ways to get the most from your Silhouette machine.
Affiliate links may be present in the following blog post and as an Amazon Associate, I earn from qualifying purchases.
Check out the video and information below and then add it to the list to try out if you have not already. Just play around with it and see what happens. Sketching with the Silhouette can add a unique element to your projects or just be fun to play around with and test.
Silhouette Secrets+ YouTube channel HERE.
Key Tips for Sketching with No Mat

- Set up the software for your page size and no mat in the Page Setup Panel.
- Check the box for “Show Cut Border” so you know the parameters.
- Make sure the Silhouette machine is clean and there is no debris that could create an uneven surface under the material or pen.
- Move the right roller to a location it can be locked in place on the right edge of the material.
- Make sure the material is completely flat and not bubbling up between the rollers.
- If you do encounter skipping or issues, then try with a clean, debris free cutting mat to see if the extra support helps with your design.

If you are cutting out the design after sketching, then I would recommend using a cutting mat. Cutting completely through a material with no cutting mat can damage the machine, cutting strip, or blade channel that runs under the blade housing.
Supplies Used for Sketching without a Silhouette Mat

- Silhouette Studio® Software
- Silhouette Cameo Pro MK II or any other Silhouette model machine
- Silhouette Type A Pen Holder
Silhouette Pen Holders do vary by models – check out the Sketching Supplies blog post where I show exactly which ones are compatible with which Silhouette machine model HERE - Mixed Media Paper by Pointer USA 11.75” x 16″
- Marvy Uchida Fine Point Permanent Pen – See Sketching Supply post linked above for more pen options
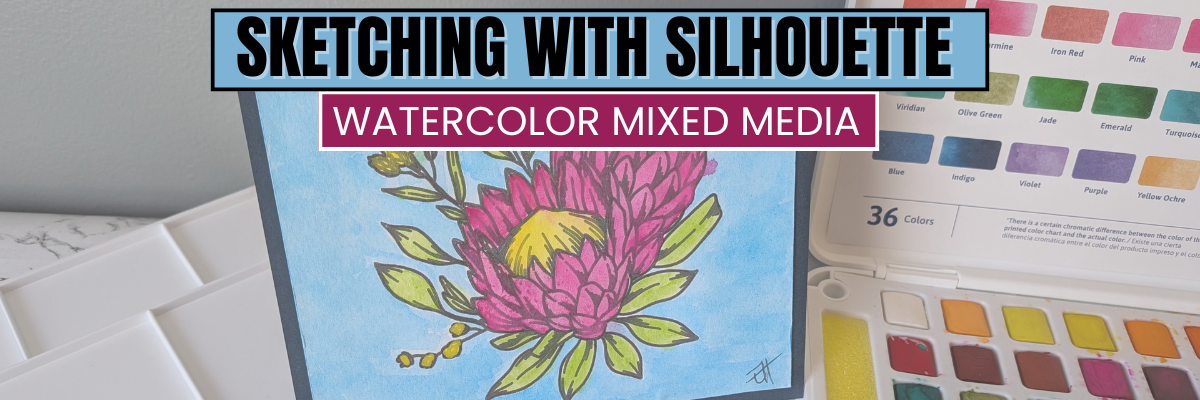
- Watercolor Paints
- Dual Tip Acrylic Paint Markers
- Happiness Comes in Waves design by Wispy Willow Designs
- Glassboard Magnetic Craft Mat
Use code SILHOUETTESECRETS to save 15%

And if you really want to see what your Silhouette can do, check out the Silhouette Sketch Pens & Sketch Pen Design Class – find that HERE. It is one of the most popular classes that I’ve created.

Additional Resources for Sketching with Silhouette
- Sketching Supplies
- Sketching with Silhouette YouTube Playlist
- Sketching with Silhouette Resources
- Sketching Fill with Silhouette
- Line Style Panel
- Cut by Line
- Perfect Cut Settings (or Sketch)
- A to Z Resources for Silhouette

Save this for future reference by pinning the image below.

Enjoy !
THANK YOU for your support! How can you help? Click HERE & buy a coffee.
Every little bit helps with the cost of running the site.
Silhouette Classes
Never stop learning! Let me help you take the anxiety out of learning with Silhouette and get to creating faster! My Silhouette classes are heavily focused on software, so you can take the skills & techniques taught and apply them to many future projects!