Let’s Explore v4
Silhouette Studio Software Upgrades
Affiliate links may be present in the following blog post and as an Amazon Associate I earn from qualifying purchases.
I am seeing a bunch of new Silhouette user’s join us and there is so much information out there.
Today let’s talk about software upgrades.
I highly recommend this.
Don’t be overwhelmed by all the options though!
You do not have to learn it all at once, but if you upgrade it will be ready for you when you are ready to learn about it.
What is an upgrade?
A software upgrade is an code you purchase that unlocks additional features in the software.
It is a one time fee that can be active on up to 3 computers per code.

I highly recommend at least the Designer Edition upgrade for all of my students.
It makes life easier and saves you time and headache.
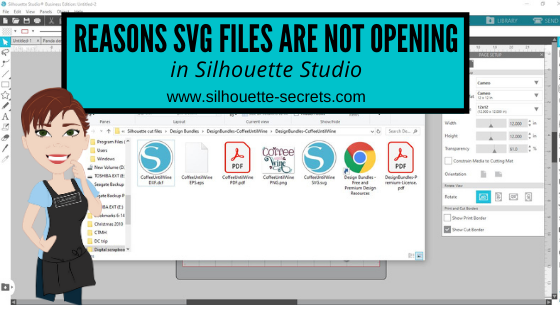
Just being able to open a svg file and cut is well worth it.
But I LOVE the Business Edition upgrade because it unlocks it ALL and I never have to question if some tool/feature is available to me.
Both are well worth the investment!
Don’t let the name “Business” edition fool you though – you do not have to have a business to use it or have it be useful. There are just some features that are helpful to those that run a business such as using multiple machines.
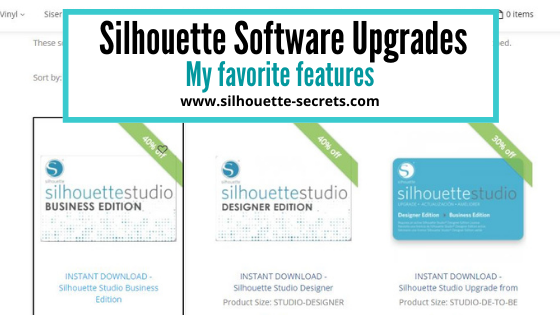
If you have the basic (free) software, you would want to purchase 1 of 3 options depending on what upgrade you want to go to:
Option 1 – Silhouette Studio to Designer Edition (highly recommend at least this)
Option 2 – Silhouette Studio to Designer Plus (unlocks a few more features – see below)
In all honesty, if you are upgrading to Designer Edition Plus, you might as well go all the way and unlock it all
Option 3 – Silhouette Studio to Business Edition (unlocks it all)

Now here is the important part, if you already have an upgrade, you only need to purchase the step up to the next level you want.
For instance, if you already have the Designer Edition upgrade but you want to go to Business Edition, you want to buy the Designer Edition to Business Edition upgrade. You do not need to buy the full upgrade. You would purchase the level that you need to go from to the level you want to be at.
Now, keep in mind, if you purchase the upgrades in steps it is no different than purchasing the upgrade all together, except that you will need to enter the codes in that same order if you install it on another computer or have to re-enter your codes for any reason.
What does each level of upgrade do?
Here are a few of my favorite features and the ones I find most might use in the software:
Designer Edition unlocks:
– Ability to open svg and pdf file directly in the software
– Rulers and guides can now be activated
– Additional Knife tools
– Additional Line Effects
– Trace by Color
– Magnet Trace
– Glyphs Panel
– Ability to create Rhinestone designs
– Warp Templates
And more…..
Designer Edition Plus unlocks all of the above and …..
– Flexishapes
– Ability to open some embroidery file types (PES, DST, EXP, JEF, and XXX)
– Puzzle Generator
– Conical Warp
And more…..
Business Edition unlocks all of the above and …..
– Import Ai/CDR/EPS Files
– Weed Line Feature
– Multi-cutter Support (I use this one all the time)
– Multiple Undo/Redo (one of my favorites)
– Export SVG, PDF, JPG
– Edition Toggle (this is great for those of us who teach, so we can see exactly what the students see in their version)
And more…..
Now, the list above is not the extensive list of all the features unlocked with each upgrade.
However, it is a list of the features I find the most useful in each upgrade.
For the complete comparison chart click HERE to go look at Silhouette America.
I want you to be successful and use your Silhouette software to the fullest!
The Vinyl Spectrum has the upgrades to Designer Edition, Business Edition and from Designer to Business at a great price.
These are digital codes, so are emailed directly to you after purchase.
Check them out HERE.
If you are in need of extra supplies too, I have been impressed with their super fast shipping too!

How to activate the upgrade
In the Silhouette software, click on Help in the top left menu. Then choose Upgrade and a pop up window will show up. Enter the information in the window and type the upgrade code exactly as you received it.
Make sure you are entering the codes in the order that you purchased them in.

For example, if you ordered Designer Edition and then the Business Edition upgrade later.
To activate it on a computer, you would need to enter it in that order.
First the Designer Edition code and then the Business Edition code.
If you purchased the Silhouette Studio to Business Edition code right off the bat, then you only have 1 code to enter.
If for some reason the digital codes are “out of stock” at one retailer, you can buy the upgrades from another retailer.
See my list of recommended retailers and sites HERE.
Yes! Digital codes do go out of stock too because it is all an inventory item.
The retailer has to purchase the codes from Silhouette America, just like any other product. So it’s not uncommon to see things go in and out of stock as more people buy it.
If you have question about an upgrade just let me know.
Comment below or post on my Facebook group at Silhouette Secrets with EllyMae.
I would love to see what you creating with your Silhouette machine!
Save this for future reference by pinning the image below.

Enjoy!
THANK YOU for your support! How can you help? Click HERE & buy a coffee.
Every little bit helps with the cost of running the site.
Or if you are looking for more in-depth, step-by-step classes, check out all of my online Silhouette classes on my Teachable site HERE.