The Creative Community with EllyMae | Crafting & Troubleshooting subscription kicked off this year and is going strong. There are 2 parts to the Community: a private Facebook group where we troubleshoot issues and answer questions for users and the Community Forum where exclusive member content is posted each month. Each month we’ve covered a new topic in-depth and I share all the information I can on the topic to help user’s get to know their Silhouette software and machines and use them to their full potential. Video tutorials have a heavy focus on the Silhouette software and showing how to create and use the tools in the software for many different applications.
In the private Facebook group, we have helped to diagnose Silhouette machine issues and solve Silhouette software questions for users as they are posted. Myself and the admins in the group have many years of troubleshooting experience and can usually identify the issues quickly and get users up and running.
Affiliate links may be present in the following blog post and as an Amazon Associate, I earn from qualifying purchases.

Creative Community Recap January – June 2026
Every month is a new in-depth topic posted to the Community Forum vault. Here are the topics so far in 2026:
January 2026 – Core Silhouette Studio Design Skills Using Planner Stickers
In this video tutorial I show how to create your own design from scratch in Silhouette. From simple shapes to even drawing out a drinking glass design using the tools in the Silhouette software. These techniques can be used for more than planner stickers – to do lists, tags, stickers, pages, and more!

I really tried to keep it to an hour but it ended up being 1 hour & 30 minutes packed with information, tips, and troubleshooting…. Plus, a 6 minute bonus video with additional info.
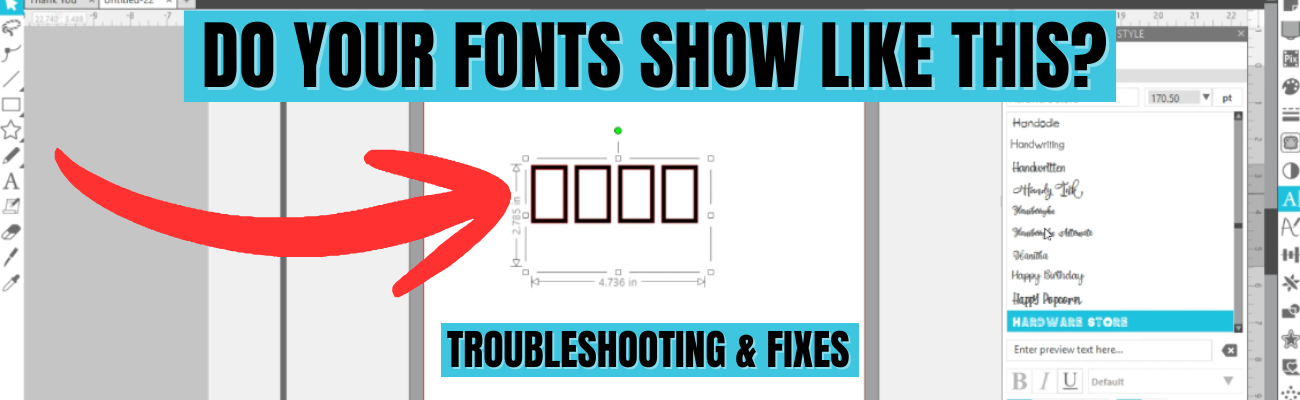
February 2026 – Text Secrets in Silhouette Studio: From Fonts to Finished Designs
This Silhouette video tutorial took on a life of its own and I created several project examples of what could be created with the techniques taught.
Designing with text in Silhouette Studio goes far beyond typing words on the screen—and this in-depth class shows you exactly how to turn fonts into polished, professional designs you’ll actually use.
Text Secrets in Silhouette Studio: From Fonts to Finished Designs is a 95-minute, step-by-step video class that goes into everything you need to know about working with fonts and text inside Silhouette Studio. From understanding where fonts live to creating finished designs ready for cutting, printing, or sharing, this class walks you through the entire process.
In this exclusive Crafting Community with EllyMae tutorial, you’ll watch 10 complete designs created using text, giving you real-world examples you can immediately apply to cards, vinyl projects, print and cut, apparel, signage, and more.
In this class, you’ll learn:
- Font Basics – what you really need to know (and what you don’t)
- Where Fonts Are Found & How They’re Installed
- Fonts in the Silhouette Library Explained
- How to Use Fonts from the Silhouette Library
- Font Organization in Silhouette Studio
- EllyMae’s “Secret” to Font Storage (no more lost fonts!)
- Designing with Glyphs in Silhouette Studio
- Creating 4 Designs Using Glyphs
- An Additional Way to Use Glyphs
Here is a gallery look at a few of the projects I created using the techniques taught in this 95-minute video tutorial.


March 2026 – Conical Warp WOW! From Basic Decals to Conical Stencils
This video tutorial is all about the Conical Warp tool in Silhouette Studio. We cover all the options of the Conical Warp Panel and how each option can affect a design. Then we will put those steps to use by taking measurements of a conical shaped blank and inputting the information to make a decal to fit the blank. I created decals for several different shaped objects and share a look at the design, weeding, and application process. This tutorial shares tips along the way for issues you might encounter as well as taking it to the next level.

One thing leads to another and during the basic decal creation process I had an idea I wanted to test out.
It was a success and I’m thrilled to share with you how to up your conical warp game with a conical warp stencil to create a WOW project with glass etching.

I am sharing how I created the stencil design to fit the conical shaped martini glass and how I made the permanent design so you can read it while using the glass to enjoy your beverage.

April 2026 – Follow the Path with Text and Objects in Silhouette
The text to path feature in Silhouette can be so much fun to create unique designs with. A path can be any cut line in Silhouette Studio and when you add text to that path it can bring a new level to the project. In this Silhouette video tutorial, we start with some of the basics, add in a few tricks to make it easier to work with difficult designs, and then take it to an advanced level with a bit of a spin. As a bonus, we will also cover Objects to Path too!

Here is an example of a spinner card created with the text to path techniques taught in the video tutorial.

And another example of using text to path for acrylic etching with the Silhouette Curio 2.

Take the techniques taught in the video tutorial and use them to create a wide variety of projects. And then keep the fun going with the bonus video on Objects to Path in Silhouette too!

May 2026 – Deep Dive into Silhouette Studio Software – Preferences
Deep Dive into the Silhouette Studio Software – Preferences video tutorial covers everything about the Preferences in Silhouette Studio. In this 1 hour and 42 minutes tutorial we cover it all! The things you may already be aware of, as well as the things you may not need when things go wrong, but just in case you do, it’s covered. What does it all mean? I go through each topic and where I can show a demonstration of exactly what the preference changes or how it behaves.
There are 7 different tabs under the Preferences Panel, and each one can give you options to customize how your Silhouette software reacts. Discover what tools make your workflow easier or what settings might make the software run smoother for you.
Some of these options you may be familiar with, but some you may have never seen before or know when or what you might need it for. Let’s take the mystery out of the Preferences and set the software up for how YOU will use it for your workflow.

June 2026 – Silhouette & Rhinestone Designs – Create, Customize, and Sparkle!*
*class creation in progress – topic & class name may be altered as needed
This month’s tutorial will focus on creating your own rhinestone design from scratch. We will start with something simple to get the hang of how things look and work, then explore even more under the Rhinestone features. The rhinestone features in Silhouette Studio can be used for so much more than just rhinestone designs. Some additional ideas are faux rhinestone designs with holographic HTV (my favorite!), journey/travel signs, outlines, and more!

Creative Community with EllyMae | Crafting & Troubleshooting Subscription
Want to learn more about your Silhouette and join the Creative Community?
Check out all the details HERE and I hope you will join us!
Save this for future reference by pinning the image below.

Enjoy !
THANK YOU for your support! How can you help? Click HERE & buy a coffee.
Every little bit helps with the cost of running the site.
Silhouette Classes
Never stop learning! Let me help you take the anxiety out of learning with Silhouette and get to creating faster! My Silhouette classes are heavily focused on software, so you can take the skills & techniques taught and apply them to many future projects!