
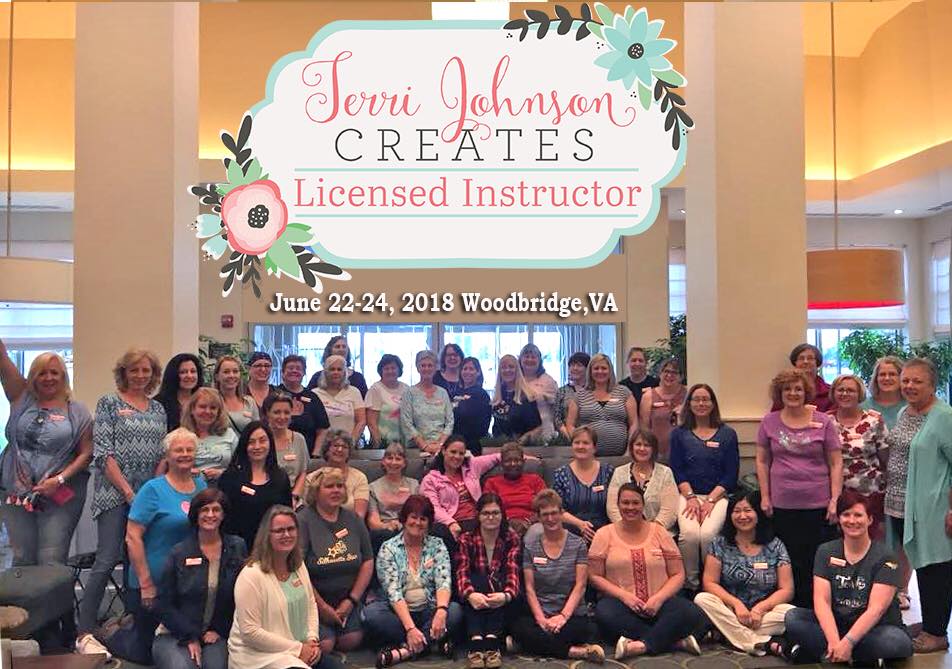
What an amazing weekend spent with colleagues and new Silhouette friends!
I was on staff at the Terri Johnson Creates Silhouette Instructor Licensing retreat two weeks ago and let me tell you, while it may have been long days, I still woke up feeling like my battery was recharged on Monday morning.

First, I want to say Congratulations to all the new TJC Licensed Silhouette Instructors!
It was an amazing weekend meeting you all and seeing some of you I already knew.
I loved watching attendees create all of the projects and seeing that light shine when they finished their creations or learned a new technique in the software.
That is what I love about being an Instructor!
A weekend full of Silhouette machines, class projects and new friends! And to top it off, working with my colleagues, who have become some of my closest friends since I attended the TJC Silhouette Licensing Program in September 2016.

We laughed, we talked, we bounced ideas off each other, we laughed some more….. we cried because we were laughing so hard.
This makes it all worth it – the friends you meet!
The weekend was filled with business tips, Silhouette software, projects created with the Silhouette, demos, tips, tricks, troubleshooting and lots of fun!
On Saturday evening, during the hands on session, I showed a demonstration of the Silhouette Curio etching on an acrylic coaster. This little Curio machine has very quickly become well loved in my studio and I am amazed at what it can do.
Here are just a few of the projects I’ve created using my Curio machine.


Since I attended the TJC Licensing Program in September of 2016, I have expanded my knowledge of Silhouette and many more things – more than I ever could have imagined. I have been teaching Silhouette classes in person, by video conference call and by phone; been on staff for several Terri Johnson Creates Events including the Curio Intensive, All Things Silhouette Conferences and Licensing; started the “Let’s Explore v4” series on my blog; am an Admin on several Facebook groups; written several guest posts for Silhouette School and Craft Chameleon; created product/project videos for Craft Chameleon and am now recording and creating video lessons for users who do not have access to a hands on event.
None of this would have happened if I had not taken that moment and clicked Register for the Terri Johnson Creates Licensing Event.
I still don’t know where it’s leading me, everyday seems to bring a new opportunity.
But, I am enjoying it and learning as I go.
Each Silhouette user will read this and take something different away from it.
Do you want to know more about becoming a TJC Licensed Silhouette Instructor?
(Click HERE)
Do you want to look for a hands on event or local Instructor in your area?
(Click HERE)
Do you want to check out more information on the Instruction that I offer or have an interest in video lessons?
(Click HERE)
Do you want to check out the “Let’s Explore v4” series?
(Click HERE)
Do you just want to get your Silhouette machine out and play?
YEA!!!
That is the best way to learn. Of course, it is always a little easier with some guidance and that is why the Terri Johnson Creates Licensed Silhouette Program was created.

Who knows where this path will take me, but I know my life is different because I am on it and I would not trade meeting these wonderful ladies (and many more not pictured) for anything in this world.
I would love if you would share your projects with us – check out my Facebook group at
Silhouette Secrets+ with EllyMae.
Enjoy!


**This post may contain affiliate links. What that means is that I may receive compensation if you purchase through the links I have provided. The price you pay for the product or service is not higher but I may get compensated for sharing.




 *
*

 Here I have decreased the grid spacing on all the designs to 0.500 inches. This places more of the design and stipple into a smaller grid area on the original object.
 Here I increased the Stipple spacing to 0.100 inches.
 Here I scaled all of them down to 50%. As you can see, with each option, the look of the design changes and you can hardly recognize which options that I filled each with.
 Above, the Angle is set for 135 degrees on all the designs.
 Above, I have changed the offset to 0.250 inches and you can see that on all of the hearts, it has started the fill pattern 0.250 inches from the edge of the design.
 This option only changes the visual look of your design and does not change how big of a point the pen or tool will stipple.

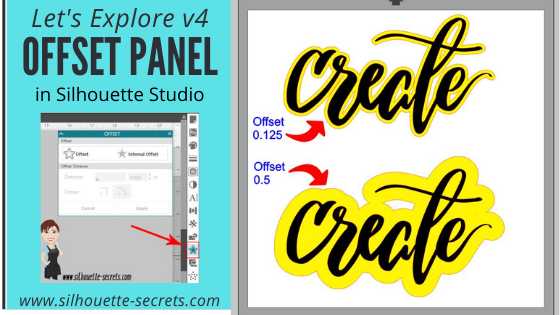


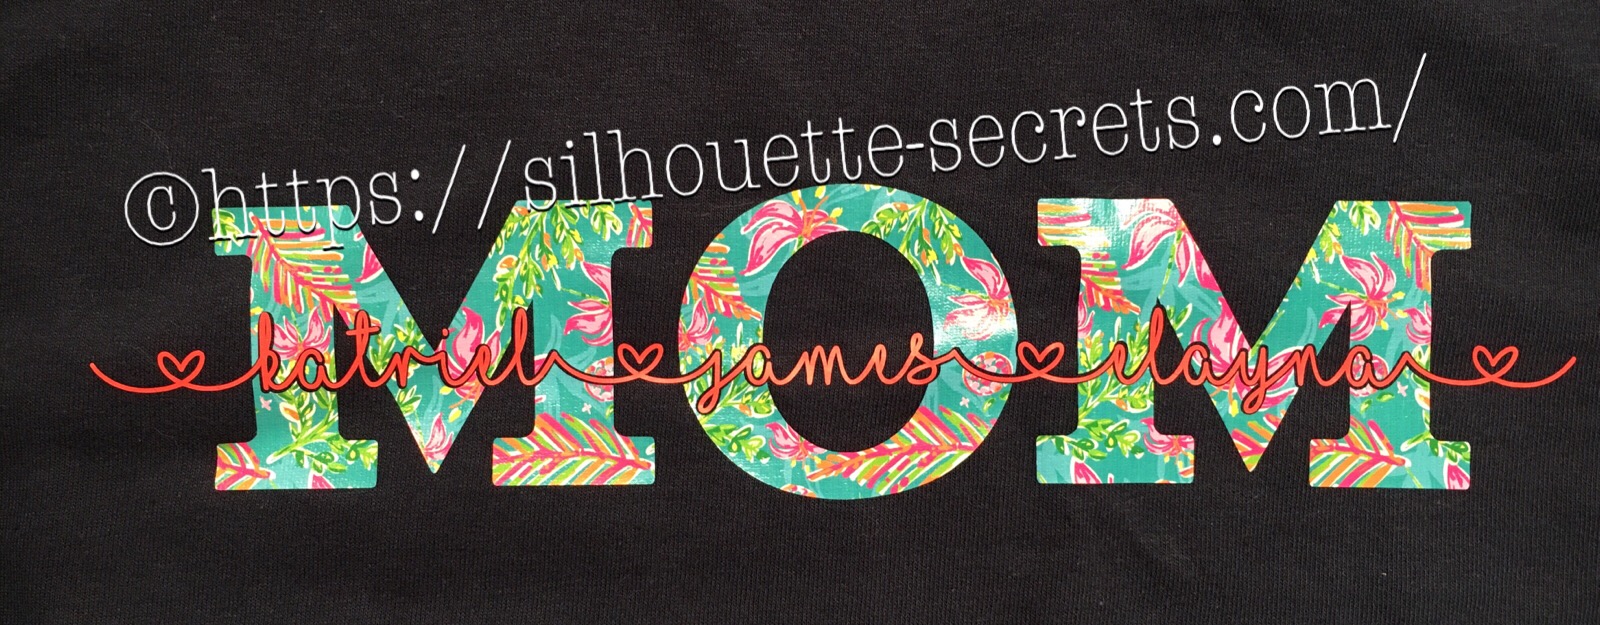


 You will notice that the top text, the red lines from the characters overlaps the letter next to it. If you sent it to cut like this, it will cut out the red lines exactly how they show, so your letters would have cuts through them.
 By choosing to weld the font first, you can join the letters together so it cuts as one smooth piece. After you have welded, any piece of the text that is not overlapping will now be a separate object – like the dots of the i, so you want to make sure to Group them together to keep the text moving as one design.
When you weld text, it does change it from editable text to a vector image, so make sure to make a copy & pull it off to the side so you have the original in case you need to go back.
By choosing to weld the font first, you can join the letters together so it cuts as one smooth piece. After you have welded, any piece of the text that is not overlapping will now be a separate object – like the dots of the i, so you want to make sure to Group them together to keep the text moving as one design.
When you weld text, it does change it from editable text to a vector image, so make sure to make a copy & pull it off to the side so you have the original in case you need to go back. On top is the original design. Mom is typed out and behind the names.
When you select both designs and choose Subtract, it subtracts out the names (top layer) from the Mom design (bottom layer).
This works well for things like layering HTV where you don’t want the bulk of layering on your shirt or if you are using glitter HTV that is not recommended to be layered.
Tip: with this design, I would create an offset of the original names and then use the offset to subtract from the Mom design. It gives you a little more flexibility in placement when you apply it to the shirt.
On top is the original design. Mom is typed out and behind the names.
When you select both designs and choose Subtract, it subtracts out the names (top layer) from the Mom design (bottom layer).
This works well for things like layering HTV where you don’t want the bulk of layering on your shirt or if you are using glitter HTV that is not recommended to be layered.
Tip: with this design, I would create an offset of the original names and then use the offset to subtract from the Mom design. It gives you a little more flexibility in placement when you apply it to the shirt.
 I used a 0.20 offset on this design. Then moved the original name text away and used the Mom (bottom layer) and the offset (new top layer) to Subtract.
 Since I used an offset, this will allow you to place your names text inside of the area when applying the HTV and you won’t have to worry as much about shrinkage and getting it perfect.
 Move the name text back on top of your Subtracted design to get an idea of how it looks. On the top design, you have to get the exact placement of the names lined up with the bottom layer. On the bottom design, you will notice there is a bit of white showing around the name text, this will be beneficial when you are applying HTV so you don’t have to worry as much as about the HTV shrinking when you press each color.
 I used
  So above I drew a heart and moved it behind my Mom and name layers. Make sure to align the design how you want and then I chose Subtract All and it cuts out the top 2 layers from the very bottom layer (heart).
This works great for making designs that you don’t want to have the bulk of materials overlapping.
Again you could use an offset to help with ease of getting it lined up and not worrying about shrinkage.
So above I drew a heart and moved it behind my Mom and name layers. Make sure to align the design how you want and then I chose Subtract All and it cuts out the top 2 layers from the very bottom layer (heart).
This works great for making designs that you don’t want to have the bulk of materials overlapping.
Again you could use an offset to help with ease of getting it lined up and not worrying about shrinkage.

 Draw a heart over the photo, select both the photo and circle, then choose Crop and it will take that shape out of the layer under it.


 When you drag it on to the shape, it will replicate copies of that object around the shape. And you get another little circle (drag handle) on the shape to the right of the original object. By clicking and dragging on this drag handle you can increase or decrease the spacing between the objects on the path, this will also change the number of objects around the shape.


 At this point, all of your objects are now single objects, as you can see by the selection boxes around each. I would suggest grouping these together before you go further, so you don’t accidentally move one.

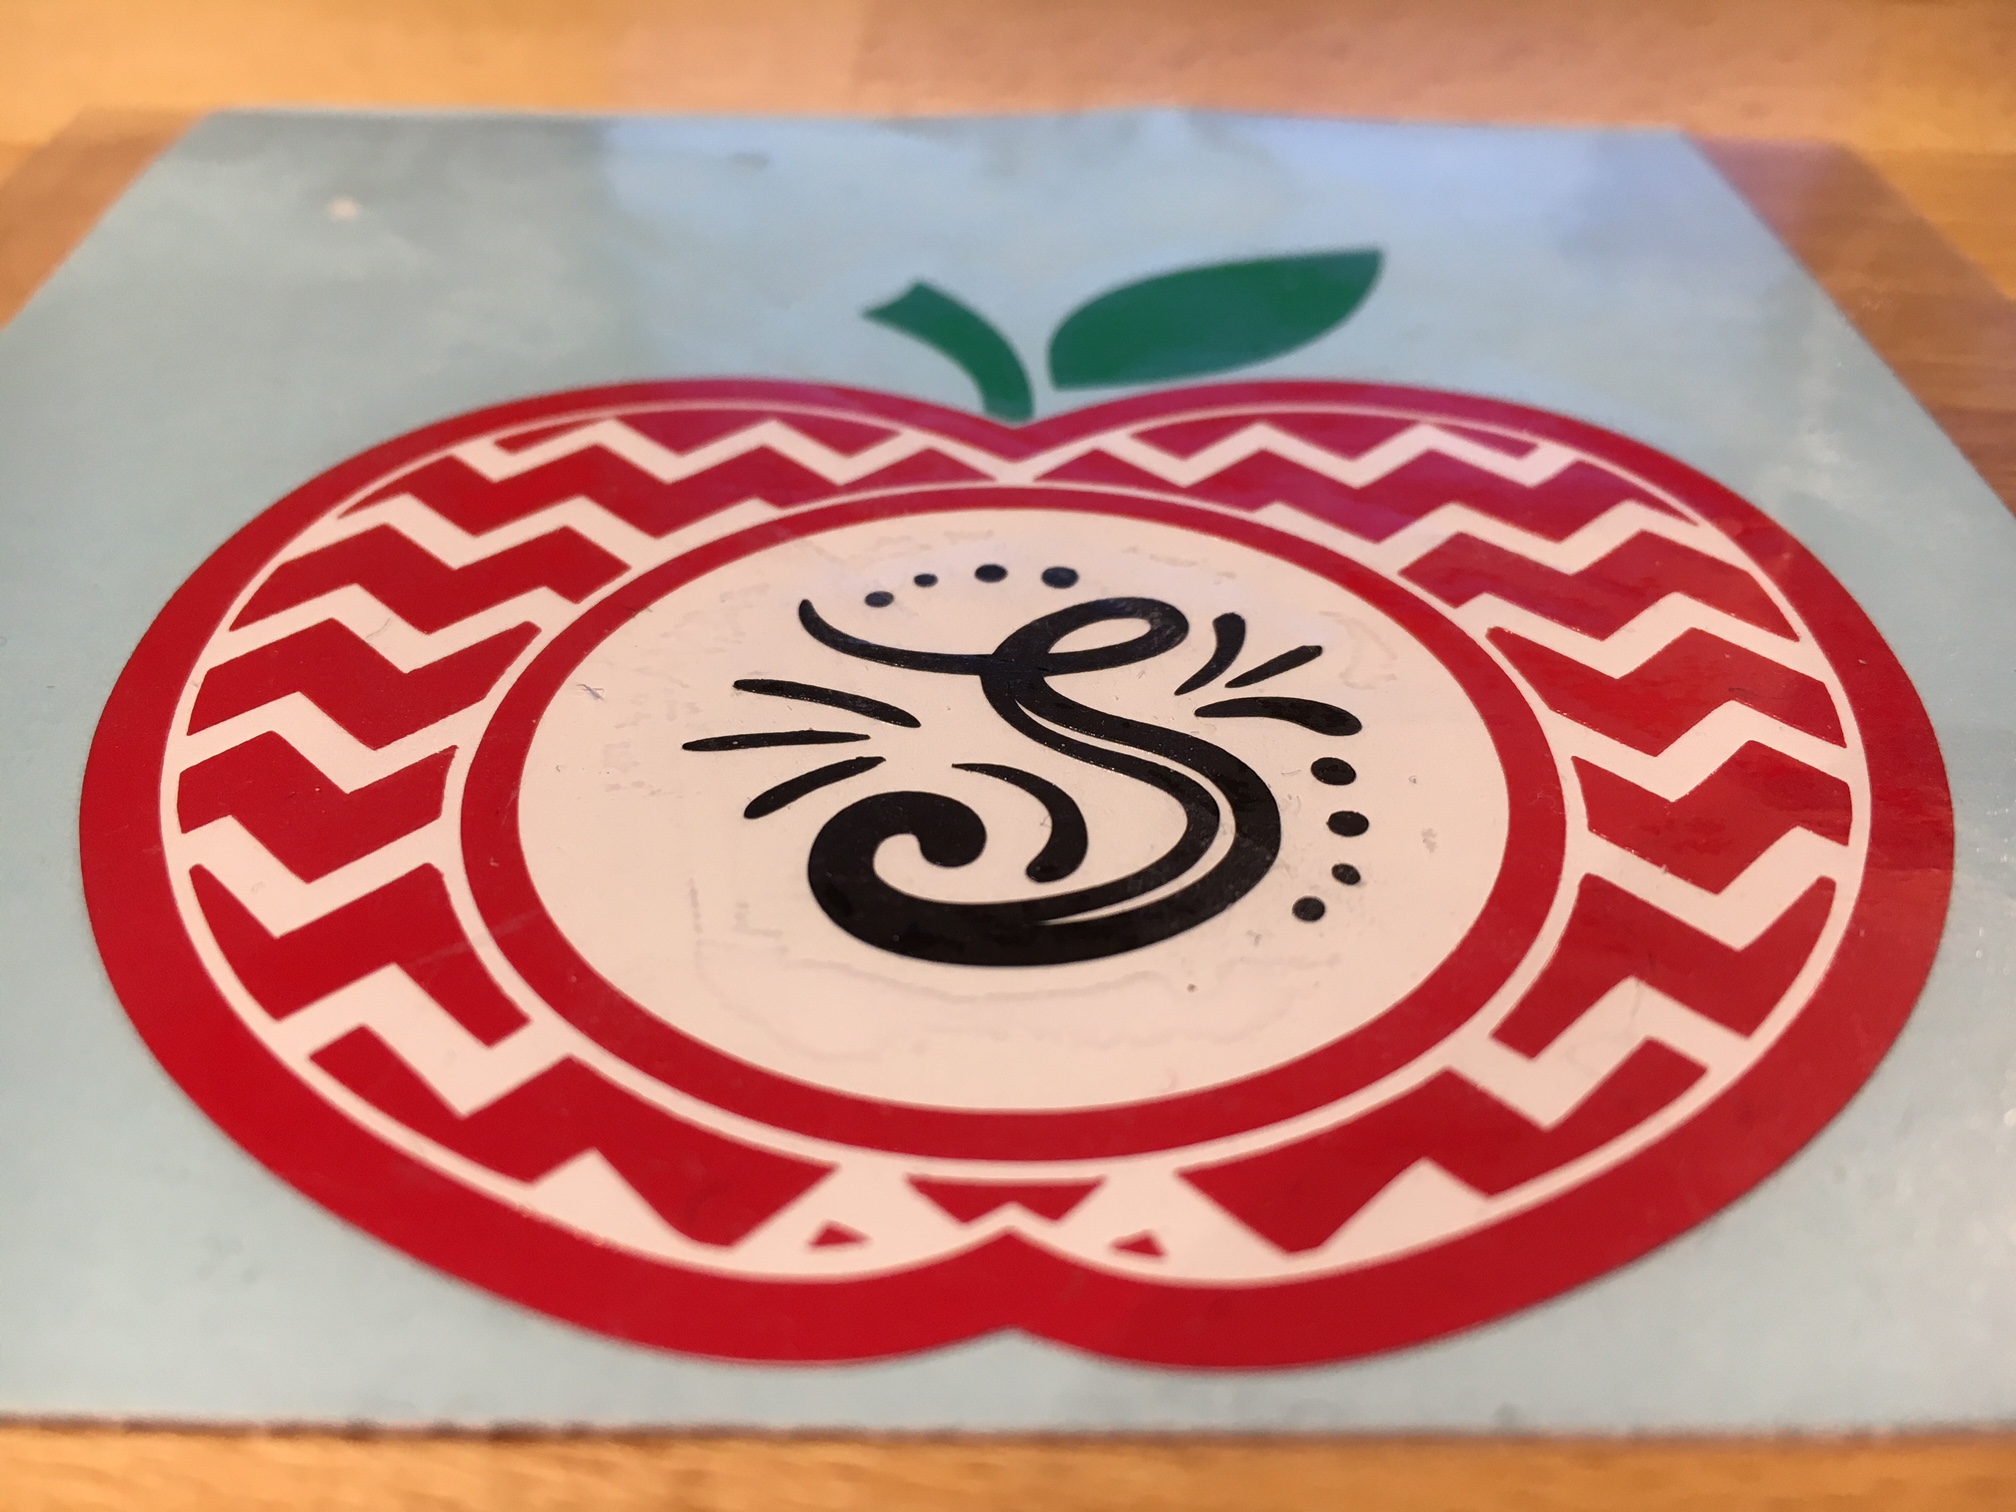


 Something to note about the Replicate and Mirror tools above is that it may look like the designs are overlapped, however, they are placed just perfect so when you cut, it will cut both lines.
 As you can see in the photo above, there is no overlap in the cut lines and both copies will cut just fine.


 In the photo above, I chose to make 3 copies, rotated to the right at 30 degrees. So each copy will rotate 30 degrees from the previous one.









